Soap Stamping: When and How to Stamp Handmade Soap
Stamp cold process soap soon after cutting, while the bars are firm but not hard, pressing straight down with steady pressure. Here's the timing, the types of soap stamps, and how to get crisp, even impressions.
On this page
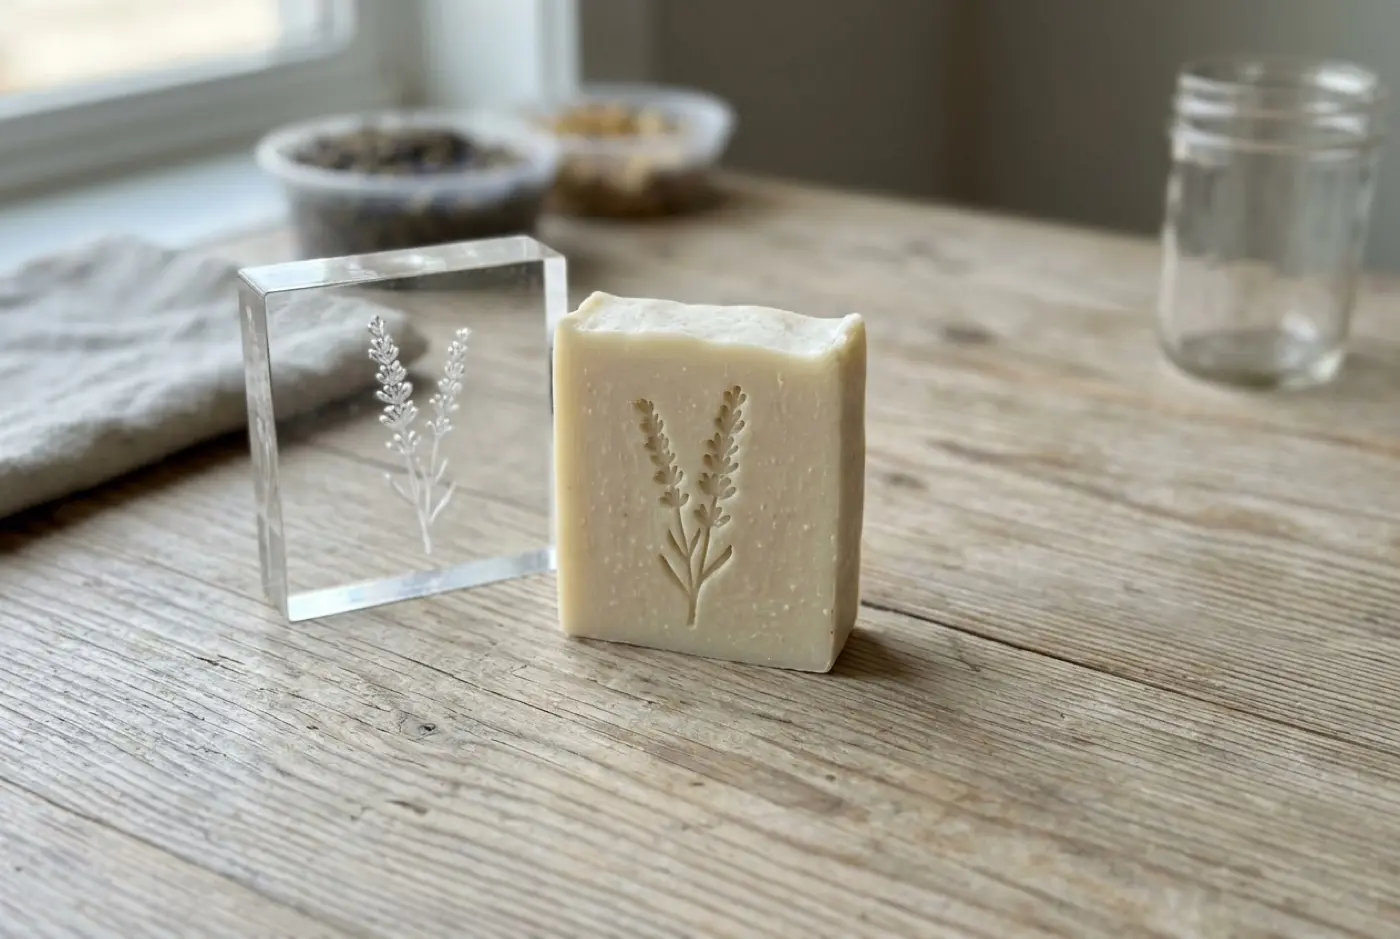
Soap stamping works best soon after cutting, while cold process bars are firm enough to hold a crisp edge but still slightly soft. For most recipes, that window falls within the first day or two after cutting. Plane the face flat, press the stamp straight down with steady pressure (or one firm tap of a rubber mallet), and lift it straight up. Stamping fully cured bars is possible but needs much more force and gives shallower impressions.
A stamp is the simplest way to brand a bar, and the most visible place a small timing mistake shows up.
The firmness window
Stamping is a timing problem. The same stamp on the same recipe gives a mushy impression one day and a crisp one the next.
| Soap type | Typical stamping window | Notes |
|---|---|---|
| Typical cold process (mixed hard and soft oils) | Shortly after cutting, within about 1–2 days | The easiest soap to stamp |
| High-coconut or salt bars | Very soon after cutting | Gets hard and brittle quickly; may crack if stamped late |
| High-olive or castile | Several days after cutting, sometimes longer | Stays soft and sticky early; wait until it releases cleanly |
| Hot process | Once firm, usually within a few days | Rough texture can blur fine detail |
| Melt and pour | Any time once set | Elastic; impressions can spring back |
| Fully cured cold process | Possible, with force | Mallet needed; edges may chip |
The thumbnail test tells you more than the table. Press a thumbnail into an end piece or a scrap. If it smears or feels tacky, wait. If it leaves a clean mark, stamp. If it barely dents, stamp now with a mallet, and stamp the next batch sooner.
Types of soap stamps
- Acrylic stamps. Clear acrylic with a raised, reversed design. Common for custom logos and inexpensive to have made. Crisp results when the soap is at the right firmness.
- Metal stamps. Brass or similar. Durable and good with a mallet on firmer soap.
- 3D-printed stamps. Cheap to prototype custom designs. Smooth the printed surface or the layer lines can transfer to the soap.
- Letter and number sets. Individual characters you arrange yourself. Flexible but slow, and hard to keep in line.
Design details matter. Fine lines and very small text fill with soap and blur. Bold shapes with a little depth stamp most cleanly. Remember the design must be mirrored on the stamp so it reads correctly on the soap.
Walkthrough
1. Check firmness. Use the thumbnail test on a scrap from the same batch.
2. Plane the surface. Stamps need a flat face. Plane or shave the side you’ll stamp, which also removes soda ash that can otherwise discolor the impression. See unmold and cut soap for planing.
3. Prepare the stamp. Clean it, and if this recipe tends to stick, dust the stamp very lightly with cornstarch and tap off the excess.
4. Position the stamp. For consistent placement across a batch, use a simple jig: a strip of wood or a box corner that the bar butts against, with a mark for where the stamp goes.
5. Press straight down. Press with firm, even pressure. If the soap needs more force, set the stamp and give it one solid tap with a rubber mallet. Two light taps often double the image.
6. Lift cleanly. Pull the stamp straight up without rocking. Wipe it every few bars so soap doesn’t build up in the details.
Reading a bad impression
| What you see | Likely cause | Fix |
|---|---|---|
| Soap stuck inside the stamp, torn surface | Soap too soft | Wait a day; dust with cornstarch |
| Shallow, faint image | Soap too hard, or not enough pressure | Stamp sooner; use a mallet |
| Deep on one side, faint on the other | Uneven pressure or uneven bar face | Plane the face flat; press with the stamp held level |
| Doubled or ghosted lines | Stamp shifted or was struck twice | One firm tap; hold it still |
| Cracks radiating from the image | Bar too hard or brittle | Stamp sooner; common with salt bars |
| Blurred fine detail | Design too fine, or soap too soft | Use bolder designs; wait for firmer soap |
Ordering a custom stamp
A custom logo stamp is often the first branding purchase for a new soap seller. A few details make the difference between a stamp you love and one that lives in a drawer.
- Size it to the bar face. Measure the face you’ll stamp and leave a margin all round. A design that runs to the edge of the bar is hard to center and looks crowded.
- Ask for enough depth. Shallow designs give faint impressions, especially on firmer soap. Your stamp maker can advise on depth for soap.
- Avoid very fine lines and small text. Thin strokes fill with soap and blur. Bold letters and simple shapes stay crisp.
- Check the mirror image. Most makers mirror the design for you, but confirm before ordering, especially for text.
- Add a handle. A stamp with a handle or knob is easier to press straight and to strike with a mallet.
Cleaning up after stamping
If you dusted with cornstarch, a little may stay in the impression. Most of it falls away as the bar cures; a soft, dry brush removes the rest. Wash stamps in warm water after each session and dry them fully. Soap left in the fine details hardens and blurs the next impression. Avoid soaking 3D-printed stamps in hot water, which can warp some plastics.
Adding color to the impression
Once bars have cured, you can brush a little mica into the impression with a small dry brush, or rub it in with a fingertip and wipe the surface clean. Use a cosmetic-grade mica that’s labeled safe for soap. A light touch looks better; heavy mica can rub off on hands.
Stamps are branding, not labeling
A logo stamp is a nice way to identify your soap, but it doesn’t replace a label. If you sell soap, ingredient and other label requirements still apply. See soap labeling requirements and soap branding and packaging.
Next steps
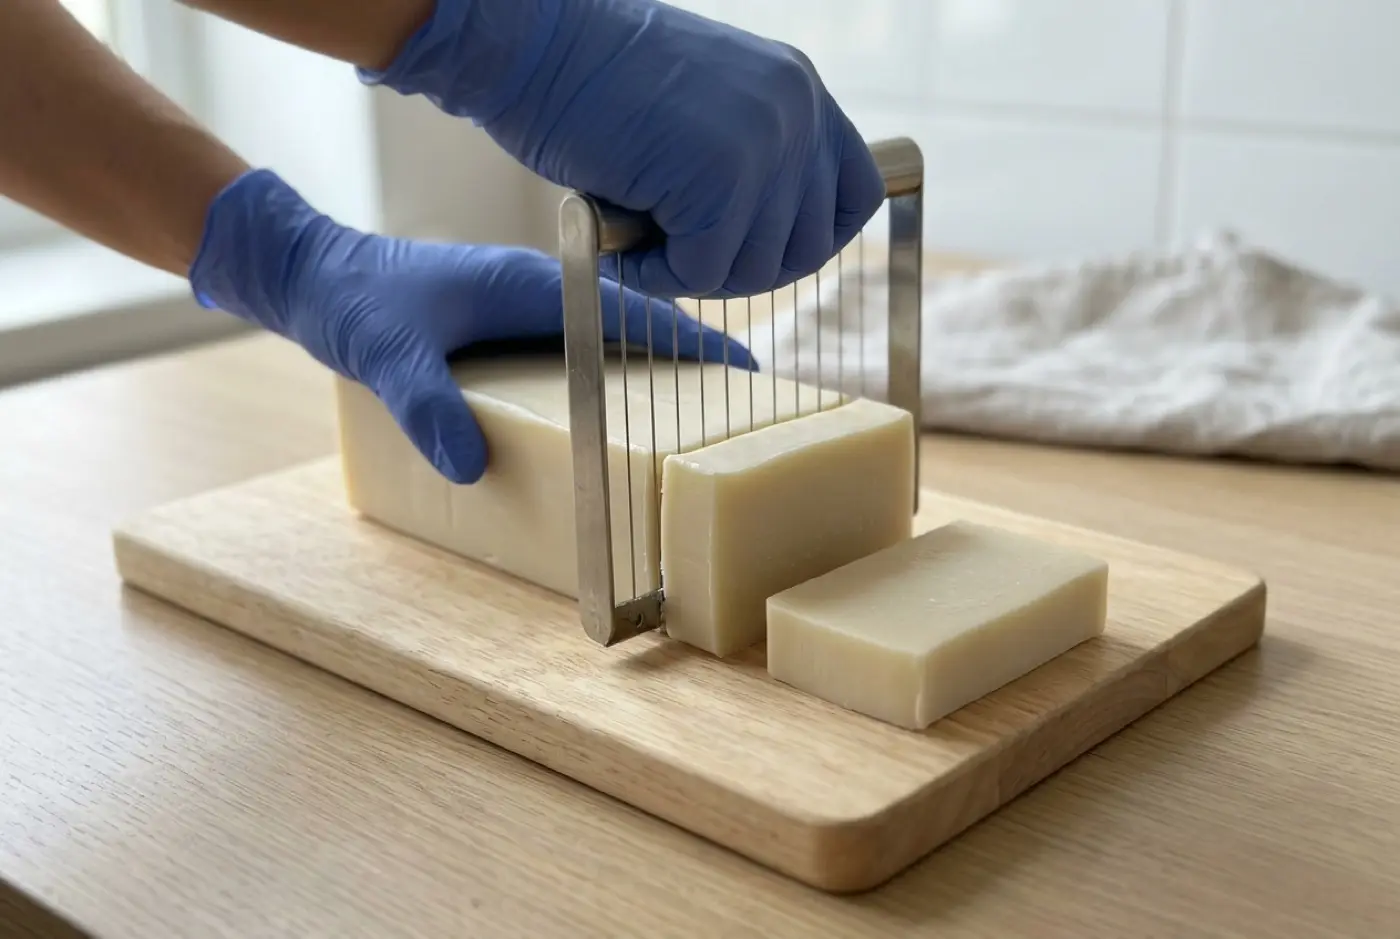
- Cut and plane bars so they’re ready to stamp with unmold and cut soap.
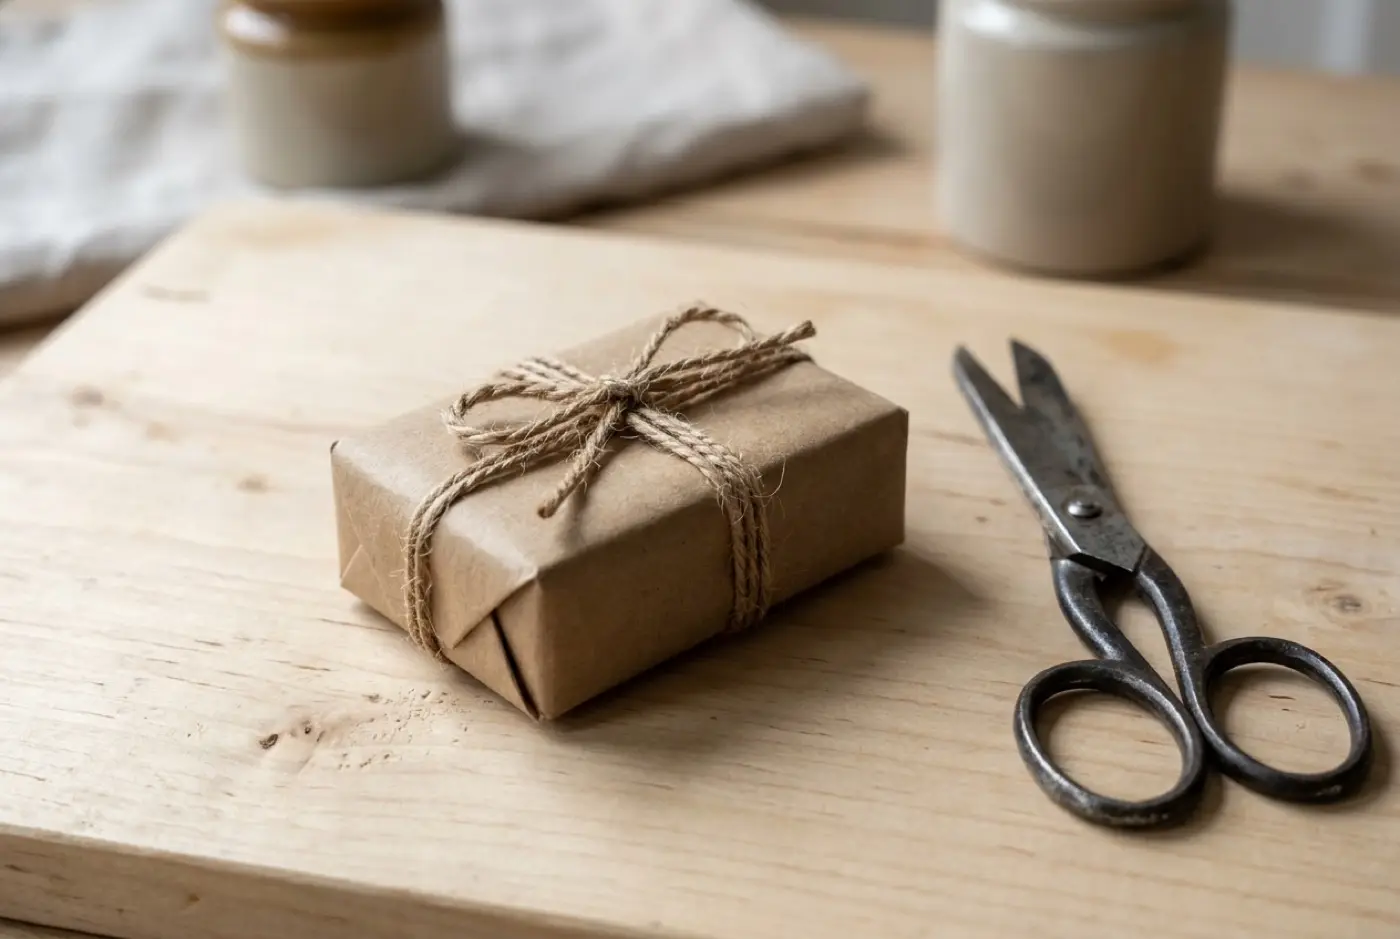
- Once cured, finish them with wrap and package soap.
FAQ
When should you stamp cold process soap?
Soon after cutting, while the bars are firm enough to hold an edge but still a little soft. For many recipes that is within the first day or two after cutting; very soft recipes may need a few more days.
How do you stop a soap stamp from sticking?
Dust the stamp lightly with cornstarch, wait until the soap is a little firmer, and clean the stamp often. Soap that sticks to the stamp is usually still too soft.
Can you stamp fully cured soap?
You can, but cured bars are hard and need much more force, often a mallet, and impressions may be shallower or chip at the edges. Stamping earlier is easier.
Can you stamp melt and pour soap?
Melt and pour can be stamped, but it is more elastic than cold process, so impressions can be shallow or spring back. Many makers use molds with the design built in instead.
Comments
No comments yet. Made this recipe? Be the first to say how it went.