How to Unmold and Cut Soap Without Dents, Drag or Cracks
How to cut soap cleanly starts with unmolding at the right time, usually 24 to 48 hours after pouring. Here's how to tell a loaf is ready, how to release it from each type of mold, and how to cut even bars with a knife, wire cutter or miter box.
On this page
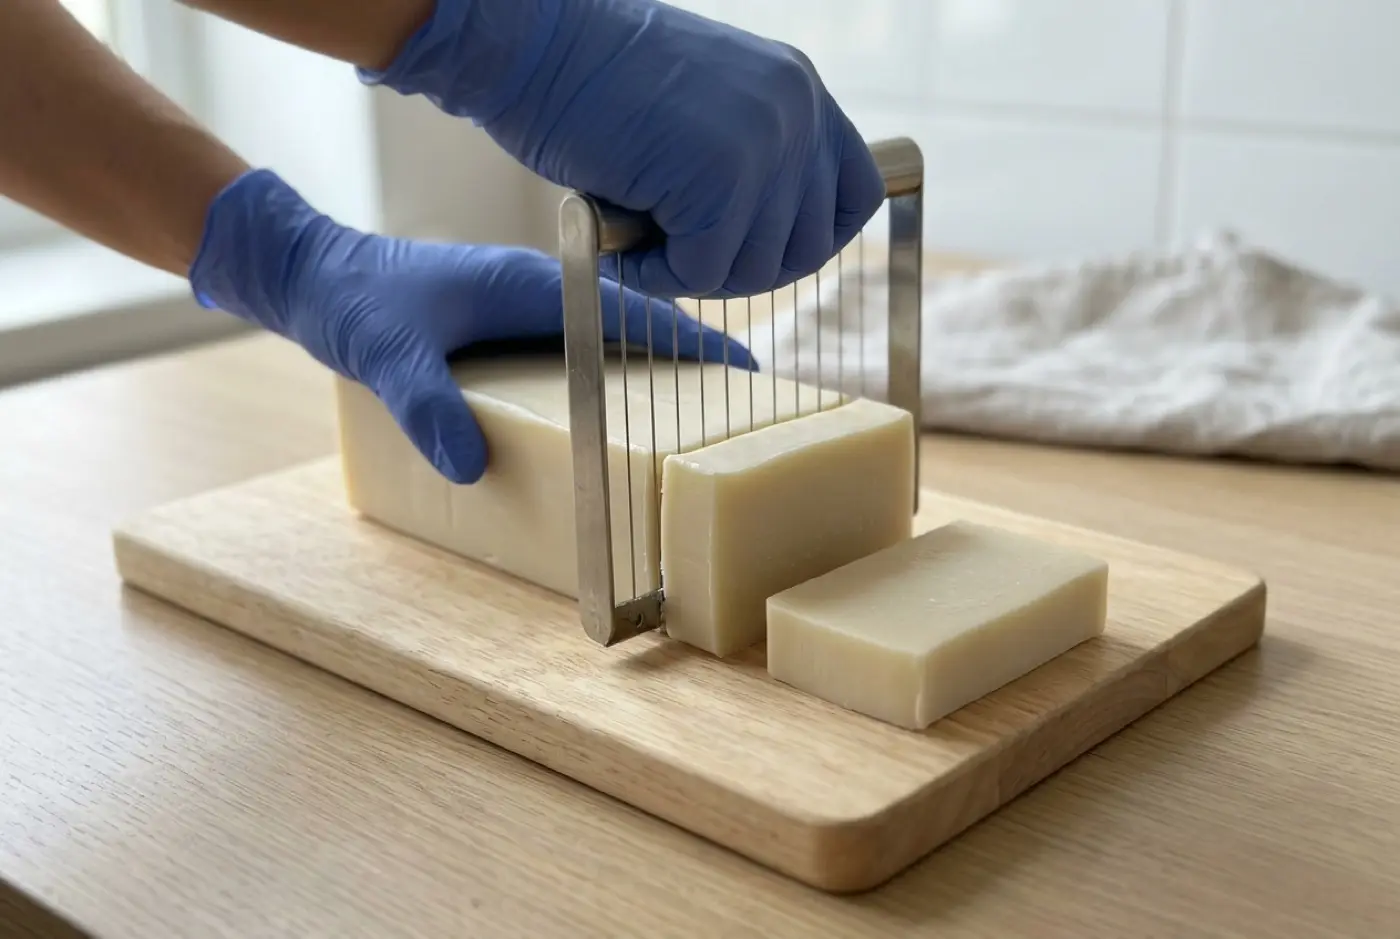
How to cut soap cleanly starts before you pick up the knife: unmold at the right time. Most cold process loaves are ready 24 to 48 hours after pouring, when the surface feels firm like cold cheese and the sides pull away cleanly. Release the loaf, mark even widths, and cut straight down in one smooth stroke with a long knife or wire cutter. Cut too soon and the bars drag and dent; wait too long and they can crack or chip.
Getting this step right is what turns a loaf into bars that look like they came from the same batch.
When to unmold and cut, by recipe
The 24–48 hour rule covers most recipes. These are the exceptions worth knowing.
| Recipe or situation | When to unmold and cut | Why |
|---|---|---|
| Typical cold process, gelled | 24–48 hours | Firm and releases easily |
| Typical cold process, not gelled (chilled) | 2–4 days | Ungelled soap stays softer longer |
| High-olive or castile | 3–7 days, sometimes longer | Soft oils set slowly; cut too soon and it smears |
| Milk soaps kept cool | 2–4 days | Usually ungelled and softer |
| High-coconut or salt bars | As soon as firm, often within hours | Turn hard and brittle fast; late cuts crack and crumble |
| Hot process | Once cool and firm, usually within a day | Already saponified; can be cut sooner |
| Recipes with sodium lactate | Often at the early end of the range | Sodium lactate helps bars harden and release |
Salt bars are the one case where waiting is the mistake. Plan to check them within a few hours of pouring and cut as soon as they hold their shape, or pour them into individual cavity molds so no cutting is needed. See salt bar soap.
Is the loaf ready? The press test
With a gloved finger, press the top of the loaf near the middle.
- Leaves a deep, sticky dent: too soft. Give it another day.
- Dents slightly, feels like cold cheese: ready to unmold and cut.
- Hard, no give at all: cut today. If it’s a high-coconut recipe, cut now.
Check the sides too. A loaf that’s ready pulls away from silicone with a gentle tug. If it’s sticking firmly, it’s telling you to wait.
Releasing the loaf, by mold type
Silicone loaf mold. Pull each side away from the soap to break the seal and let air in. Then turn the mold on its side and press up from the bottom, peeling the silicone back. Don’t yank the loaf out by the top; it dents.
Wooden or rigid mold with a liner. Lift the loaf out by the freezer paper or liner, then peel the liner off. If the mold has removable sides, take them off first.
Silicone-lined wooden mold. Lift the liner out with the soap still in it, then peel the liner away from the loaf as with a silicone mold.
Individual cavity molds. Pull the edges away all round, then press each cavity from the bottom. Detailed shapes may need an extra day so fine edges don’t tear.
Stuck loaf. Give it more time first. If it still won’t release after several days, a short stay in the freezer (an hour or two) can help the soap pull away from the mold. Let any condensation dry off on a rack before cutting, because moisture on the surface can mark the bars. See soap molds for mold types that release more easily.
Cutting tools
| Tool | Best for | Watch out for |
|---|---|---|
| Long straight knife (chef’s or a dedicated soap knife) | Single loaves, beginners | Keep the blade vertical; a wobbly cut gives wedge-shaped bars |
| Knife plus miter box or cutting guide | Even bars without a big tool | Make sure the guide fits your loaf width |
| Single-wire cutter | Clean cuts on soft-to-medium loaves | Wire can snap on very hard soap or embeds |
| Multi-wire loaf cutter | Cutting a whole loaf into even bars at once | Needs soap at the right firmness; cost |
| Dough scraper or bench knife | Small loaves, planing | Too short for most loaves |
A serrated bread knife leaves ridges, and a crinkle cutter is a style choice. For more on tools, see soap cutters.
Walkthrough
1. Check the loaf is ready. Use the press test after 24–48 hours, or later for the slower recipes above.
2. Release the loaf. Follow the steps for your mold type.
3. Let it rest if soft. If the unmolded loaf dents when you handle it, leave it on parchment for another day before cutting. Exposure to air firms the outside.
4. Mark the cuts. Decide your bar width and mark it along the top with a ruler and a bench knife, or set your cutting guide. Many makers cut around 1 inch (2.5 cm) thick, but choose the width that gives the bar size you want and stick with it.
5. Cut straight down. Line the blade up with your mark and push straight down in one smooth motion. Don’t saw back and forth. Wipe the blade between cuts so soap doesn’t build up and drag.
6. Plane and bevel (optional). Once bars have firmed for a day, plane uneven tops with a vegetable peeler or a soap planer and bevel the edges with a peeler or beveling tool. Planing also removes soda ash from the tops.
7. Set bars to cure. Stand bars on edge on a rack with a finger’s width between them. Wash knives and scrapers while still gloved. Then see how long to cure soap.
Reading the cut face
The cut is the first time you see inside the loaf. A few things you might notice:
- A darker ring or center: partial gel. The center got hot enough to gel and the edges didn’t. It’s cosmetic. See gel phase.
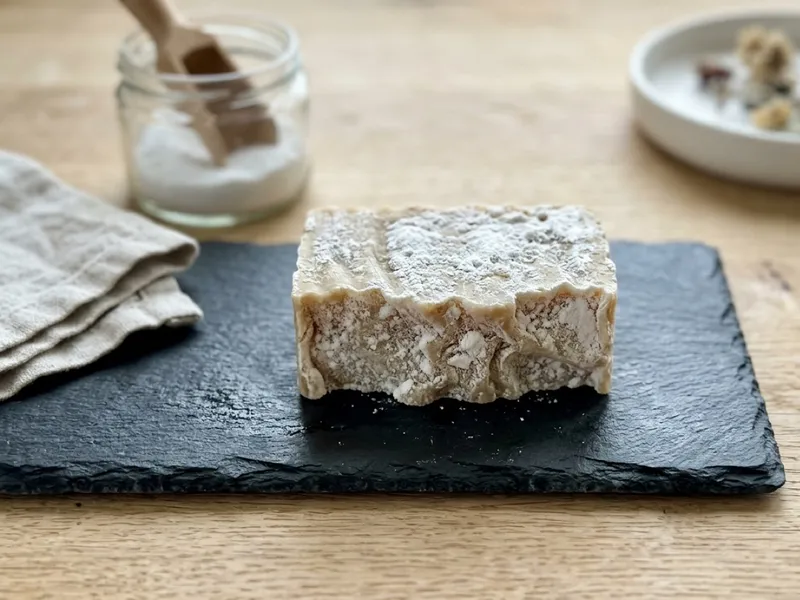
- White powder on top: soda ash. Cosmetic; plane or steam it off.
- Cracks along the top: the loaf overheated. See cracked soap.
- Crumbling as you cut: too hard to cut cleanly, or a recipe problem. See crumbly soap.
- Liquid pockets or white crystalline pockets: stop and investigate before using any bars. See lye pockets.
Common mistakes
- Cutting too soon. Bars drag, smear and take on fingerprints.
- Waiting too long on hard recipes. High-coconut and salt bars crack and crumble.
- Sawing instead of pressing. Leaves ridges and uneven faces.
- Skipping the marks. Bars drift wider or narrower down the loaf.
- Taking gloves off for the “easy part”. Fresh bars and scraps can still irritate skin.
Next steps
- Stamp bars while they’re still slightly soft with soap stamping.
- Let them cure, then wrap and package them.
FAQ
How long should soap sit before cutting?
Most cold process loaves are ready to unmold and cut after 24 to 48 hours. Soft high-olive recipes, ungelled loaves and milk soaps can need three days to a week; salt bars need cutting much sooner, often within hours of setting.
What is the best tool for cutting soap?
A long, straight, non-serrated knife works for most makers. A wire cutter gives cleaner cuts and even bars for larger batches. A miter box or cutting guide keeps knife cuts straight.
Why is my soap stuck in the mold?
Usually the loaf is still soft, especially if it didn't gel or the recipe is high in soft oils. Give it another day or two. Sodium lactate in the next batch helps release.
How thick should soap bars be?
Many makers cut bars about 1 inch (2.5 cm) thick from a standard loaf, but it's your choice. Pick a width and stay consistent, since bar weight and label weight depend on it.
Is fresh-cut soap safe to handle?
Wear gloves. Soap in its first days can still be caustic, and the scraps and shavings are too. Wash tools after cutting and keep fresh bars away from kids and pets.
Comments
No comments yet. Made this recipe? Be the first to say how it went.