Soap Photography: How to Photograph Handmade Soap With a Phone
Soap photography with a phone and a window, plus the backgrounds, angles and shot list that make listing photos consistent and honest.
On this page
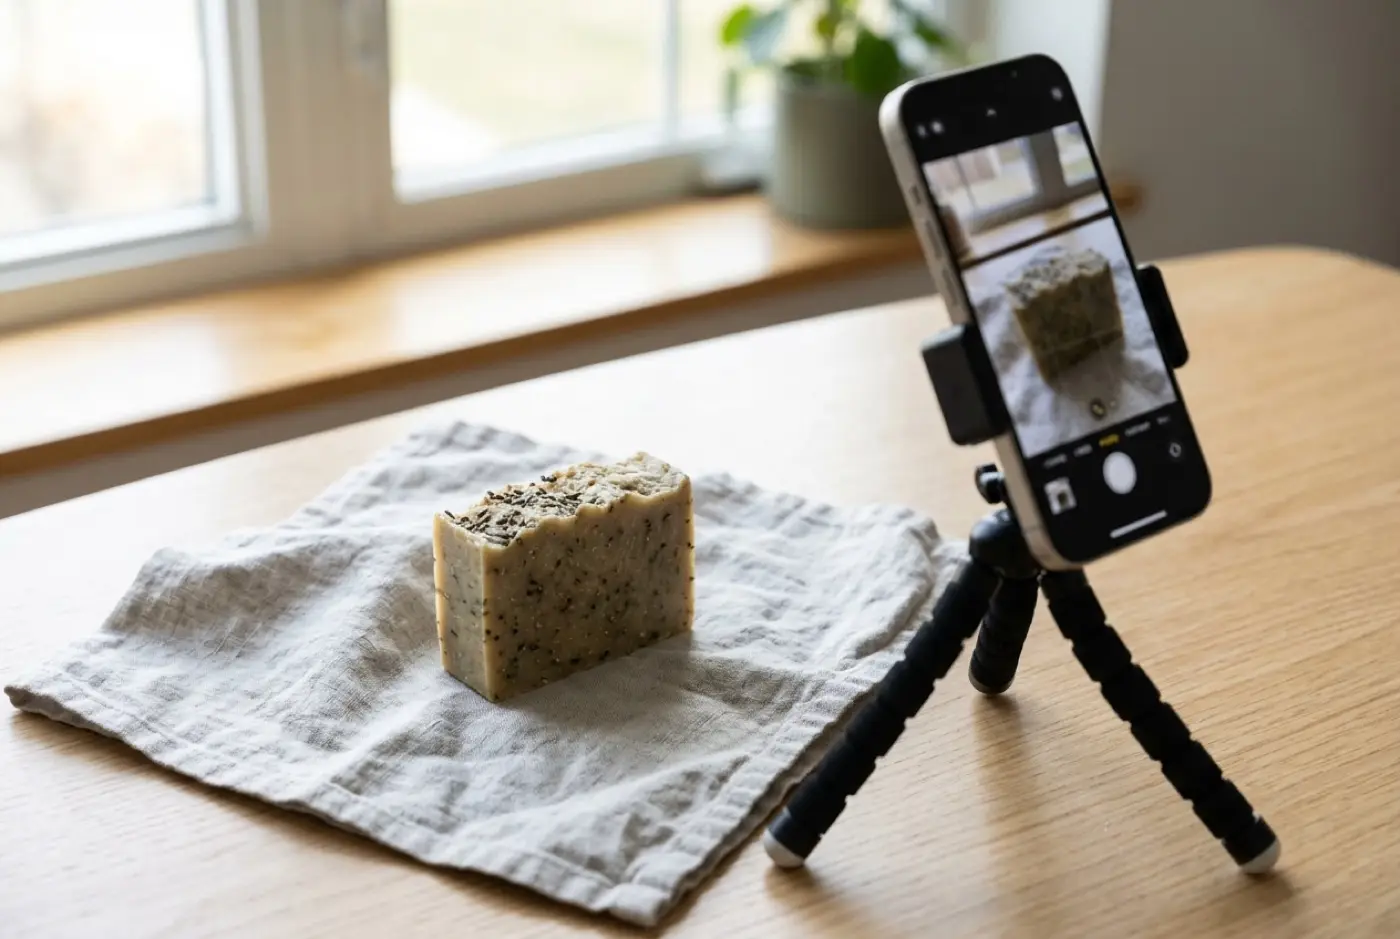
Good soap photography needs a phone, a window with soft daylight, a plain background and a few sheets of white card. Put the soap near the window, out of direct sun, turn off the room lights, bounce light into the shadows with the card, and shoot the cut face, a stack, the bar in a hand and lather. Use the same setup every time so your listings look like one shop. Keep the colors true to the bar in your hand.
Why the cut face is the hero
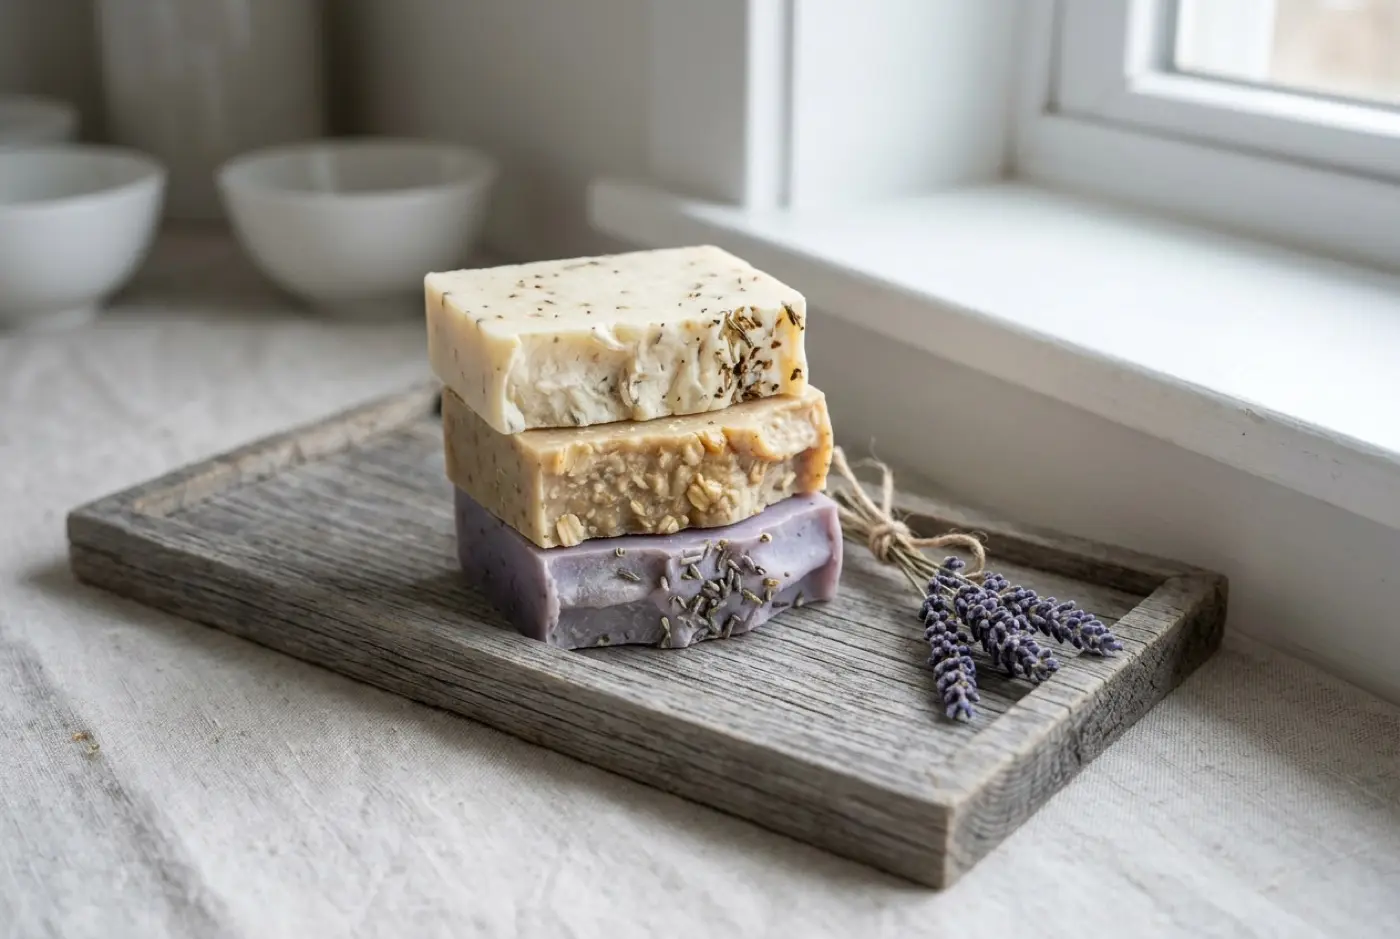
A customer can’t smell or touch a bar online. They decide on color, texture and pattern, and in cold process soap those live on the cut face: the swirl, the layers, the speckle of oatmeal, the embeds. Most of what follows serves one goal: show that face clearly and truthfully.
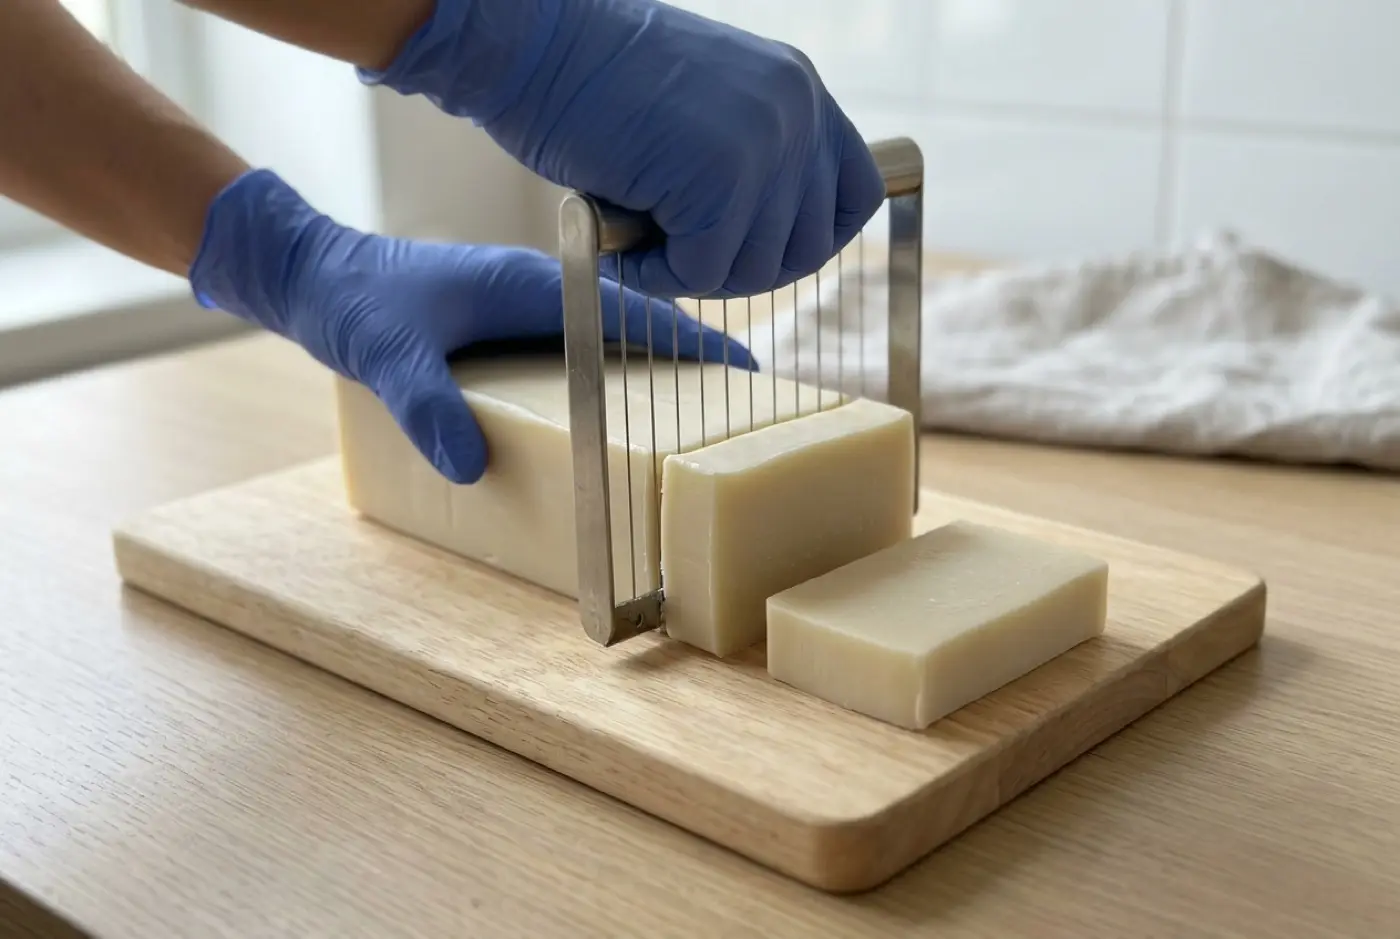
So start by preparing the bar. Pick bars from the middle of the loaf with clean cuts. Brush off soda ash or plane it smooth, and wipe away dust. If you stamp bars, photograph the stamp too (see unmolding and cutting for getting clean edges).
The phone and window setup
Basic setup
Then on the phone:
- Tap to focus on the cut face, then slide exposure down a touch if white backgrounds are blowing out.
- Turn off the flash. It flattens texture and creates glare on glossy bars.
- Avoid digital zoom. Move closer instead, or use the phone’s 2x or 3x lens if it has one. Wide lenses up close make bars look bulged.
- Lock focus and exposure (most phones do this with a long press) so a series of shots matches.
- Shoot more than you need, then pick the sharpest.
Backgrounds: plain for listings, texture for lifestyle
| Use | Background | Why |
|---|---|---|
| Main listing photo | White or light gray sweep | Shoppers compare products side by side; plain backgrounds keep the soap the focus |
| Variants and color accuracy | Same white or gray, every time | Lets customers compare colors across your range |
| Lifestyle and social | Wood, slate, linen, tile, a sink edge | Shows the bar in a setting and adds mood |
| Process shots | Your actual workspace, tidied | Real context builds trust |
Pick a lifestyle surface that contrasts with the soap. A charcoal bar disappears on slate; a cream bar disappears on white linen. Keep props few and related to the product: a sprig of lavender with a lavender bar, raw oats with an oatmeal bar. Avoid props that imply a claim the soap can’t back up, such as medicine bottles or anything suggesting a treatment.
The angles that sell soap
Shot list per soap
For the lather shot, use a dark towel or slate as a backdrop and shoot quickly; suds collapse within a minute or two. Wet hands photograph better than wet soap alone.
Consistent product shots for listings
Consistency makes a shop look professional and makes your products easier to compare. Decide once and write it down:
- Same background and same window for every main listing photo.
- Same angle and distance. Mark the tripod position and the bar position with tape.
- Same crop ratio. Square works on most marketplaces and social feeds; check each platform’s current image guidelines, since recommended sizes change.
- Same time of day. Window light changes color and strength through the day. Mid-morning or mid-afternoon on a bright overcast day is easiest.
- Same editing. Save your edits as a preset or copy settings from one photo to the next.
A simple test: put all your main listing photos in a grid. If one looks warmer, darker or more zoomed-in than the rest, reshoot it.
Honest photos: color you can stand behind
Natural colorants and fragrance oils morph. Mica bleeds. Turmeric fades. Some fragrance oils turn a white bar tan over weeks. A photo of a fresh bar may not match the bar that ships after a full cure.
- Photograph cured bars for listings, not fresh-cut ones, unless you note that the color changes.
- Don’t boost saturation to make a muted botanical color pop. Customers notice, and returns or bad reviews follow.
- Set white balance against something white in the frame, then leave colors alone.
- Show real variation. If every bar in a batch is slightly different, say so and show more than one.
- Disclose discoloration from vanilla-containing fragrance, and see fading and color morphing if your colors drift.
Photographing cure and process for your site
Process photos are some of the most valuable images you’ll take. They show customers, and search engines, that a real person made the soap. A few to capture as part of normal batches:
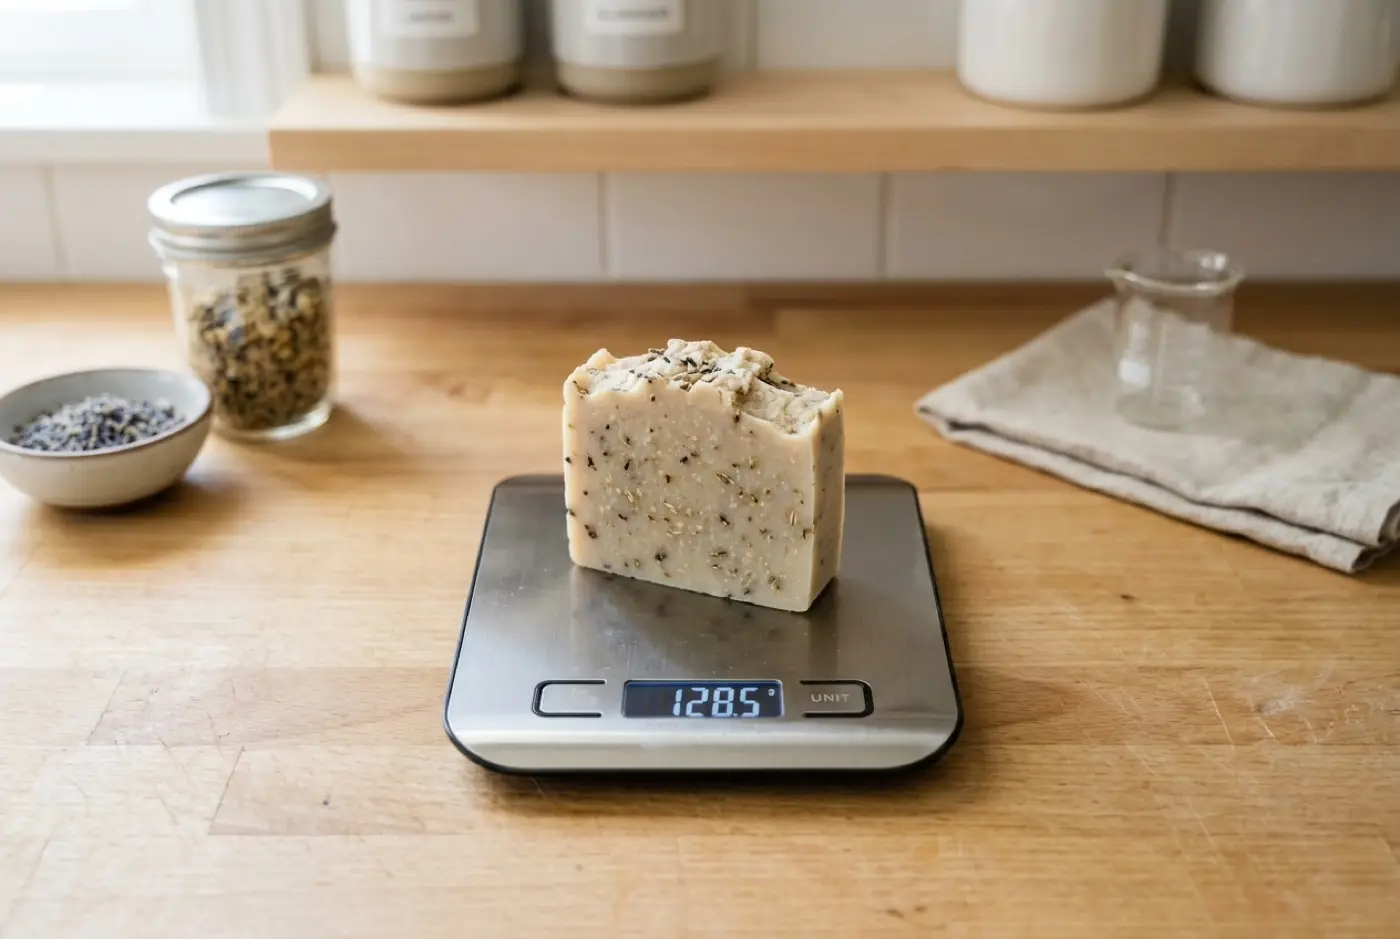
- Oils weighed on the scale and the lye solution in its pitcher (with gloves and goggles visible; never show unsafe handling).
- Trace in the pot, with the spatula drip.
- The pour, especially swirls and layers.
- The loaf unmolded, then the first cut.
- Bars on the curing rack, spaced out, with a date card in frame.
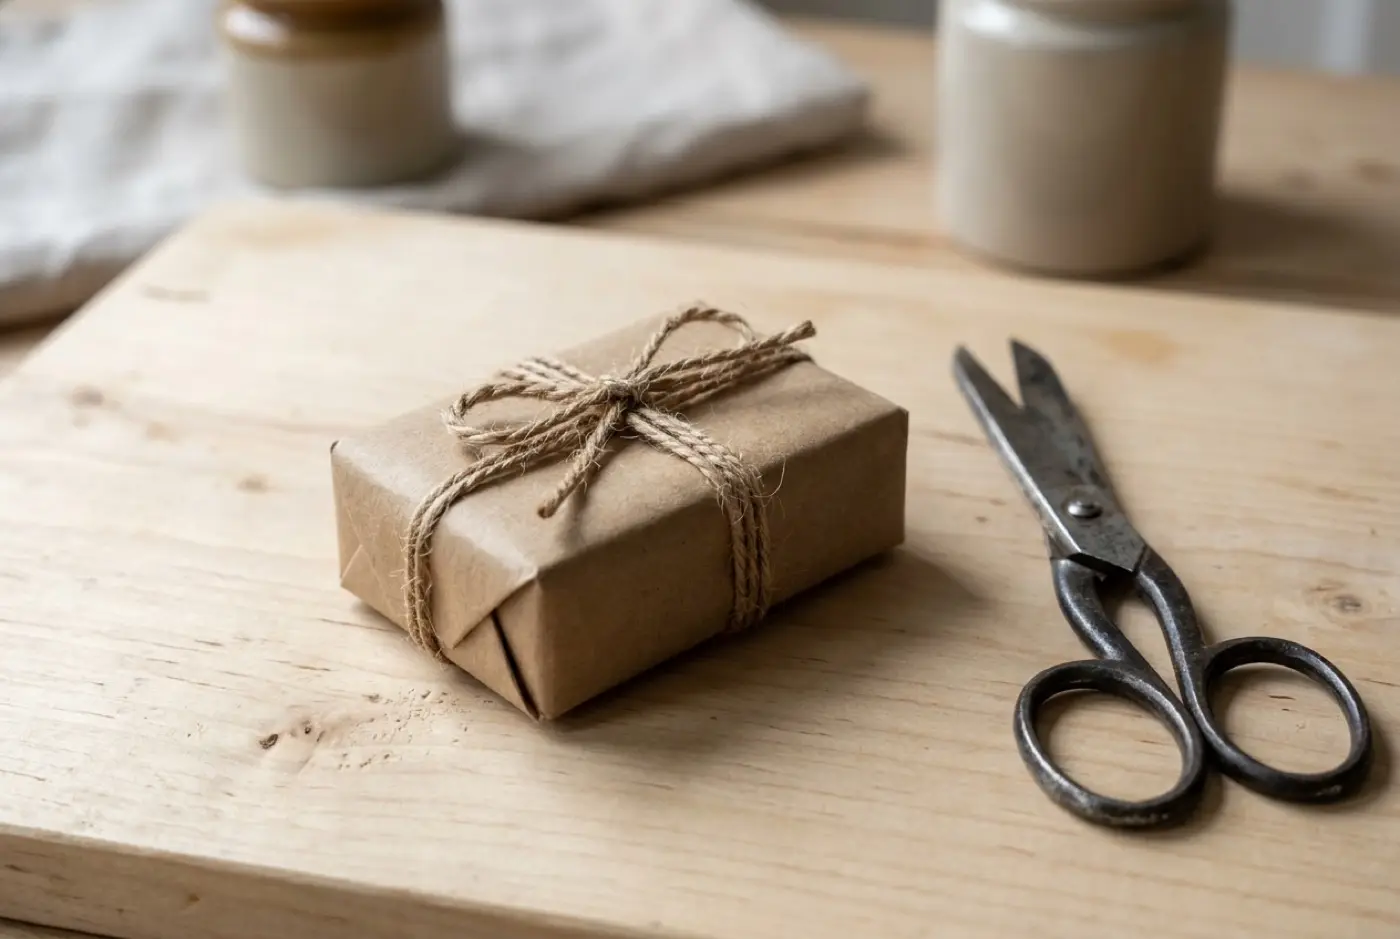
- Wrapping and labeling.
Keep a phone stand near your workbench so you can grab these without stopping mid-batch. Never stop stirring or leave lye unattended for a photo.
Costs and numbers
You can start with almost nothing. Illustrative costs:
| Item | Illustrative cost | Notes |
|---|---|---|
| White and gray card or foam board | $5–$20 | Buy two of each; they get dirty |
| Small phone tripod | $15–$40 | Biggest help for consistency |
| Lifestyle surfaces (tile, board offcut, linen) | $0–$30 | Check scrap bins and thrift stores |
| Photo editing app | $0 to a subscription | The phone’s built-in editor is enough to start |
| A dedicated light (optional) | Varies | Only if you can’t shoot in daylight |
Time is the real cost. Example: if each new soap needs 7 shots and you spend about 20 minutes on setup, shooting and editing per soap, a 10-soap range is around 3 to 4 hours. Batch it: photograph every new soap from a season in one session with the same light.
Related reading
- Soap branding and packaging: what your packaged shots should look like
- Where to sell soap: marketplaces and their photo expectations
- How to price soap: where your time goes
- How to wrap and package soap
FAQ
What is the best light for soap photography?
Soft daylight from a window, with no direct sun on the soap. Turn off overhead lights so you aren't mixing warm and cool light, and use a sheet of white card to bounce light into the shadows.
Do I need a camera to take good soap photos?
No. A recent phone, a window and a few pieces of white card are enough for listing photos. Consistency of setup matters more than the camera.
What background should I use for soap photos?
Plain white or light gray for main listing photos, because marketplaces and shoppers compare products side by side. Wood, slate or linen work for lifestyle shots, as long as they don't compete with the soap's color.
Should I edit my soap photos?
Light editing for exposure, white balance and cropping is normal. Don't push saturation or change colors, and don't hide flaws customers will see in person.
Comments
No comments yet. Made this recipe? Be the first to say how it went.