Cold Process vs Melt and Pour: Which Should a Beginner Start With?
Cold process vs melt and pour for beginners. A short decision guide covering lye, cost, time, control and what each one teaches you, so you can pick your first method.
On this page
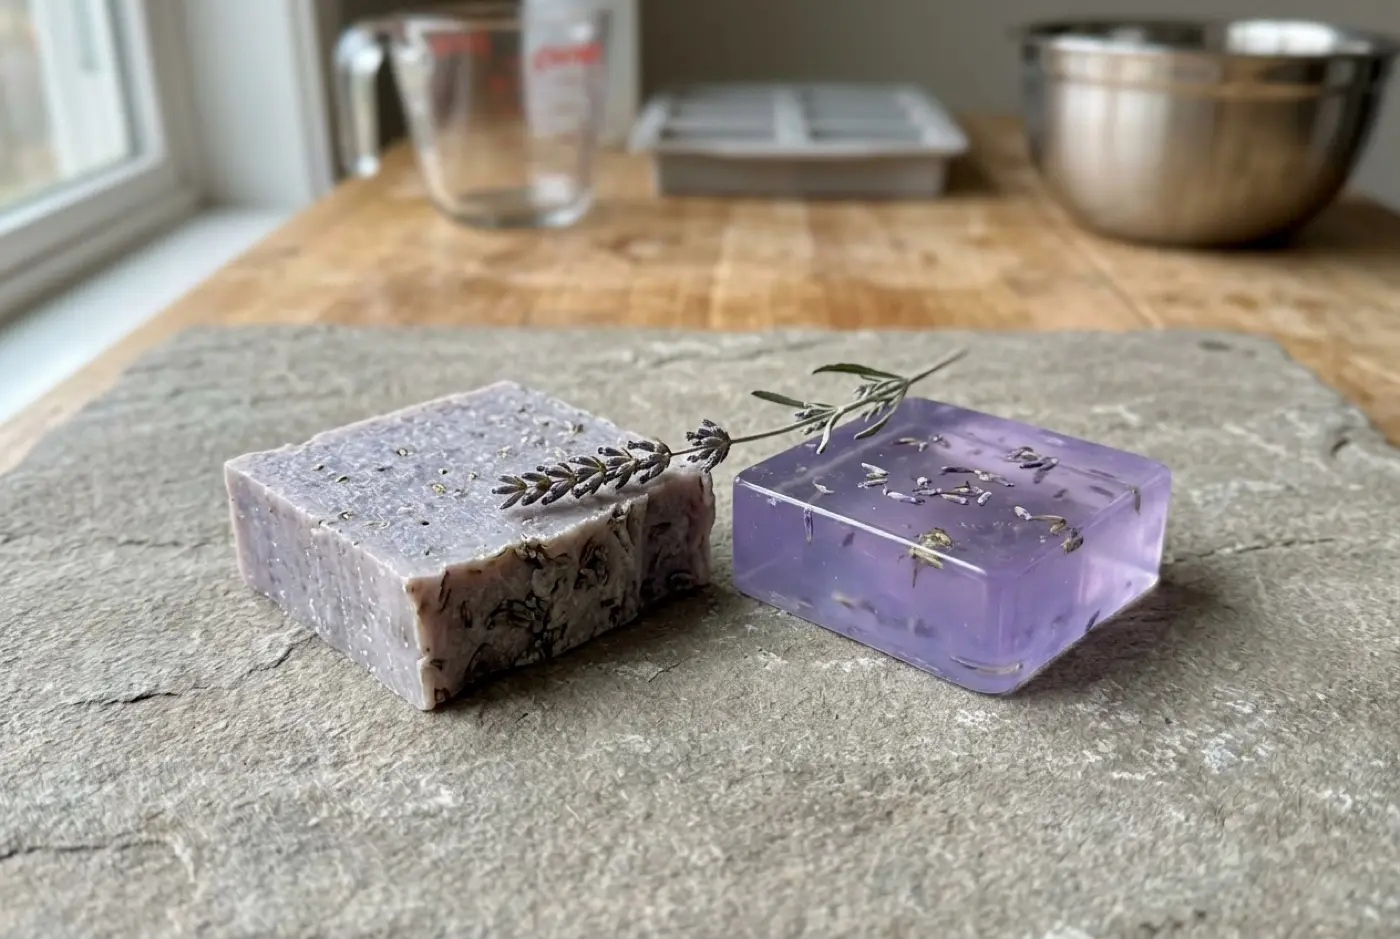
In the cold process vs melt and pour decision, the short answer is this: start with melt and pour if you want finished soap this weekend with no lye in the house, and start with cold process if you want to choose your own oils and make soap from scratch. Both make real soap. Melt and pour is easier and faster; cold process gives you far more control but needs lye safety and a four to six week wait. The five questions below will usually settle it.
The difference in one paragraph each
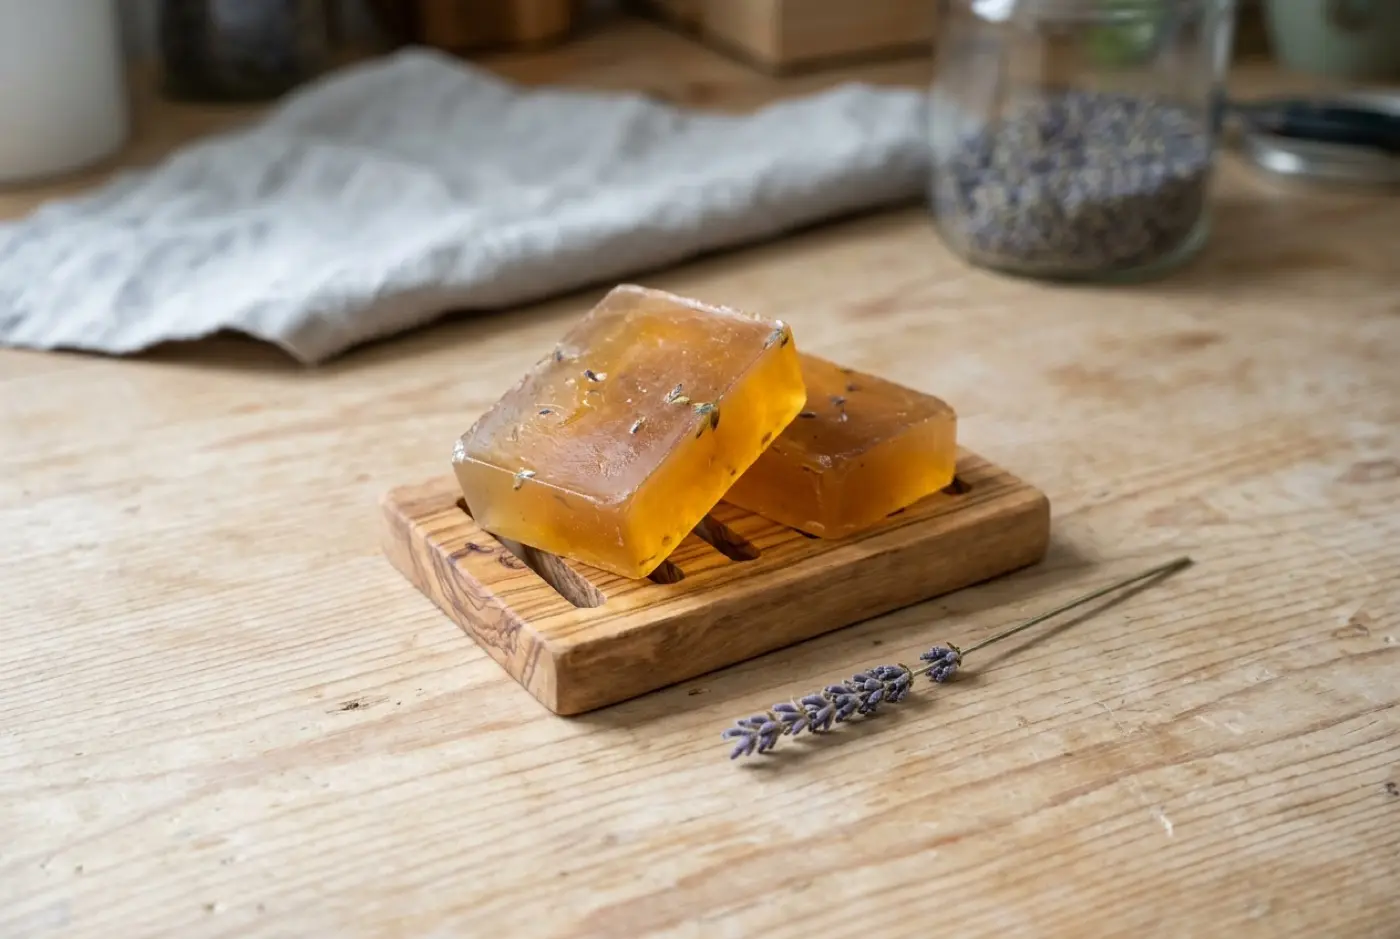
Melt and pour means buying a ready-made soap base, melting it, adding fragrance and color, and pouring it into molds. The chemistry was done at the factory, so you never handle lye. Bars harden in an hour or two and are ready to use as soon as they’ve set. See the melt and pour guide.
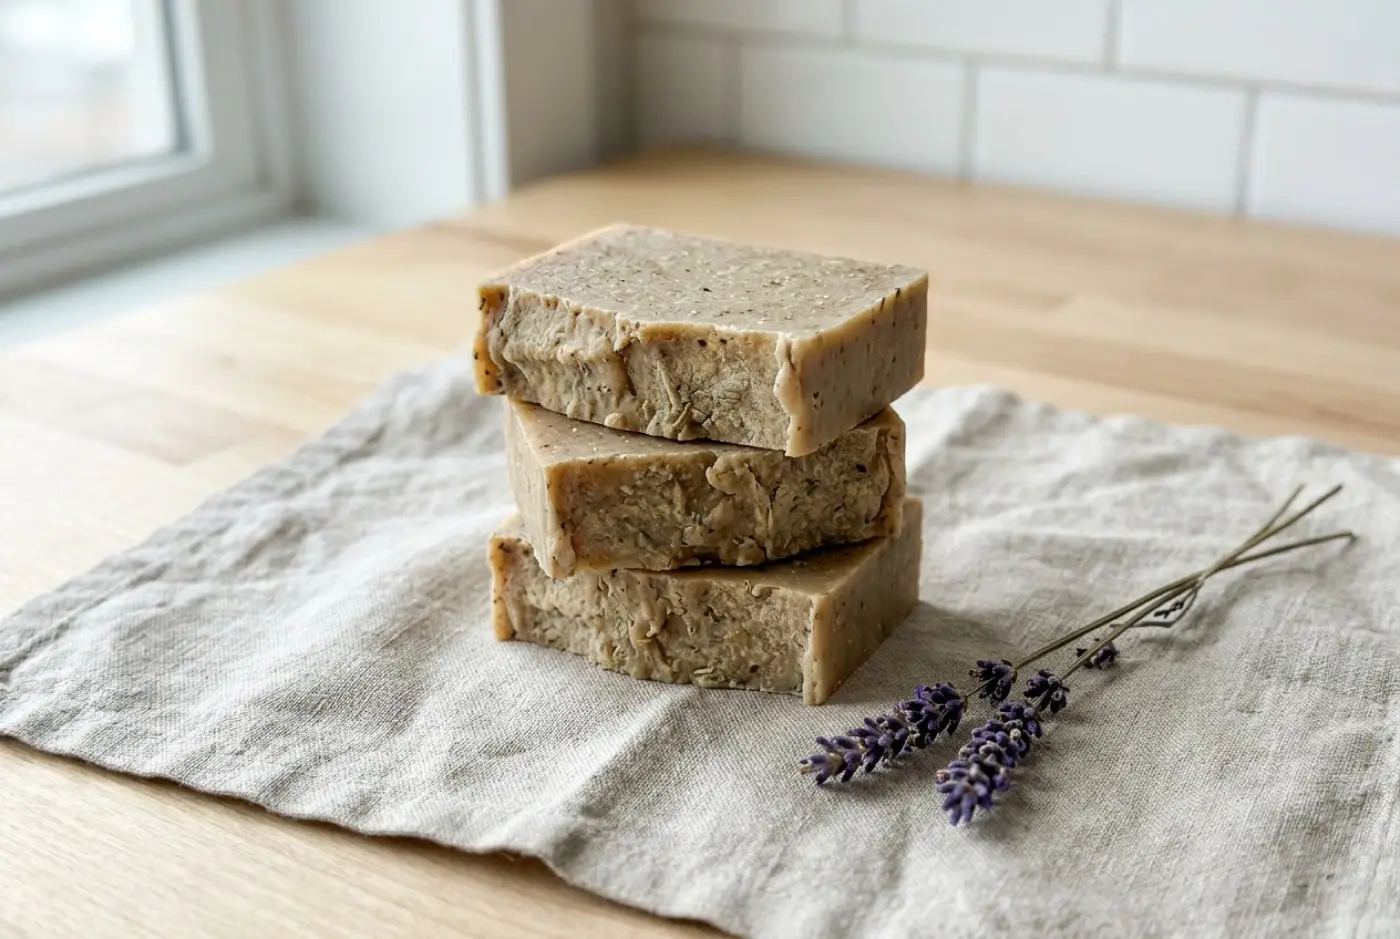
Cold process means making soap from scratch: you dissolve lye in water, blend it with oils you chose, pour, and let the reaction finish in the mold. You control every ingredient, and bars need about four to six weeks to cure before they’re at their best. See the cold process guide.
Five questions to decide
Answer these honestly. If most of your answers point one way, start there.
1. Are there small children or pets who can’t be kept out of the room? Cold process means an hour or so of working with an open container of caustic lye solution and caustic batter. If you can’t guarantee a clear room, start with melt and pour. You can move to cold process later, when you can.
2. Do you need the soap soon? Gifts next weekend, a party favor, a craft fair in a fortnight: that’s melt and pour. Cold process bars can technically be used once they’ve fully saponified, but they’re harsher and softer until they’ve cured for weeks.
3. Do you care which oils are in the bar? If you want a palm-free bar, a tallow bar, a castile bar or a soap with your own goat milk, you need cold process. Melt and pour lets you add a few extras, but the base recipe is set by the manufacturer.
4. Is design the fun part for you, or the chemistry? Melt and pour is great for crisp layers, clear soaps with objects inside, embeds and bright colors. Cold process is better for swirls and that classic handmade loaf look, and it’s where you learn how oils, lye and water behave.
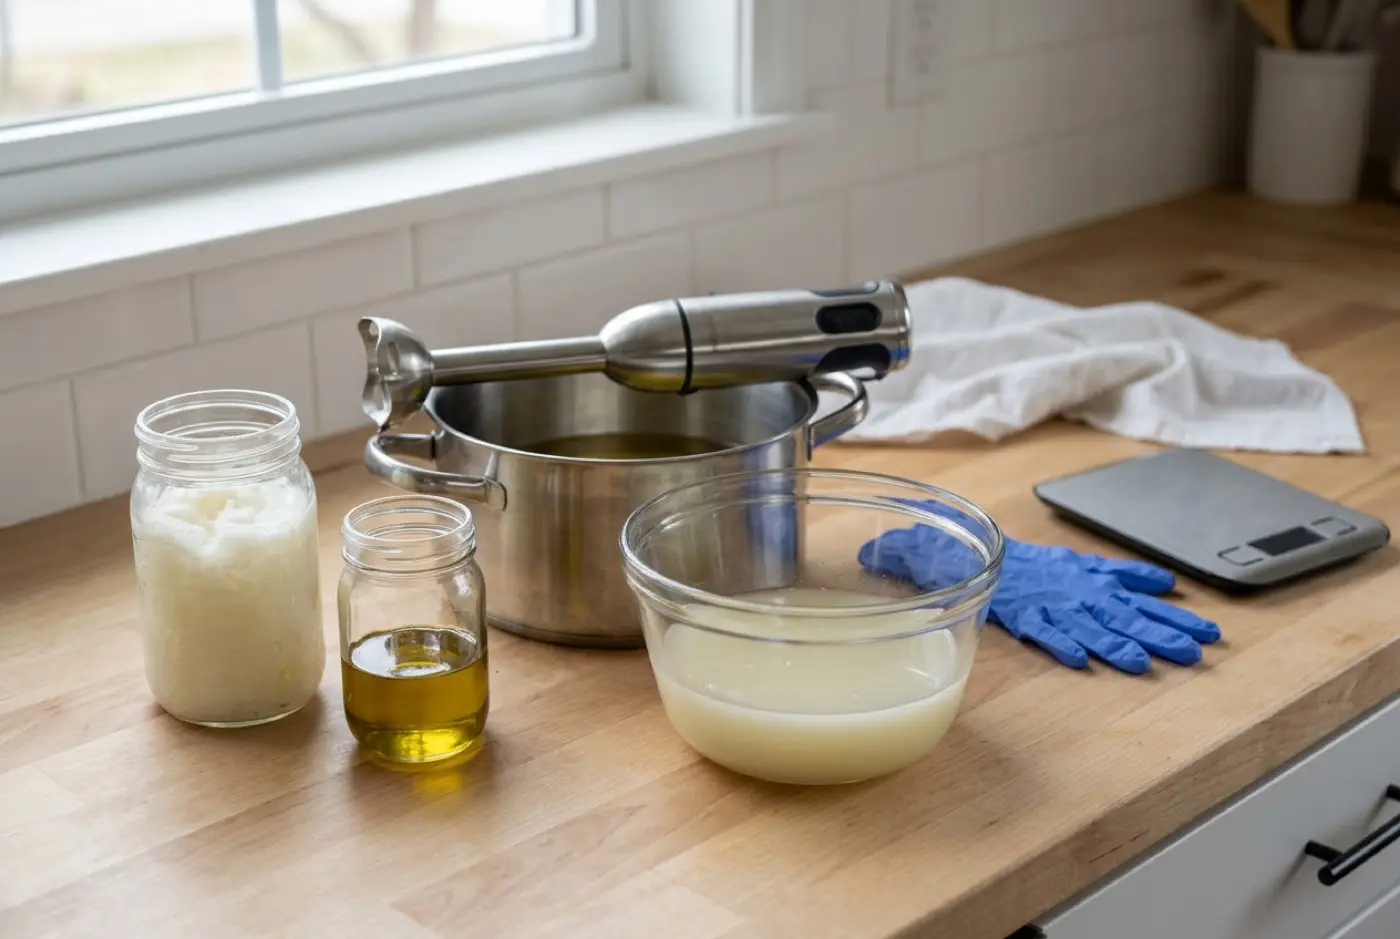
5. How much do you want to spend up front? Melt and pour needs very little equipment: a microwave-safe jug, a mold, a spray bottle, the base. Cold process adds goggles, gloves, a stick blender, a heat-safe lye pitcher and several oils. Per bar, cold process ingredients usually cost less, but the starting outlay is higher.
Side by side
| Melt and pour | Cold process | |
|---|---|---|
| Lye handling | None | Yes, every batch |
| Hands-on time | Under an hour | About 1–2 hours with setup and cleanup |
| Ready to use | Once set, usually same day | After a 4–6 week cure |
| Control over oils | Choose a base type only | Every oil, every percentage |
| Equipment to start | Minimal | Safety gear, scale, stick blender, lye pitcher, mold |
| Best for designs | Layers, embeds, clear soaps, bright colors | Swirls, textured tops, rustic and natural looks |
| Main headaches | Bubbles, sweating, layers separating | Trace speed, overheating, fragrance misbehaving |
| What it teaches | Fragrance, color, molds, design | Lye safety, oils, trace, curing, recipe design |
What each one won’t teach you
This is the part most comparisons skip. Starting with one method builds some skills and not others.
Melt and pour won’t teach you lye handling, trace, how different oils change a bar, or curing. If you plan to make cold process soap eventually, you’ll still be a beginner on your first cold process batch, however many melt and pour bars you’ve made.
Cold process won’t teach you how to work with a base that sets in minutes, how to bond clear layers with alcohol, or how to keep embeds from melting. Those are melt and pour skills, and they’re tricky in their own way.
The good news: fragrance, color, molds and packaging carry over in both directions.
A first weekend with each
Melt and pour: a Saturday afternoon
- Cut a pound (about 450 g) of base into cubes.
- Melt it in the microwave in short bursts, stirring between each.
- Stir in a skin-safe fragrance at the supplier’s recommended rate and a pinch of mica.
- Pour into molds and spritz the surface with rubbing alcohol to pop bubbles.
- Unmold in an hour or two, wrap the bars in plastic wrap, and you’re done.
The melt and pour guide has a full starter recipe with weights.
Cold process: one evening, then a wait
- Check a simple recipe, like our three-oil beginner soap, in the lye calculator.
- Gear up, weigh everything, and make the lye solution (lye into water, never the reverse).
- Melt the oils, let both cool, combine and stick blend to trace.
- Pour, cover and leave for a day or two.
- Cut the loaf and let the bars cure for four to six weeks.
Your first batch covers every step.
If you start with melt and pour
Make three or four batches, then try something that stretches you: clean layers, a soap with an embed, or a two-color design. Read soap making safety and soap making 101 while you do, so cold process doesn’t feel like a leap when you get there.
If you start with cold process
Keep the first batch plain: no fragrance, no color, a forgiving recipe, ingredients at moderate temperature. Read 10 mistakes beginners make first. Once you’ve cut a loaf you’re happy with, add one variable at a time: a tested fragrance, then a colorant, then a simple swirl.
Weighing up hot process as well? Soap making methods compared puts all the methods in one table.
FAQ
Is melt and pour real soap?
Yes. Melt and pour base is soap that was made with lye in a factory, then formulated to melt cleanly. Some bases also contain added detergents, so read the ingredient list if that matters to you.
Is cold process soap better than melt and pour?
Neither is better overall. Cold process gives you control over every oil and a traditional bar; melt and pour is faster, safer to start with and great for designs. Which suits you depends on what you want to make.
Can I sell melt and pour soap?
Yes, many small businesses do. The same labeling rules apply as for any soap you sell. See our labeling guide before you start.
Should I learn melt and pour before cold process?
You don't have to. Melt and pour teaches fragrance, color and mold skills, but not lye handling or trace. If cold process is your goal, you can start there with a simple recipe.
Comments
No comments yet. Made this recipe? Be the first to say how it went.