Melt and Pour Soap: A Complete Guide for Beginners
Melt and pour soap means melting a ready-made base, adding scent and color, and pouring it into molds. Choosing a base, temperatures, layers, sweating and a starter recipe.
On this page
Melt and pour soap is the fastest way to make your own bars: you melt a ready-made soap base, stir in fragrance and color, pour it into molds, and unmold it an hour or two later. There’s no lye to handle and no cure, so it’s the safest place for beginners and kids (with an adult on the stove) to start. What you trade away is control over the oils, which the base manufacturer has already chosen.
What melt and pour is, and who it’s for
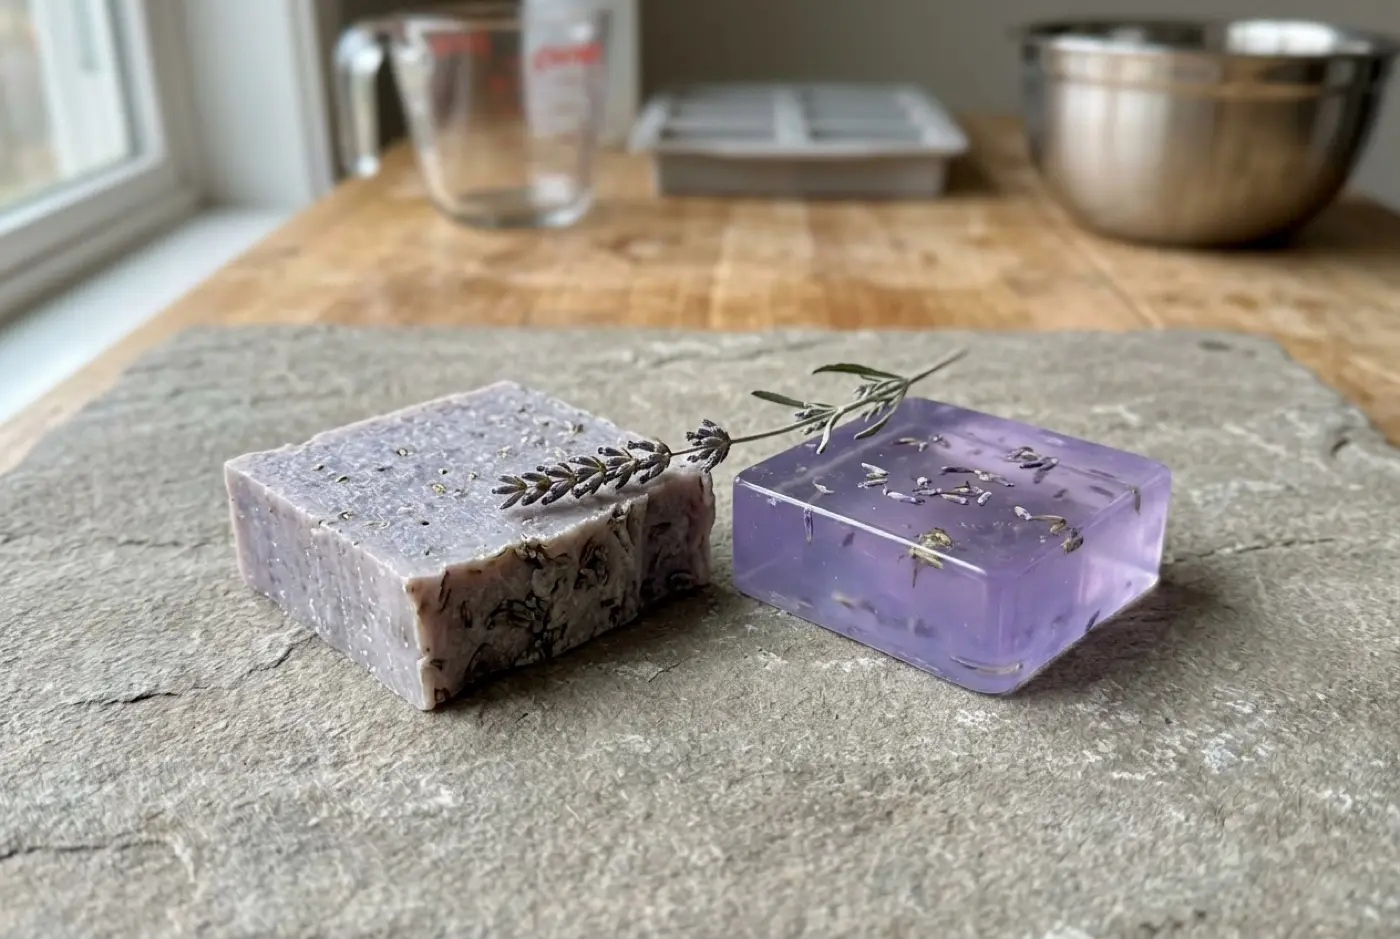
A melt and pour base is soap that was made from oils and lye in a factory, with ingredients such as extra glycerin added so it melts into a smooth liquid and sets again cleanly. You’re not making soap from scratch; you’re designing with soap that already exists.
That makes melt and pour a good fit for:
- First-timers who want finished soap today without lye in the house.
- Gift and party makers who need a batch this week, not in six weeks.
- Designers who want crisp layers, clear windows, embedded objects and bright, predictable colors.
- Teaching kids, with an adult doing the melting and pouring.
It’s less satisfying if you want to choose every oil, make a castile or tallow bar, or learn how soap chemistry works. For that, see cold process soap.
A note on “lye-free”
You’ll see melt and pour sold as lye-free soap. That’s true of your kitchen, not of the soap: the base was made with lye, like every true soap. By the time you buy it, the lye has fully reacted and none is left. Soap without lye explains why there’s no way around that step.
Pros and cons vs other methods
Best for Beginners, gift makers and anyone who wants finished bars the same day without handling lye.
Pros
- + No lye to handle
- + Ready the same day; no cure
- + Very little equipment needed
- + Crisp layers, clear soap and embeds are easy
Cons
- − You cannot choose the oils in the base
- − Higher cost per bar than from-scratch soap
- − Bars can sweat in humid air
- − Overheating ruins the texture
Compare every method in soap making methods compared, or see cold process vs melt and pour for a beginner’s decision guide.
Choosing a base
The base decides how the bar feels, looks and behaves. Most suppliers sell several:
| Base | Looks like | Good for | Watch for |
|---|---|---|---|
| Clear (glycerin) | Transparent | Embeds, jewel-bright colors, layers you can see through | Sweats most readily in humid air |
| White | Opaque white | Pastel colors, a classic bar look | Colors look softer than in clear |
| Goat milk | Creamy, off-white | Simple, milky-looking bars | Off-white tint shifts colors |
| Shea butter or other butter bases | Opaque, creamy | A richer-feeling bar | Can be softer; read the supplier’s notes |
| Low-sweat or “suspension” bases | Clear or white | Humid climates; suspension bases hold additives like exfoliants in place | Usually cost a bit more |
Read the ingredient list. Some bases are made only from saponified oils, glycerin and water; others also include synthetic detergents to boost lather or clarity. Neither is wrong, but it’s worth knowing which one you’re buying, especially if you plan to sell. See soap labeling requirements before labeling anything.
Equipment and ingredients
- Melt and pour base, about 450 g (1 lb) for a first batch.
- Microwave-safe jug with a spout (a heat-safe measuring jug works well), or a double boiler.
- Knife and cutting board for cubing the base.
- Digital scale for fragrance and base.
- Silicone spatula or spoon for stirring.
- Molds: silicone molds are easiest to unmold. Rigid plastic molds made for soap work well too.
- Spray bottle of rubbing alcohol (isopropyl, high strength, often sold as 91% or 99%) to pop surface bubbles and help layers stick.
- Fragrance oil or essential oil rated as skin-safe for soap. See fragrance oils vs essential oils.
- Colorants made for melt and pour: micas, color blocks or liquid soap dyes. Some colorants bleed between layers; check the supplier’s notes.
- Plastic wrap for wrapping finished bars.
The walkthrough
1. Cut the base
Cut the base into small, similar-sized cubes, roughly 2–3 cm (about 1 inch). Even cubes melt evenly, which means less time in the microwave and less risk of hot spots.
2. Melt gently
Microwave in short bursts, starting with around 30 seconds and shortening the bursts as it melts, stirring between each one. Or melt it in a double boiler over low heat. Stop when only a few small pieces remain and let the residual heat melt them as you stir.
Don’t let the base boil. Overheated base loses water, turns thick and rubbery, and can develop a skin and a burnt smell. Many suppliers recommend keeping it below about 160°F (71°C); check yours.
3. Add fragrance and color
Let the base cool for a minute or two, then stir in your fragrance gently, without whipping in air. Use the supplier’s recommended rate for melt and pour, which is often around 3% of the base weight for fragrance oils. Essential oils have their own maximums; see the essential oil usage chart. Add colorant a little at a time until you like the shade.
4. Pour into molds
Pour slowly and low, close to the mold, to avoid bubbles. Immediately spritz the surface with rubbing alcohol to pop any bubbles that rise.
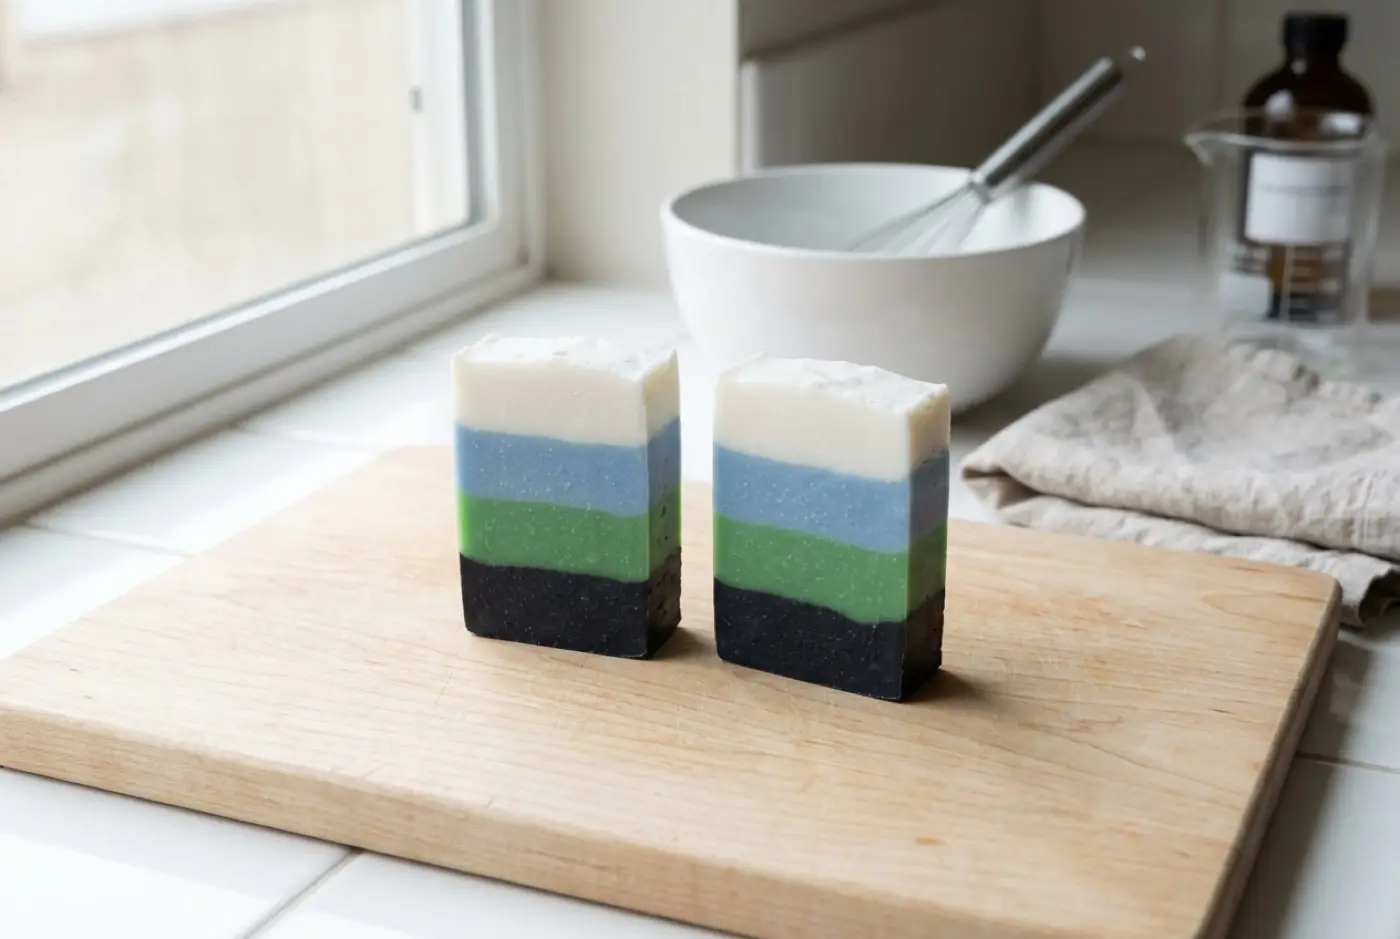
For layers, pour the first layer, let it set until a skin forms that holds when you press lightly, spritz it with alcohol, then pour the next layer. The next layer should be warm enough to bond but not so hot it melts through, often around 120–130°F (49–54°C). Our layered soap guide covers this in detail.
5. Let it set
Leave the soap at room temperature until it’s firm all the way through, usually an hour or two for small molds and longer for loaves. A short spell in the fridge can speed things up, but don’t freeze it for long; condensation can form when it comes out.
6. Unmold and wrap
Pop the bars out of the mold and wrap each one tightly in plastic wrap straight away. Melt and pour doesn’t need to cure, and leaving it unwrapped is the quickest way to get sweating.
Temperature at a glance
Melt and pour is forgiving, but temperature decides most of what goes right or wrong. The exact numbers vary by brand, so treat these as a starting point and check your supplier’s sheet.
| Stage | Rough temperature | Why it matters |
|---|---|---|
| Melting | Until just liquid; keep below about 160°F (71°C) | Hotter evaporates water and makes the base rubbery |
| Adding fragrance | A little after melting, once it has stopped steaming | Less scent lost to the heat |
| Pouring a single color | Shortly after mixing, while still fluid | Fewer bubbles and a smooth top |
| Pouring a layer onto set soap | Around 120–130°F (49–54°C) | Hot enough to bond, cool enough not to melt through |
| Pouring around embeds | At the cooler end of your base’s pour range | Keeps embeds from melting or blurring |
| Suspending additives | Cooler and thicker, stirring until it starts to thicken | Stops oats and exfoliants sinking |
An instant-read or infrared thermometer is worth having once you start layering.
Glycerin dew: why bars sweat and how to stop it
The extra glycerin that makes melt and pour melt so nicely also pulls water out of the air. In a humid room, bars can grow beads of moisture within hours. This is often called glycerin dew or sweating. It’s harmless, but it looks like the soap is leaking.
To prevent it:
- Wrap bars tightly in plastic wrap or shrink wrap as soon as they’re set.
- Store them in a cool, dry place, away from kitchens and bathrooms.
- Use a dehumidifier or a fan in a humid workspace.
- Try a base sold as low-sweat.
If bars have already sweated, pat them dry and wrap them. A gentle fan helps. Sweating soap has more.
Common mistakes
- Overheating the base. Rubbery texture, a skin on top, and a scorched smell. Melt in short bursts.
- Pouring layers too hot. The new layer melts into the one below. Let it cool a little.
- Skipping the alcohol spritz between layers. Layers separate later. Spritz every time.
- Adding too much fragrance. It can sweat out of the bar or make it soft. Stick to the supplier’s rate.
- Using food coloring or fresh ingredients. Food dye often bleeds and fades; fresh fruit and fresh milk can spoil inside the bar.
- Adding heavy extras to a regular base. Oatmeal, seeds and exfoliants sink to the bottom. Use a suspension base or pour at a thicker, cooler stage.
- Leaving bars unwrapped. See glycerin dew above.
Remelting and cleanup
Leftover base, offcuts and failed pours can go back in the jug and be remelted, though each remelt drives off a little more water and fragrance. Add a teaspoon of distilled water if the remelted soap seems thick, and use remelts for practice pours or embeds rather than your best bars.
Cleanup is just soap and hot water. Let leftover drips harden first, then peel them out of the jug.
If you plan to sell your bars, use the base’s full ingredient list on your labels and read soap labeling requirements; the rules apply to melt and pour as much as to any other soap.
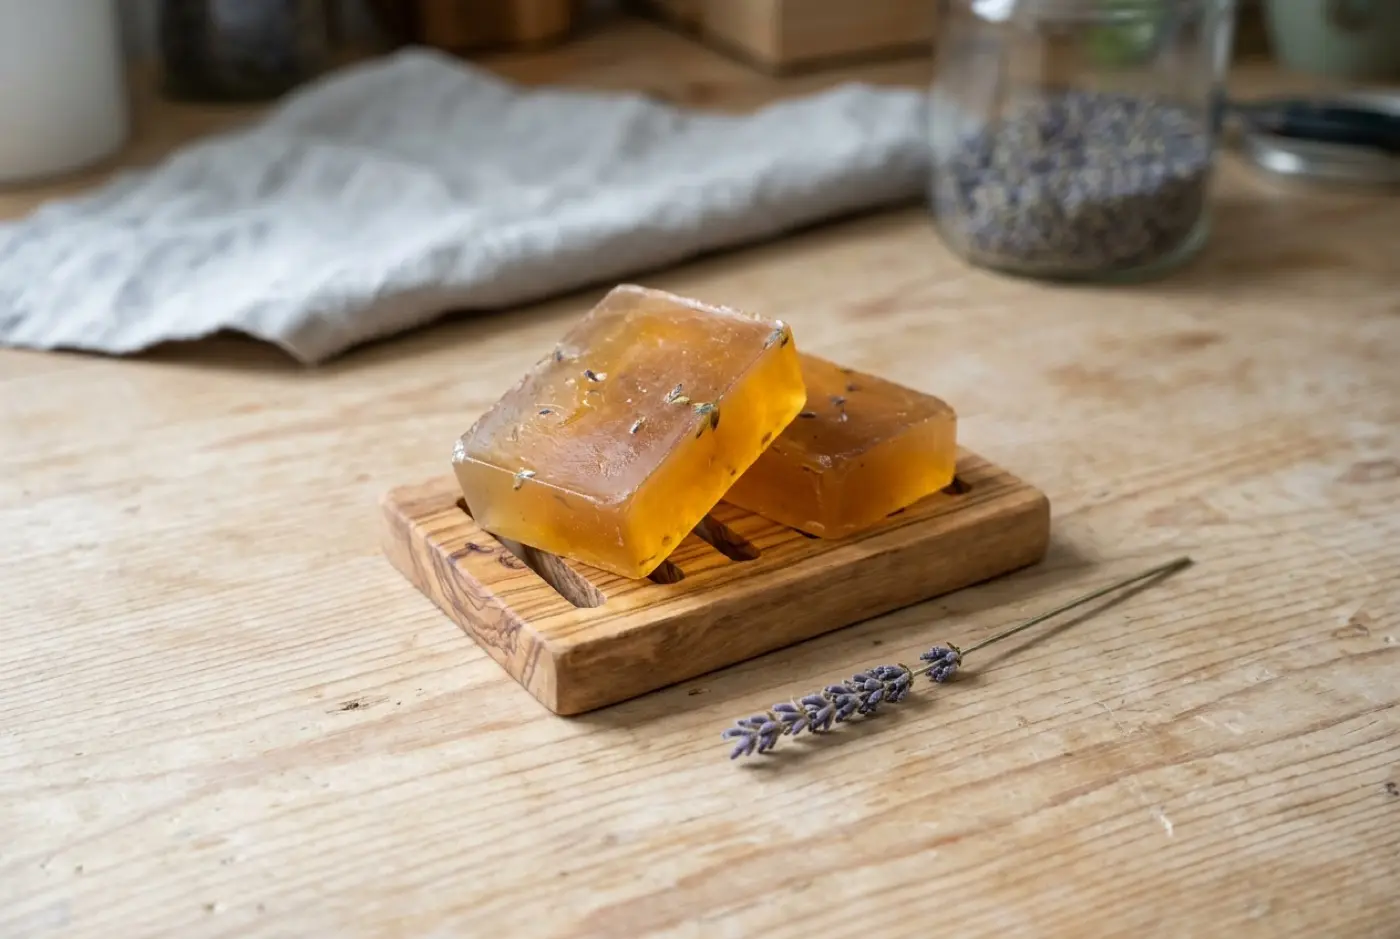
A starter recipe: simple lavender bars
This makes four to five bars, depending on your mold size.
| Ingredient | Amount |
|---|---|
| White or goat milk melt and pour base | 450 g (about 1 lb) |
| Lavender essential oil or a skin-safe lavender fragrance oil | At your supplier’s maximum for melt and pour (about 13.5 g at 3%) |
| Purple mica | A small pinch, about 1/8 teaspoon, dispersed in a few drops of rubbing alcohol |
| Dried lavender buds (optional) | A small pinch, sprinkled on top only |
- Cube and melt the base following the walkthrough above.
- Let it cool for a minute, then stir in the dispersed mica and the lavender.
- Pour into molds and spritz with alcohol.
- Sprinkle a few buds on top while it’s still liquid, and spritz again so they stick.
- Unmold when firm and wrap.
Keep the buds on top: in the bar itself, dried lavender tends to turn brown.
Next steps
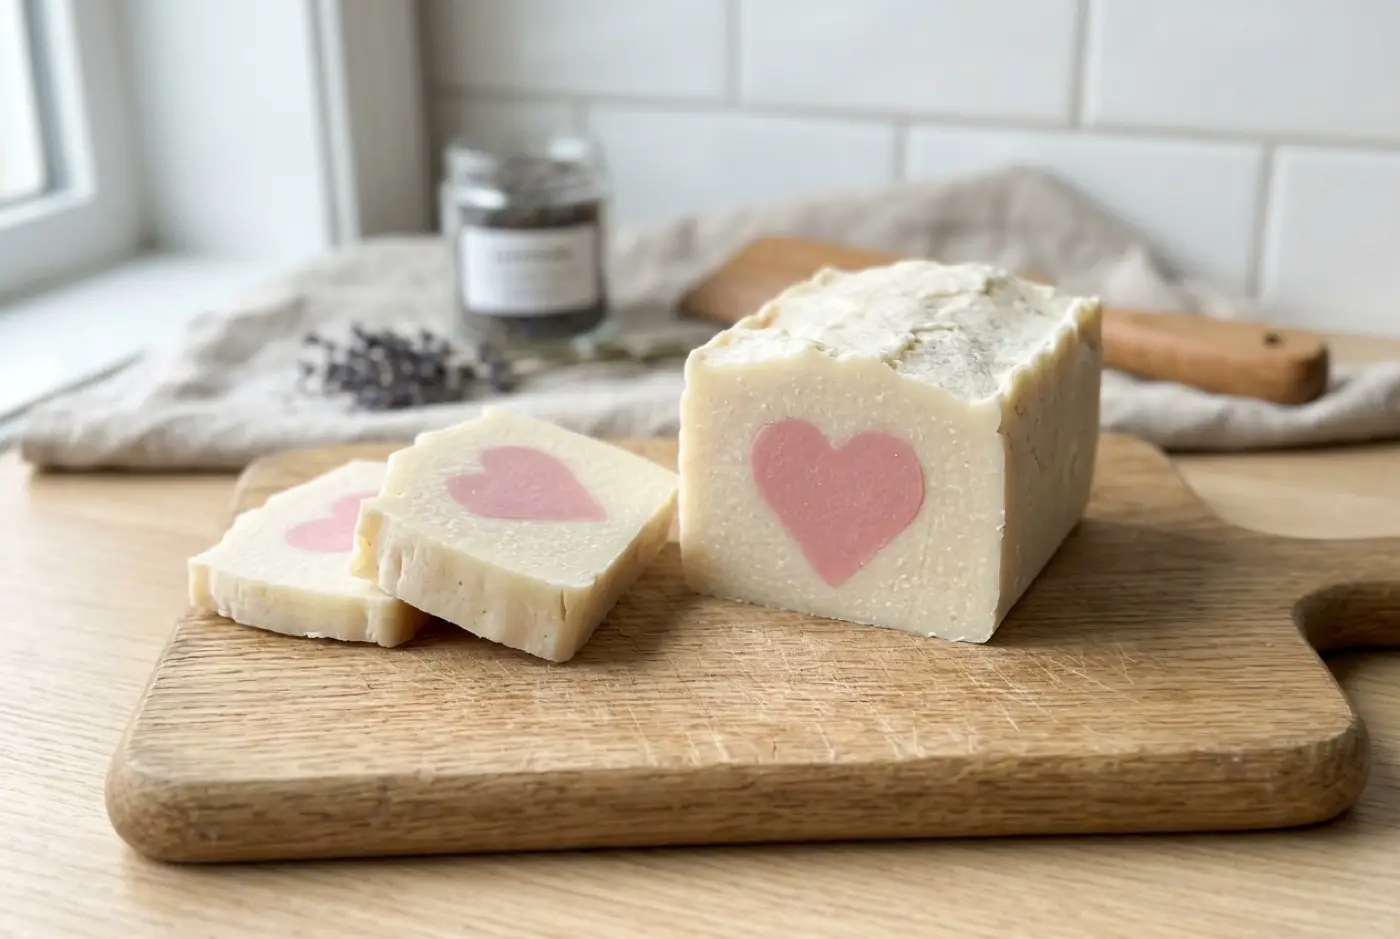
- Try soap embeds: small shapes set inside a larger bar.
- Learn clean, straight layers.
- Read up on natural soap colorants and essential oils for soap.
- When you’re ready to make soap from oils, read soap making safety and then your first batch.
FAQ
Is melt and pour soap real soap?
Yes. The base was made with lye and oils in a factory, then formulated so it melts smoothly. No lye remains in it. Some bases also contain synthetic detergents alongside the soap, so check the ingredient list if you want a pure soap base.
Why is my melt and pour soap sweating?
Glycerin in the base pulls moisture out of humid air and it beads on the surface. Wrap bars tightly as soon as they're set, store them somewhere dry, or use a low-sweat base.
Can I add fresh ingredients like fruit or milk to melt and pour soap?
It's best not to. Fresh foods, juices and fresh milk can spoil inside the bar. Use powders, dried botanicals in small amounts, or products sold for melt and pour.
How long does melt and pour soap last?
Wrapped and stored somewhere cool and dry, it keeps well for a long time. Many suppliers suggest using it within a year or two for the best scent and appearance; check your base's guidance.
Comments
No comments yet. Made this recipe? Be the first to say how it went.