Soap Making Methods Compared: Melt and Pour vs Cold Process vs Hot Process
Soap making methods compared side by side. Time, cost, lye handling, control and cure for melt and pour, cold process, hot process, rebatch and liquid soap.
On this page
There are five main soap making methods: melt and pour, cold process, hot process, rebatching and liquid soap. Melt and pour is the fastest and needs no lye; cold process gives the most control over ingredients and design; hot process cooks the soap so it’s usable sooner; rebatching remelts existing soap; and liquid soap uses potassium hydroxide to make a paste you dilute. The table below compares them on time, cost, lye handling, control and cure, and the sections after it explain where each one shines.
The comparison table
| Melt and pour | Cold process | Hot process | Rebatch | Liquid soap | |
|---|---|---|---|---|---|
| Hands-on time | Under 1 hour | 1–2 hours | 2–3 hours | 1–2 hours | Several hours, mostly cooking |
| Lye handling | None | Yes (NaOH) | Yes (NaOH) | None (soap already made) | Yes (KOH) |
| Startup cost | Lowest | Moderate | Moderate, plus slow cooker | Low if you have soap to grate | Moderate, plus slow cooker |
| Cost per bar | Higher | Lower | Lower | Depends on the soap you start from | Low per bottle |
| Control over oils | Base type only | Full | Full | None (set by the original soap) | Full |
| Design options | Layers, embeds, clear soap | Swirls, layers, textured tops | Rustic textures, simple layers | Rustic, chunky | Color and scent only |
| Ready to use | Once set | After 4–6 week cure | Within days; better after 1–4 weeks | Once firm and dry | Once diluted and settled |
| Best for | First-timers, quick gifts, designs | Most handmade bars | Impatient makers, tricky additives | Rescuing batches, delicate additives | Hand soap, dish soap, refills |
Cost labels are relative, not prices: they depend on where you buy and how much at a time.
How the methods relate
It helps to see them as two families.
Making soap from oils and lye. Cold process, hot process and liquid soap all start with oils and lye and differ mostly in how much heat you add. Cold process lets the reaction’s own heat do the work. Hot process cooks the batter until saponification is finished. Liquid soap uses potassium hydroxide instead of sodium hydroxide and is cooked to a paste, then diluted.
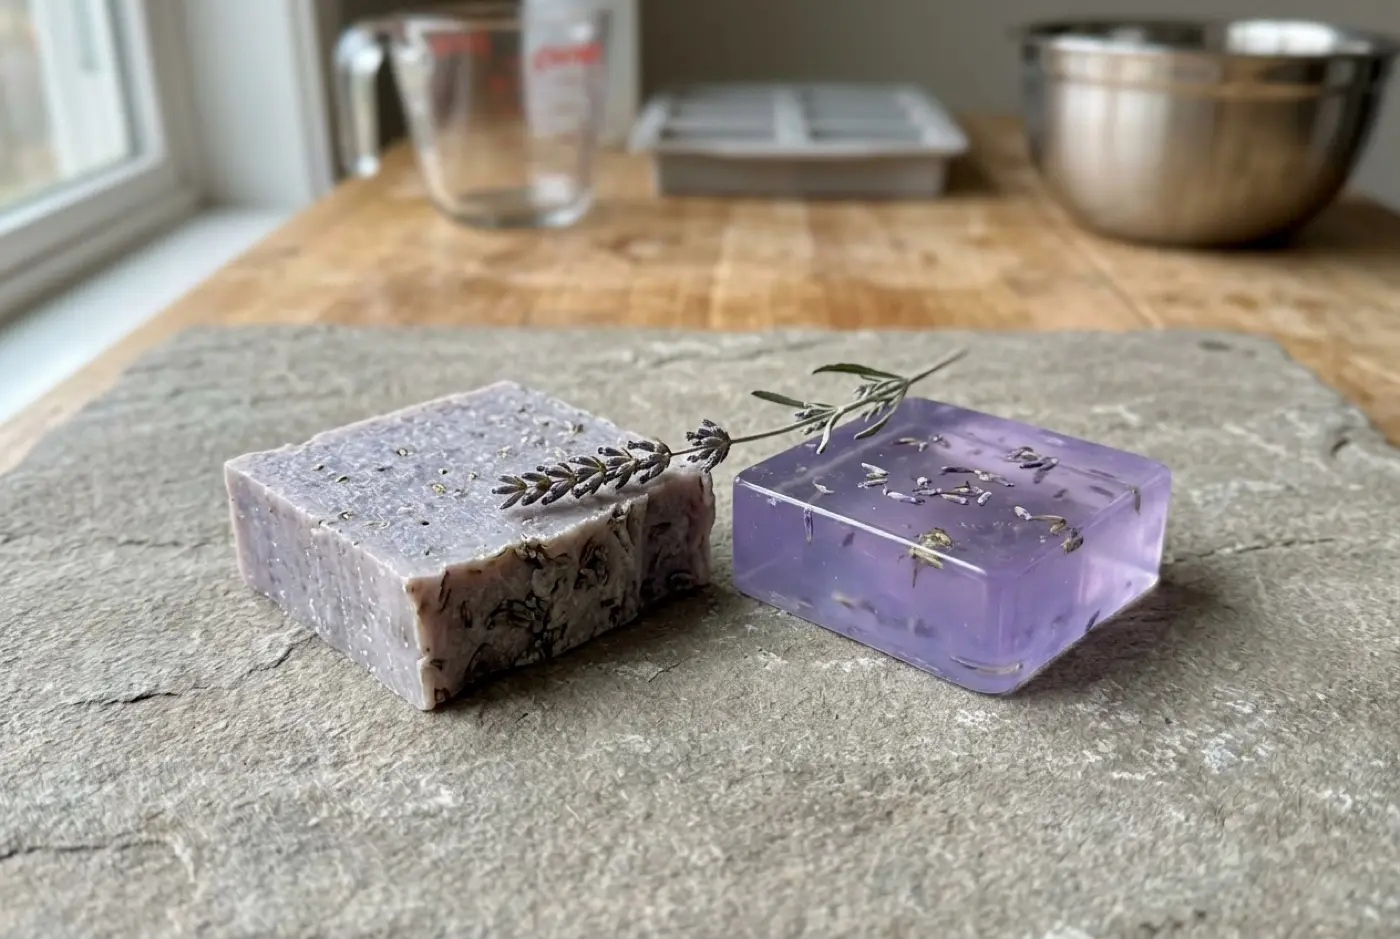
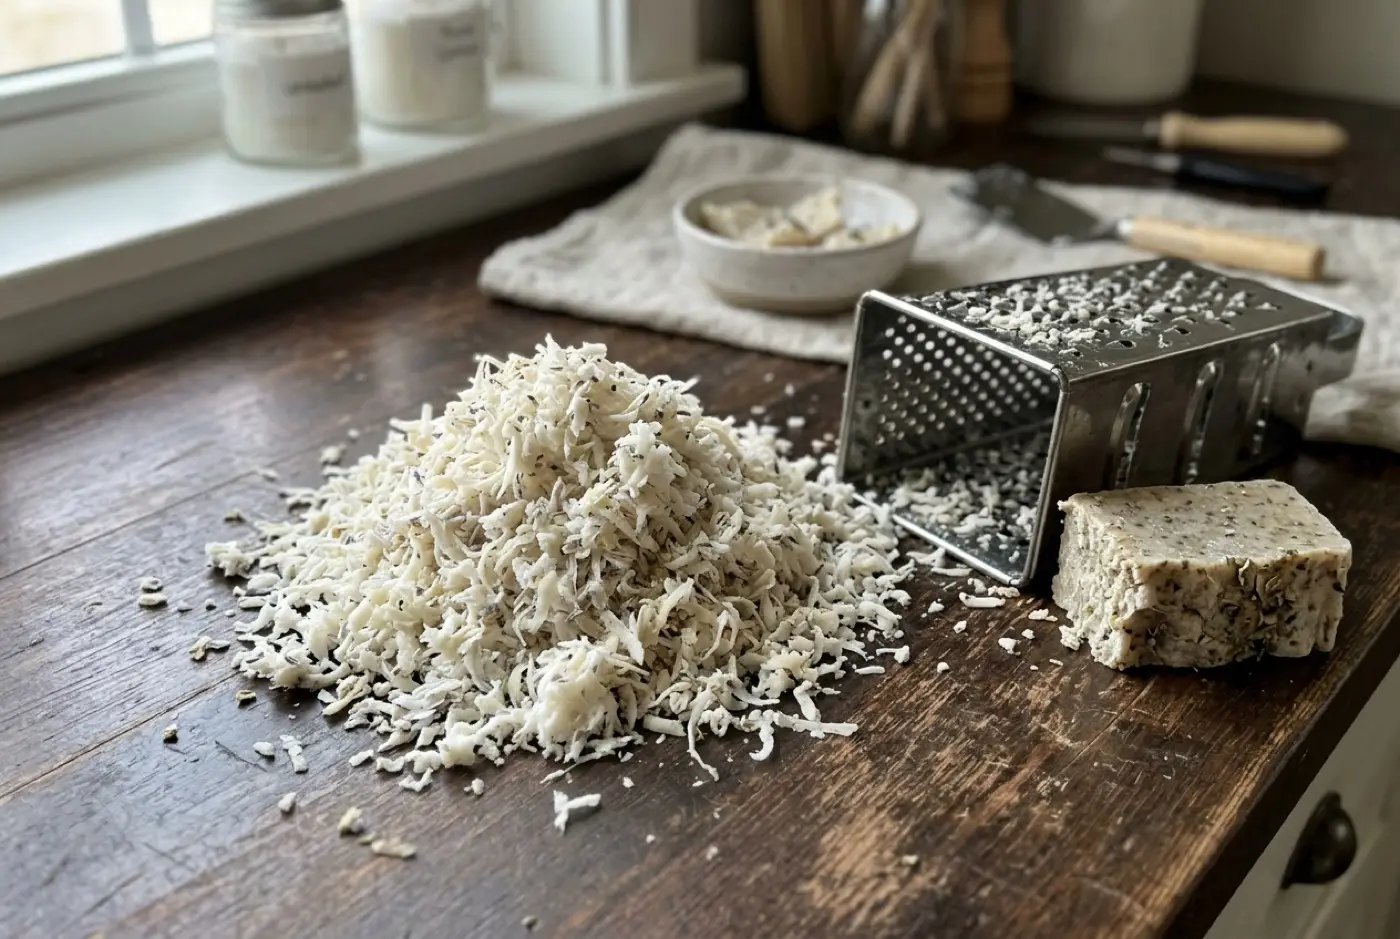
Working with finished soap. Melt and pour and rebatching start from soap that already exists. Melt and pour uses a commercial base designed to melt smoothly. Rebatching grates a cold or hot process soap and melts it with a little liquid, which gives a chunkier, rustic bar.
There are also variations of cold process that change the temperature, not the method: CPOP puts fresh soap in a warm oven to force gel phase, and room temperature soaping mixes everything cool for maximum working time.
The variations, compared
| Variation | Based on | What changes | Why you’d use it |
|---|---|---|---|
| CPOP | Cold process | Soap goes into a warm oven after pouring | Full gel, brighter colors, faster unmolding |
| Room temperature | Cold process | Lye solution and oils combined cool | More time for swirls, less overheating |
| Rebatch / hand milled | Finished soap | Grated and remelted with liquid | Rescue a batch, add delicate extras |
| Cream soap | Hot process and liquid soap | Two lyes, lots of stearic acid, weeks of rest | Scoopable, whipped soap in jars |
| Soap from scratch | Cold or hot process | You design the recipe yourself | Your own oils, budget or values |
Same recipe, made cold and hot
One way to understand the difference between the two main from-scratch methods: take the same recipe, such as our three-oil beginner soap, and make it both ways. The lye amount is identical.
| Made cold process | Made hot process | |
|---|---|---|
| Batter at pour | Fluid, like thin pudding | Thick, like mashed potatoes |
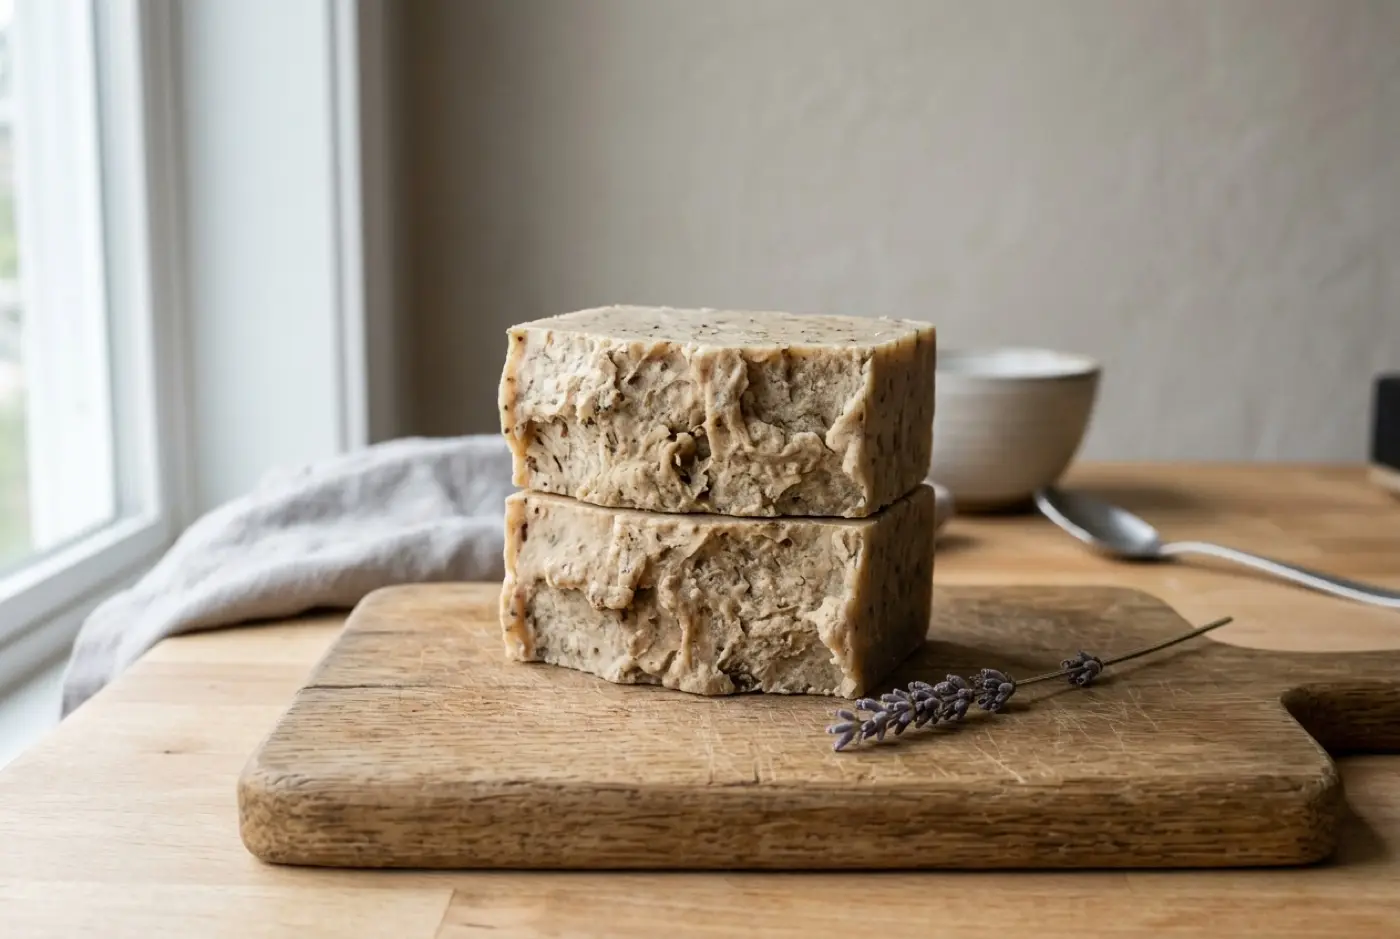
| Surface | Smooth, can be swirled or textured | Rough, rustic, hard to smooth |
| Color | Even, predictable; brighter if gelled | Often slightly translucent or mottled |
| Fragrance | Added at trace; some fragrances misbehave | Added after the cook; more forgiving of most fragrances |
| Unmold and cut | After 1–2 days | Often within a day of cooling |
| Cure | 4–6 weeks | Usable sooner, but a few weeks of cure still makes it harder and longer lasting |
Hot process needs more water than cold process to stay workable during the cook, which is part of why the batter ends up so thick: some of that water cooks off.
Choosing by what matters to you
If safety is the deciding factor, start with melt and pour. You’ll never have lye in the house. All the from-scratch methods involve handling caustic lye, and hot process adds the risk of burns from hot batter.
If you want soap soon, melt and pour is ready the same day, and hot process bars are usable within days. Cold process is the slowest.
If you want full control, cold process is the most flexible: every oil, every additive, the most design options. Hot process gives the same control over ingredients, just less over appearance.
If you want to make your own recipes, pick cold or hot process and learn to use the lye calculator. Soap from scratch covers designing a recipe.
If you want liquid hand soap, that’s its own method with its own lye. Expect it to take an afternoon of cooking and a bit of patience. See the liquid soap guide.
If you’re choosing your very first method, the real contest is usually cold process vs melt and pour. That page is a short decision guide for beginners.
Cure, explained once
“Cure” means different things across the table, so it’s worth spelling out.
In cold process soap, the main reaction is mostly done within a day or two, but the bars are still full of water and keep firming up. Over four to six weeks they dry out, get harder and milder, and last longer in the shower. That’s the curing period.
Hot process soap finishes saponifying in the pot, so it’s safe to use once it’s cool and firm. It still contains water, though, and most makers let it dry for at least a week or two so it doesn’t melt away quickly.
Melt and pour doesn’t need a cure. In fact, the opposite: wrap it once it’s set, because the glycerin in it pulls moisture out of the air.
Liquid soap doesn’t cure in the same sense, but many makers let it rest after diluting so that it clears and any cloudiness settles.
Methods we’d skip as a first project
- Liquid soap is cooking-heavy and harder to judge by eye. Make a few bars first.
- Cream soap uses two lyes at once and takes weeks of aging. It’s an advanced project.
- CPOP with milk, honey or sugar risks overheating. Learn plain CPOP first, if at all.
Ready to go further? Read soap making safety, then pick a method and its starter recipe.
FAQ
What are the main soap making methods?
Melt and pour, cold process, hot process, rebatching (hand milling), and liquid soap making. Cold process and hot process make soap from oils and lye; melt and pour and rebatching start from soap that already exists.
Which soap making method is easiest?
Melt and pour. There's no lye to handle and the bars are ready the same day. Cold process is the easiest from-scratch method.
Is hot process soap better than cold process?
Not better, different. Hot process is ready to use sooner and is more forgiving of some additives, but the bars look rustic and are harder to swirl. Cold process gives smoother bars and more design options in exchange for a longer cure.
Which method is cheapest?
Per bar, cold and hot process are usually cheapest because you buy oils in bulk. Melt and pour costs the least to start but more per bar, since you pay for the pre-made base.
Comments
No comments yet. Made this recipe? Be the first to say how it went.