Hot Process Soap: How to Make It, Step by Step
Hot process soap is cooked until saponification is complete, so bars are usable within days. Equipment, a slow cooker walkthrough, the cook stages and common mistakes.
On this page
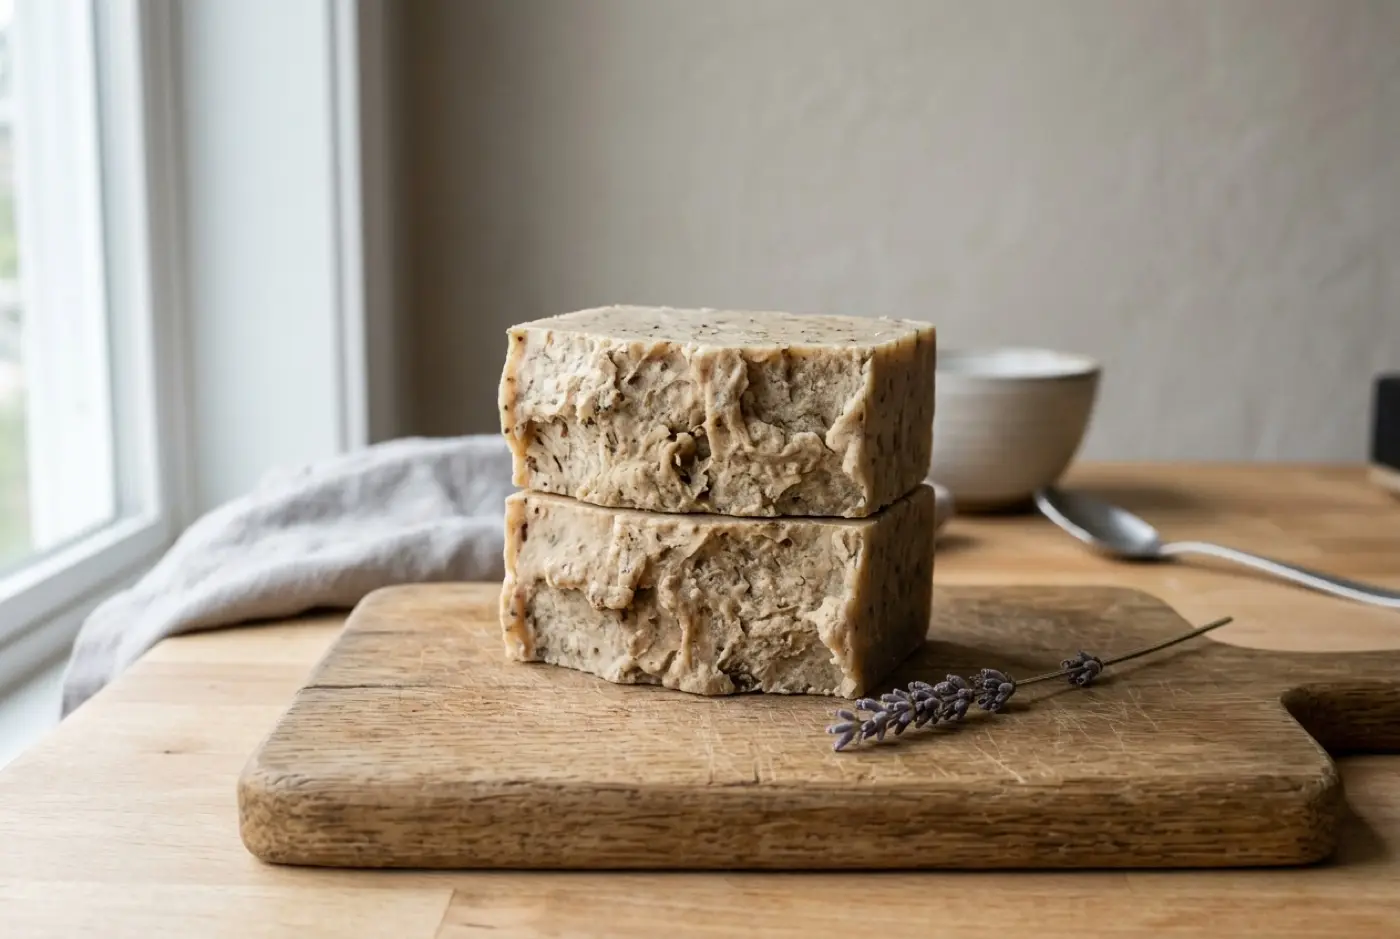
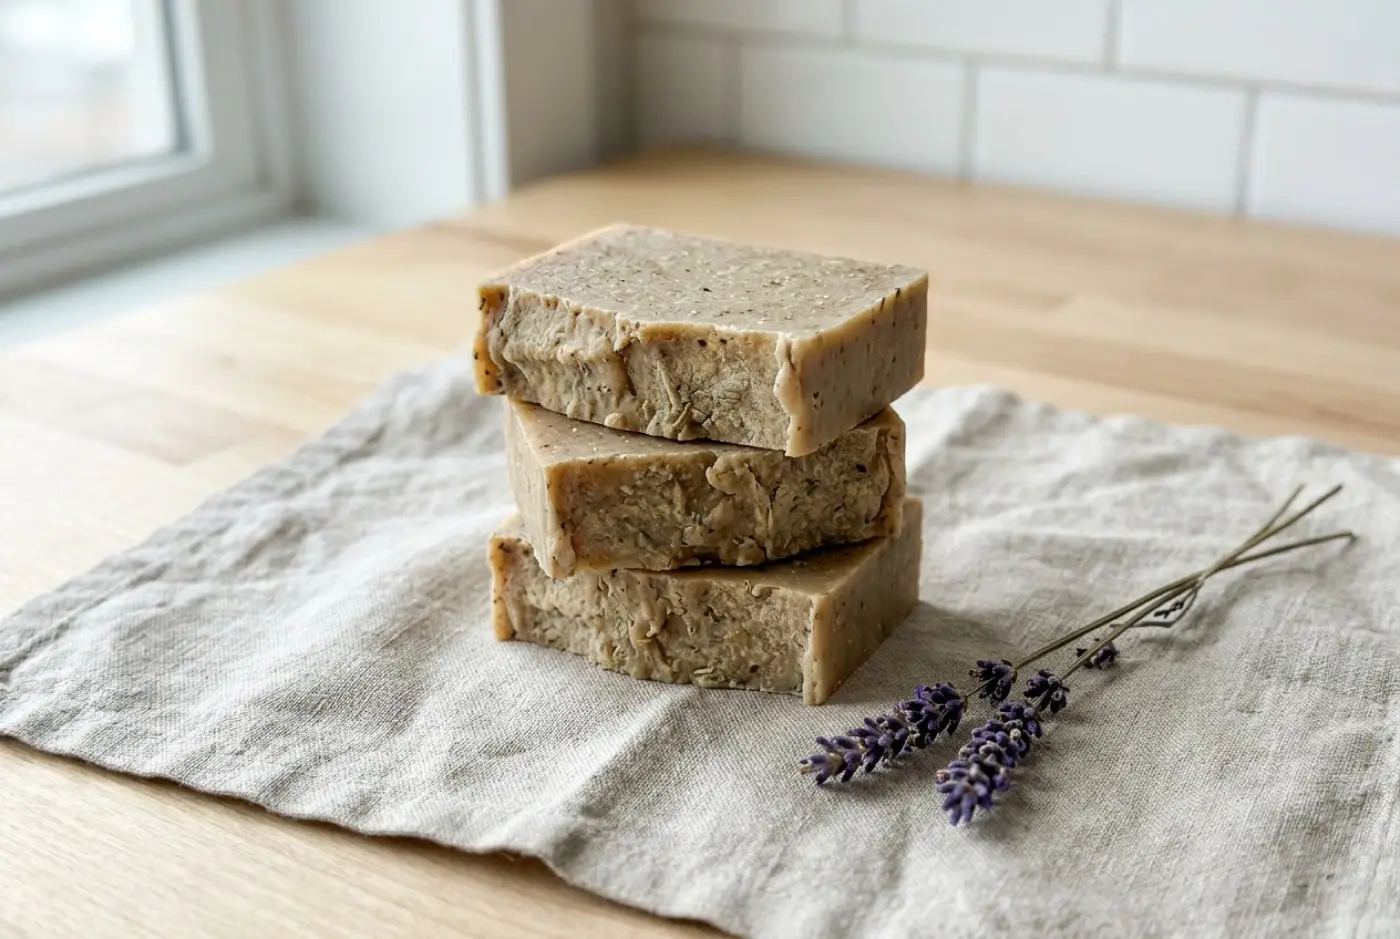
Hot process soap is soap you cook. You mix oils and lye exactly as you would for cold process, then heat the batter in a slow cooker until saponification is finished, and only then put it in the mold. The result is a bar that’s safe to use as soon as it’s cool, with a rustic, textured look. Plan two to three hours, a slow cooker you’ll keep for soap, and a week or more of drying for the best bar.
What hot process is, and who it’s for
Hot process uses the same ingredients and the same lye calculation as cold process. The difference is when the reaction finishes. In cold process, saponification continues for a day or two in the mold. In hot process, you add heat and drive it to completion in the pot, while you watch.
That makes it a good fit if you:
- Want soap you can use soon, without waiting weeks.
- Like a rustic, handmade look more than smooth swirls.
- Want to add fragrance after the reaction is done, which keeps some fussy fragrances under control.
- Enjoy hands-on cooking more than the precision of temperature matching.
It’s a poor fit if you want intricate swirls, very smooth tops, or the easiest possible first batch.
Pros and cons vs other methods
Best for Makers who want usable bars within days and like a rustic, textured finish.
Pros
- + Safe to use once cool and firm
- + Fragrance and additives go in after the cook, when they can do less harm
- + More forgiving of fragrances that speed trace in cold process
- + You can see the reaction finish before you mold
Cons
- − Hot, thick batter is harder to mold and burns if splashed
- − Rustic look; fine swirls are difficult
- − Needs a dedicated slow cooker
- − Bars still improve with one to four weeks of drying
For the full table, see soap making methods compared.
Equipment and ingredients
The usual cold process kit, plus a heat source:
- Slow cooker (crock pot) with a low setting, used only for soap from now on. A batch of 1,000 g of oils needs a cooker big enough that the batter fills it no more than about halfway, because hot process batter can rise.
- Splash goggles, nitrile gloves and long sleeves. Hot process adds a burn risk on top of lye risk.
- Digital scale in 1 g steps.
- Stick blender.
- Heat-safe lye pitcher, #5 PP plastic or stainless steel. Never aluminum.
- Sturdy silicone spatula for folding thick batter.
- Mold. A loaf mold is easiest. Have it ready before you start, because you’ll need to move fast.
- Ingredients: oils and butters, sodium hydroxide labeled 100% pure, distilled water, and optional fragrance and colorant.
Optional: plain unflavored yogurt, or sugar or sodium lactate dissolved in a little water, to help the cooked batter stay fluid.
The walkthrough
1. Weigh everything and make the lye solution
Gear up first. Weigh the oils, lye and water into separate labeled containers. In a ventilated spot, add the lye to the water, never the reverse, stirring until clear. It heats up quickly and gives off fumes for a minute; step back. Unlike cold process, you don’t need to wait for it to cool all the way, but a few minutes of cooling makes it less likely to splash.
2. Melt the oils in the slow cooker
Put the solid oils and butters in the slow cooker on low. When they’ve melted, add the liquid oils.
3. Blend to trace
Carefully pour the lye solution into the oils, keeping the pour low to avoid splashes. Stick blend in bursts until you reach a medium to thick trace. Because the oils are warm, this usually happens faster than in cold process.
4. Cook
Put the lid on and leave it on low. Every 10–15 minutes, lift the lid and fold the batter with the spatula, bringing the edges into the middle. Watch it closely, especially in the first half hour. What happens next is the part of hot process that only experience teaches, so the stages have their own section below.
5. Check that it’s done
The soap is done when it’s evenly translucent and waxy throughout, with no opaque, creamy patches and no pools of oil. On a typical batch, this takes somewhere between 45 minutes and an hour and a half on low.
6. Cool slightly and add extras
Turn off the cooker and let the soap cool for a few minutes, until it has stopped steaming hard. Then stir in fragrance, color and any fluidity aid. Mixing in fragrance while the soap is at its hottest drives off more of the scent.
7. Mold
Spoon or press the soap into the mold, working fast because it stiffens as it cools. Tap the mold firmly on the counter and press down with the spatula to drive out air pockets. Smooth or texture the top.
8. Unmold, cut and dry
Hot process soap is usually firm enough to unmold once it has cooled completely, often within a day. Cut it into bars. It’s safe to use now, but drying it on a rack for one to four weeks gives a harder bar that lasts longer.
Reading the cook: the stages
Every batch passes through the same rough sequence. Recipes, cookers and batch sizes change the timing, so learn the look rather than the minutes.
| Stage | What it looks like | What to do |
|---|---|---|
| Trace | Opaque, pudding-like, uniform color | Lid on, low heat |
| Applesauce | Edges turn translucent and start to rise up the sides; the middle stays opaque | Fold the edges into the center |
| Champagne bubbles or “volcano” risk | Batter puffs up, bubbles and climbs the sides | Stir it down; lift the pot off the heat briefly if it rises fast |
| Mashed potato | Thick, lumpy, partly translucent | Keep folding every 10–15 minutes |
| Vaseline | Evenly translucent, glossy and waxy, like petroleum jelly | It’s done; turn off the heat |
How do you know for sure it’s done?
Appearance is the main test: uniform translucency with no opaque streaks or oil. If your recipe was checked in a lye calculator with a normal superfat and the cook looks complete, the soap is done.
Some experienced makers also do a “zap test,” touching a cooled sample to the tongue to feel for a sharp zap that signals excess lye. It’s a traditional check, but we don’t recommend it to beginners. pH strips aren’t reliable for soap, because all soap is naturally alkaline.
Keeping it fluid enough to mold
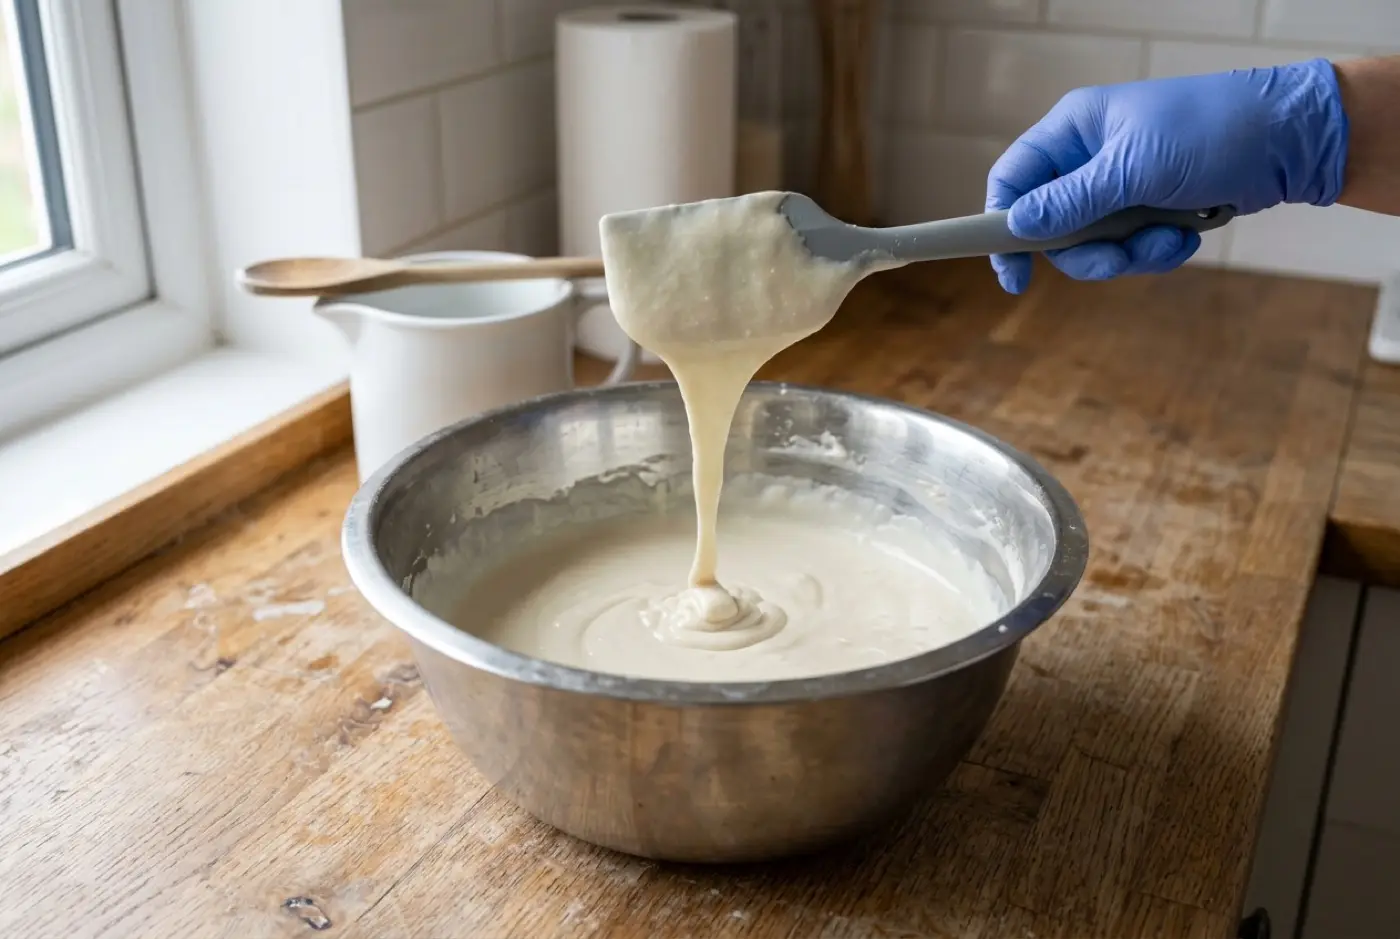
The most common hot process complaint is lumpy, airy bars. Thick batter traps air, and the more water cooks off, the stiffer it gets. Things that help:
- Start with more water. A lower lye concentration, around 25–30%, gives you more to lose.
- Keep the lid on between folds so less water escapes.
- Use a fluidity aid after the cook. Plain unflavored yogurt, or sugar or sodium lactate dissolved in a little water, can loosen the batter. Use small amounts and stir in thoroughly.
- Work fast. Have the mold lined and ready, the fragrance weighed out, and everything within reach before you turn off the heat.
- Bang and press. Tap the mold hard on the counter several times and press the soap down to collapse air pockets.
Color and design in hot process
Hot process batter is too thick for the fine swirls you see in cold process, but it isn’t stuck with plain loaves. A few approaches work well:
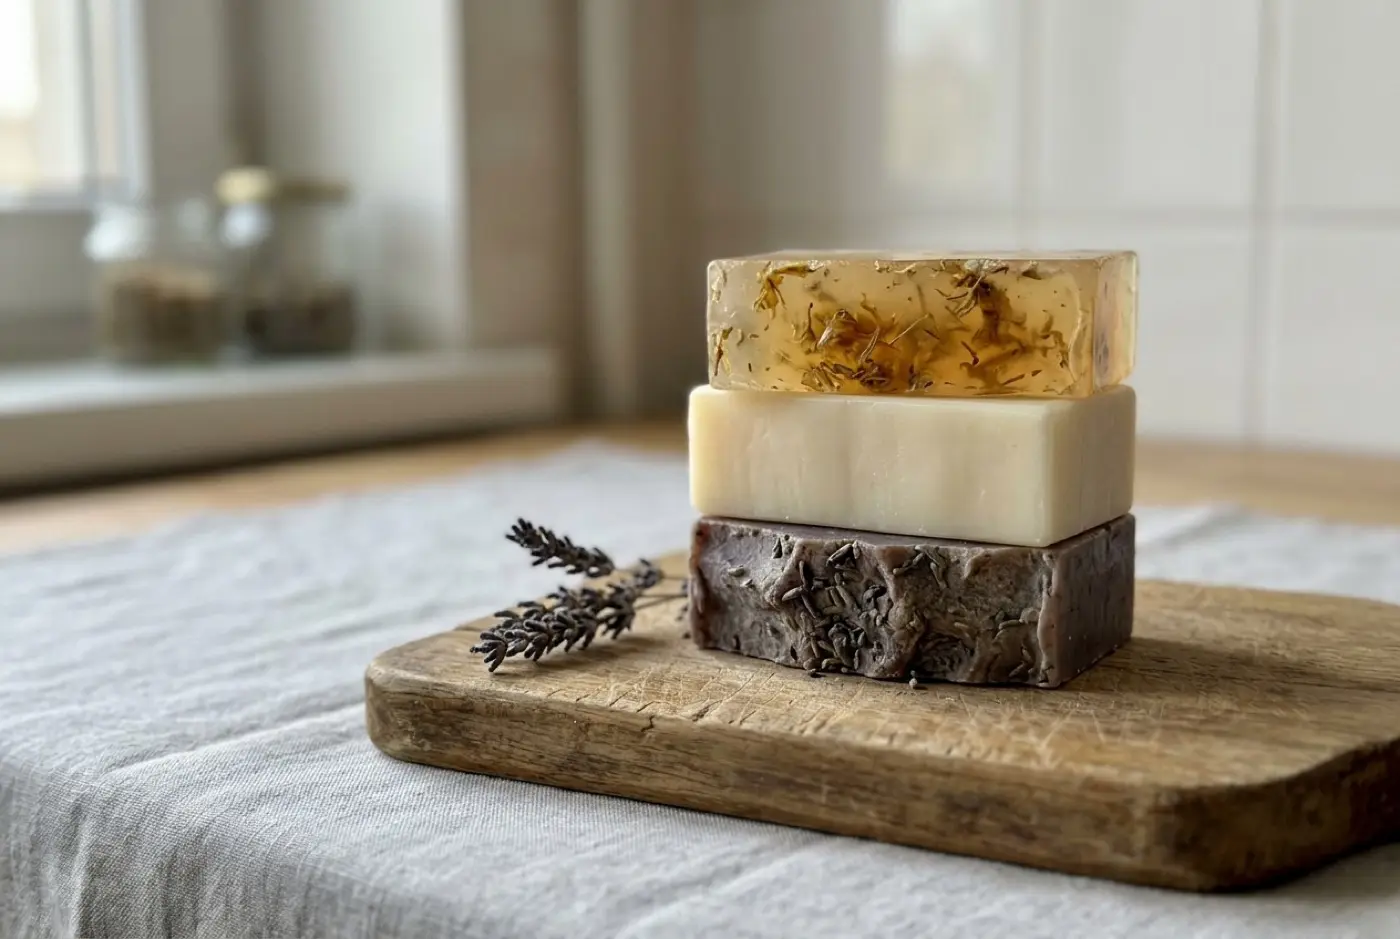
- Color after the cook. Split the cooked soap into bowls, stir a different colorant into each, then spoon them into the mold in alternating dollops. Run a spatula through once for a chunky, marbled look.
- Layers. Press one color into the mold, smooth it, then press the next on top. Tap well between layers to stop gaps.
- Textured tops. Hot process batter holds peaks beautifully. Rough up the top with a spoon or spatula while it’s still warm.
- Add-ins. Dried botanicals, exfoliants and some fragrances that cause trouble in cold process are easier to add after the cook, because the reaction is already done.
Disperse micas and pigments in a little oil before you start cooking, so you’re not mixing them up while the soap stiffens. Colors in hot process often look slightly translucent or deeper than the same colorant in cold process, because the soap has fully gelled.
Cleaning up
The cooked soap is no longer caustic once saponification is complete, but the lye pitcher, the stick blender and any uncooked batter still are. Keep gloves on. Scrape leftover soap from the cooker while it’s warm, before it sets hard, and let the residue sit for a day before washing: it turns into soap and rinses away easily. Soak the slow cooker insert in hot water rather than scrubbing hard soap off the glaze.
Common mistakes
- Leaving the cooker during the early cook. That’s when volcanoes happen.
- Using the “high” setting. It scorches the bottom and speeds the volcano stage. Low is enough.
- Adding fragrance at peak heat. Much of the scent evaporates. Let the soap cool a few minutes first.
- Not enough water. The batter turns to stiff, crumbly lumps that won’t fill the mold.
- Using the slow cooker for food afterward. Keep it for soap only, labeled.
- Expecting cold process looks. Hot process soap is rustic by nature. Embrace texture on the top, or try simple in-the-pot color swirls.
- Mistaking overheated, cracked bars for a bad recipe. If a cold process batch cracked from heat, it wasn’t hot process. See cracked soap and overheating soap.
A starter recipe for hot process
Any good cold process bar recipe can be hot processed. Our three-oil beginner soap is a good first one: it’s forgiving and easy to judge.
To convert it:
- Open the recipe in the lye calculator.
- Keep the oils and the superfat exactly as written.
- Lower the lye concentration to somewhere around 25–30%, so the calculator gives you more water.
- Follow the walkthrough above.
The castile soap recipe works too, but high-olive soaps stay soft longer, so expect a longer dry time.
Next steps
- Compare both from-scratch methods on our cold process guide.
- Learn what’s happening in the pot in saponification.
- Read about curing soap to decide how long to dry your bars.
- Rescue a cold process batch that went wrong with the same cooking skills: see rebatching soap.
FAQ
Can you use hot process soap right away?
It's safe to use once it's cool and firm, because saponification finished in the pot. Most makers still let it dry for one to four weeks, which makes the bar harder and longer lasting.
What's the difference between hot process and cold process soap?
Both use the same oils and lye. Hot process cooks the batter until the reaction is finished; cold process lets it finish in the mold and needs a longer cure. Hot process bars look more rustic; cold process bars are smoother and easier to swirl.
How long do you cook hot process soap?
Usually somewhere between 45 minutes and an hour and a half on low in a slow cooker, depending on the recipe, the batch size and the cooker. Judge by appearance rather than the clock.
Why is my hot process soap so thick and lumpy?
Water cooks off during the cook, and the batter is naturally thick. Using a little more water, adding a fluidity aid like plain yogurt or sugar dissolved in water after the cook, and working quickly all help.
Can I use a cold process recipe for hot process?
Yes. The oils, lye and superfat stay the same. Most makers use more water for hot process so the batter stays workable, so re-run the recipe in a lye calculator at a lower lye concentration.
Comments
No comments yet. Made this recipe? Be the first to say how it went.