How to Rebatch Soap: Hand-Milled Soap From Grated Bars
To rebatch soap, you grate finished bars, melt the shreds with a little liquid over low heat, stir in any additives, and press the mash into a mold. Here's the full method, how much liquid to use, and when rebatching is worth it.
On this page
- What rebatching can and can’t rescue
- Is it the right method for you?
- Equipment and ingredients
- How much liquid to add (it depends on how old the soap is)
- Walkthrough
- Choosing a heat source
- Fixing a rebatch in progress
- Hand-milling on purpose
- How long rebatched soap needs to dry
- Common mistakes
- A starter rebatch
- Next steps
- FAQ
To rebatch soap, you grate finished bars, melt the shreds with a small splash of liquid over low heat, fold in any fragrance or additives once it softens, and press the thick mash into a mold. No new lye is involved. The result is a rustic, slightly lumpy bar that’s ready to use as soon as it dries. Makers rebatch for two reasons: to rescue a batch that went wrong, and to make “hand-milled” soap, where scent and delicate additives go into finished soap instead of raw batter.
This guide covers both, starting with whether rebatching is the right fix at all.
What rebatching can and can’t rescue
Rebatching gets oversold as a cure-all. It is very good at fixing a handful of problems and useless for others. Decide before you start grating.
| Problem | Will rebatching help? | Why |
|---|---|---|
| Fragrance forgotten or too light | Yes | Scent goes into the mash after heating, so less of it cooks off |
| Seized or riced batter that set ugly | Usually | Melting and pressing evens out the texture; see soap seized |
| Separated batter, pockets of oil (false trace) | Often | Heat and stirring finish the reaction, but test for pockets of lye first |
| Wrong color, botched swirl | Yes, cosmetically | The colors blend into one muddy-to-pleasant tone |
| Cracked or crumbly bars from too little water | Sometimes | Adding liquid can bind them, but an underlying lye excess stays |
| Lye-heavy soap with a known mistake | Only with numbers | You must add the missing oil, calculated, not guessed |
| Lye-heavy soap with an unknown cause | No | Discard it; see lye-heavy soap |
| Rancid oils or a bad smell | No | Heat doesn’t remove rancidity |
If you’re working on a specific failed batch, how to rebatch failed soap goes through each failure in more detail. This page is about the technique itself.
Is it the right method for you?
Best for Rescuing a batch that went wrong, or scenting and decorating soap without handling liquid lye.
Pros
- + No new lye to measure or mix
- + Fragrance and heat-sensitive additives go in late, so less is lost
- + Bars are usable as soon as they dry
- + Turns a failed batch into something worth keeping
Cons
- − Rustic, lumpy texture; no smooth tops or fine swirls
- − Slow and arm-tiring for large amounts
- − Easy to overdo the liquid and get soft bars
- − Old, well-cured soap rebatches poorly
Compared with hot process, which also cooks soap, rebatching starts from soap that has already saponified. You’re melting and re-shaping, not completing a reaction. That’s why it feels gentler, and also why it can’t correct a formula error unless you change the formula.
Equipment and ingredients
Equipment
- A slow cooker on low, or a double boiler (a heatproof bowl over a pan of simmering water). Either should be used only for soap, never returned to food use.
- A box grater or a food processor with a grating disc, again reserved for soap.
- A sturdy silicone spatula or wooden spoon.
- A loaf or individual-cavity mold. Individual silicone cavities are easiest, because the mash is too thick to level well in a big loaf.
- Gloves and goggles.
- A kitchen scale that reads in grams.
Ingredients
- Grated soap. Your own cold process or hot process soap works best. Plain, unscented bars give you the most freedom.
- Distilled water, or a liquid like milk or aloe vera juice if you want it in the bar.
- Optional: fragrance or essential oil, colorant, and additives like ground oats or clay.
Store-bought bars are a gamble. Many “beauty bars” are synthetic detergent, not true soap, and won’t melt into a workable mash. If you want to practise on bought soap, choose one sold as handmade or cold process.
How much liquid to add (it depends on how old the soap is)
This is the single decision that most affects a rebatch. Fresh soap still holds most of its water and softens easily. Old soap has dried out and needs help.
| Age of the soap you’re grating | Starting liquid per 1 lb (450 g) soap | What to expect |
|---|---|---|
| 1–7 days old | 1–2 tablespoons (15–30 ml), sometimes none | Softens fast; can get fairly fluid |
| 2–6 weeks old | 2–4 tablespoons (30–60 ml) | Softens in an hour or two; stays thick |
| Several months or older | 4 tablespoons (60 ml) and up, added gradually | Slow; may never go fully translucent |
Treat these as starting points rather than rules. Recipes high in coconut oil soften differently from high-olive bars, and your slow cooker’s “low” may be hotter than someone else’s. The safe habit is to start at the low end and add a spoonful more only if the shreds are still dry and stiff after 20–30 minutes.
Every spoonful of extra liquid becomes water you’ll have to wait out later. Too wet a rebatch gives bars that stay soft and sticky for weeks.
Walkthrough
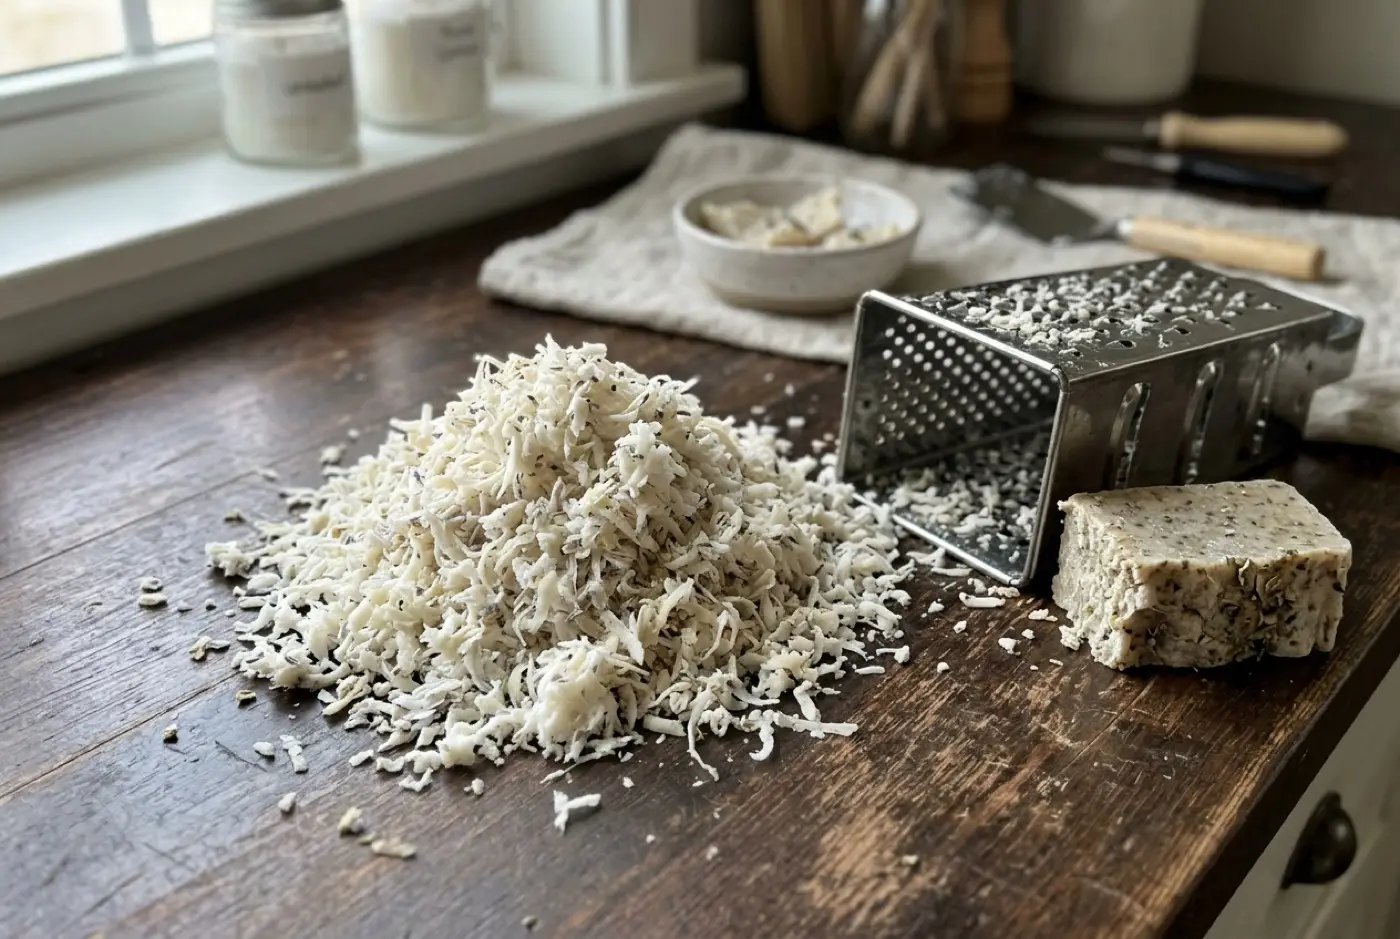
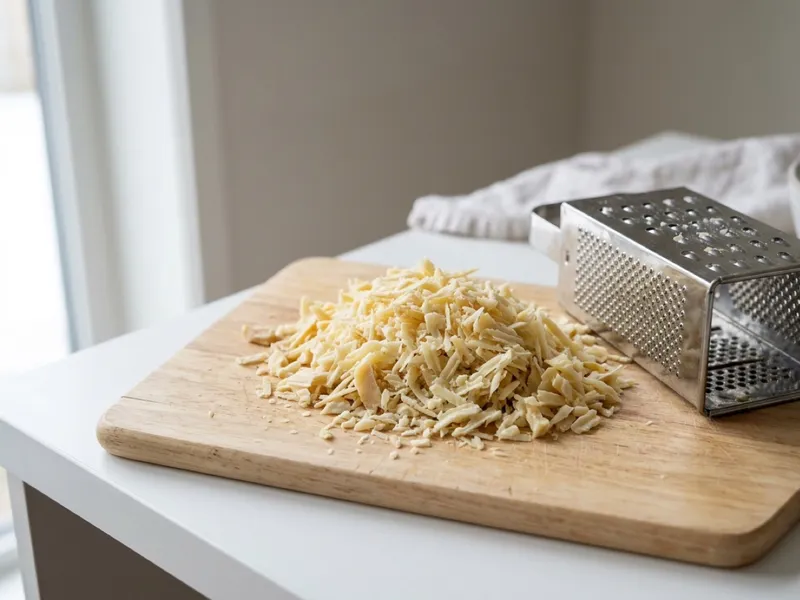
1. Grate the soap. With gloves on, grate the bars as finely as you can. Finer shreds melt faster and more evenly, which means less time on the heat and fewer lumps. A food processor saves your knuckles on more than a couple of pounds. If you’re rebatching a failed batch less than a day or two old, treat the shreds as caustic.
2. Add the liquid. Weigh the shreds, put them in the slow cooker or double boiler, and sprinkle the starting amount of liquid over them. Toss so the liquid is distributed rather than pooled at the bottom.
3. Heat low and slow. Cover the pot (the lid keeps moisture in, which is most of the trick) and set it on low. Every 10–15 minutes, fold the mass from the bottom up. Over 30 minutes to two hours, depending on age and amount, the shreds go from opaque to translucent and soften into something like lumpy mashed potatoes. It won’t become a pourable liquid, and you shouldn’t try to force it there by adding more water.
If the mass starts to stick or brown at the edges, the heat is too high. Turn it down or add a little more water to the double boiler.
4. Cool slightly and add extras. Take the pot off the heat and let it sit for a few minutes. Then fold in fragrance, color and additives. Adding fragrance off the heat is the main advantage of rebatching: delicate essential oils and fragrance oils that might fade in hot cold-process batter or cook off in hot process go in at a lower temperature. Measure fragrance by weight against the weight of soap, using your supplier’s recommended rate and the fragrance calculator.
5. Pack the mold. Spoon the mash into the mold a little at a time, pressing it down with the spatula or the back of a spoon. Tap the mold hard on the counter between spoonfuls to knock out air pockets. With a loaf mold, pressing in layers matters even more; trapped air leaves holes you’ll see when you cut.
6. Unmold, cut and dry. Leave the mold uncovered or loosely covered until the soap is firm to the touch, usually one to two days, longer if you used plenty of liquid. Unmold, cut if it’s a loaf, and set the bars on a rack with air around them. See unmold and cut soap for technique.
Choosing a heat source
Any gentle, even heat works. The differences are in how much attention each one needs.
| Heat source | Pros | Cons |
|---|---|---|
| Slow cooker on low | Even heat, lid holds moisture, hands-free between stirs | Slow; “low” varies a lot between models |
| Double boiler | Very gentle; hard to scorch | Needs the water topped up; smaller batches |
| Covered dish in a low oven | Even heat for larger amounts | Harder to check and stir; easy to forget |
| Microwave in short bursts | Fast for a few bars | Hot spots; can bubble over or dry out the edges |
For a first rebatch, a slow cooker or double boiler is the easiest to control. Whatever you use, it becomes soap equipment from then on.
Fixing a rebatch in progress
Rebatches rarely go perfectly the first time. Most problems are recoverable while the soap is still on the heat.
- Still chunky after an hour. The shreds were too coarse or the soap is old and dry. Add a spoonful of liquid, close the lid, and give it more time. Mash stubborn lumps against the side of the pot.
- Soupy and wet. Too much liquid. Leave the lid off for a while and keep stirring so some water steams away, or accept a longer drying time.
- Stringy and sticky like taffy. Normal for some recipes, especially fresh soap. Keep folding; it usually smooths out as it heats through.
- Scorching on the bottom or browning at the edges. The heat is too high. Turn it down, scrape the scorched layer out rather than stirring it in, and add a little water to a double boiler.
- Setting up in the pot before you can mold it. Work faster at the molding step, or put the pot back on low for a few minutes to loosen it.
Hand-milling on purpose
Hand-milled soap is rebatching with good soap as the starting point, not a failure. It’s popular for a few reasons:
- Scent that lasts. Fragrance added to cooled mash has less chance to flash off than in hot batter.
- Additives that dislike lye or heat. Some botanicals discolor in fresh batter, and some ingredients react with raw lye. Adding them to finished soap avoids the reaction entirely. Botanicals can still brown over time, so test first. See soap additives.
- Making many scents from one base. Make one large unscented batch, let it cure, then grate and scent small portions as you need them.
The look is part of the appeal: speckled, matte and visibly handmade. Micas and clays stirred into rebatched soap give a mottled, stone-like color rather than a smooth, even one.
How long rebatched soap needs to dry
Rebatched bars hold the water you added, so they need time on a rack even though the soap itself is finished. How long depends on the soap you started with:
- You grated cured soap: most bars firm up in about two to three weeks. Weigh a bar weekly; once its weight stops dropping by more than a gram or two, it’s done.
- You grated fresh soap: the original batch still needed its full cure. Count from the day the original soap was made, not the rebatch day, and use how long to cure soap for the recipe type.
Common mistakes
- Too much liquid up front. The most common rebatch failure. Bars feel tacky for weeks and may sweat. Add liquid in small steps.
- Lifting the lid too often. Steam escapes, the mash dries out, and you reach for more water. Fold quickly and close the lid.
- Coarse shreds. Big chunks stay as visible lumps no matter how long you heat them. Grate finely.
- Adding fragrance at full heat. You lose the main benefit of the method. Wait a few minutes off the heat.
- Expecting a smooth bar. Rebatched soap looks hand-made. If you need smooth tops and crisp swirls, rebatching won’t give them; remake the batch instead.
- Rebatching an unknown lye error. Melting caustic soap leaves caustic soap. If you can’t identify the mistake, discard the batch.
A starter rebatch
For a first hand-milled batch, keep it simple:
- 450 g (1 lb) plain, unscented cold process soap, two to six weeks old, finely grated
- 30–60 ml (2–4 tablespoons) distilled water or whole milk
- Fragrance or essential oil at your supplier’s recommended rate for wash-off soap, weighed against the 450 g of soap
- Optional: 1 tablespoon finely ground oats for a speckled, mildly textured bar
Heat on low with the lid on, fold every 10–15 minutes until translucent, cool for a few minutes, fold in the scent and oats, and press into a six-cavity silicone mold. Expect roughly four bars, depending on cavity size. If you don’t have plain soap to grate yet, a batch of the three-oil beginner soap left unscented makes an ideal base.
Next steps
- Turn a misbehaving batch around with how to rebatch failed soap.
- If you like the “cook it until done” approach, try full hot process soap.
- For smooth bars with swirls and clean lines, cold process soap is the method to learn next.
FAQ
Can you rebatch soap that is already cured?
Yes, but older soap has lost most of its water, so it needs more liquid and more time to soften, and it rarely gets as fluid as fresh soap. Soap that is a few days to a few weeks old is the easiest to rebatch.
How much water do you add when rebatching soap?
Start small, around a few tablespoons of liquid per pound (450 g) of grated soap, and add more a spoonful at a time only if the shreds stay dry and stiff. Too much liquid gives soft bars that take weeks longer to dry.
Do rebatched bars need to cure again?
They need to dry, because you added liquid. If the base soap was already cured, a couple of weeks on a rack is usually enough to firm them up. If it was fresh, count the full cure from the day the original batch was made.
Is hand-milled soap the same as rebatched soap?
In home soap making the terms overlap. Rebatch usually means remelting a batch to fix it; hand-milled usually means grating good soap on purpose to add delicate scents or additives. The technique is the same.
Can rebatching fix lye-heavy soap?
Sometimes, if you know how much oil the recipe was short and add it during the rebatch, but it is guesswork without the original numbers. If you cannot work out the error, discard the batch rather than risk a caustic bar.
Comments
No comments yet. Made this recipe? Be the first to say how it went.