Gel Phase in Soap: What It Is, and How to Encourage or Prevent It
Gel phase is when cold process soap heats up in the mold and turns translucent and jelly-like. What it does, how to make it happen and how to stop it.
On this page
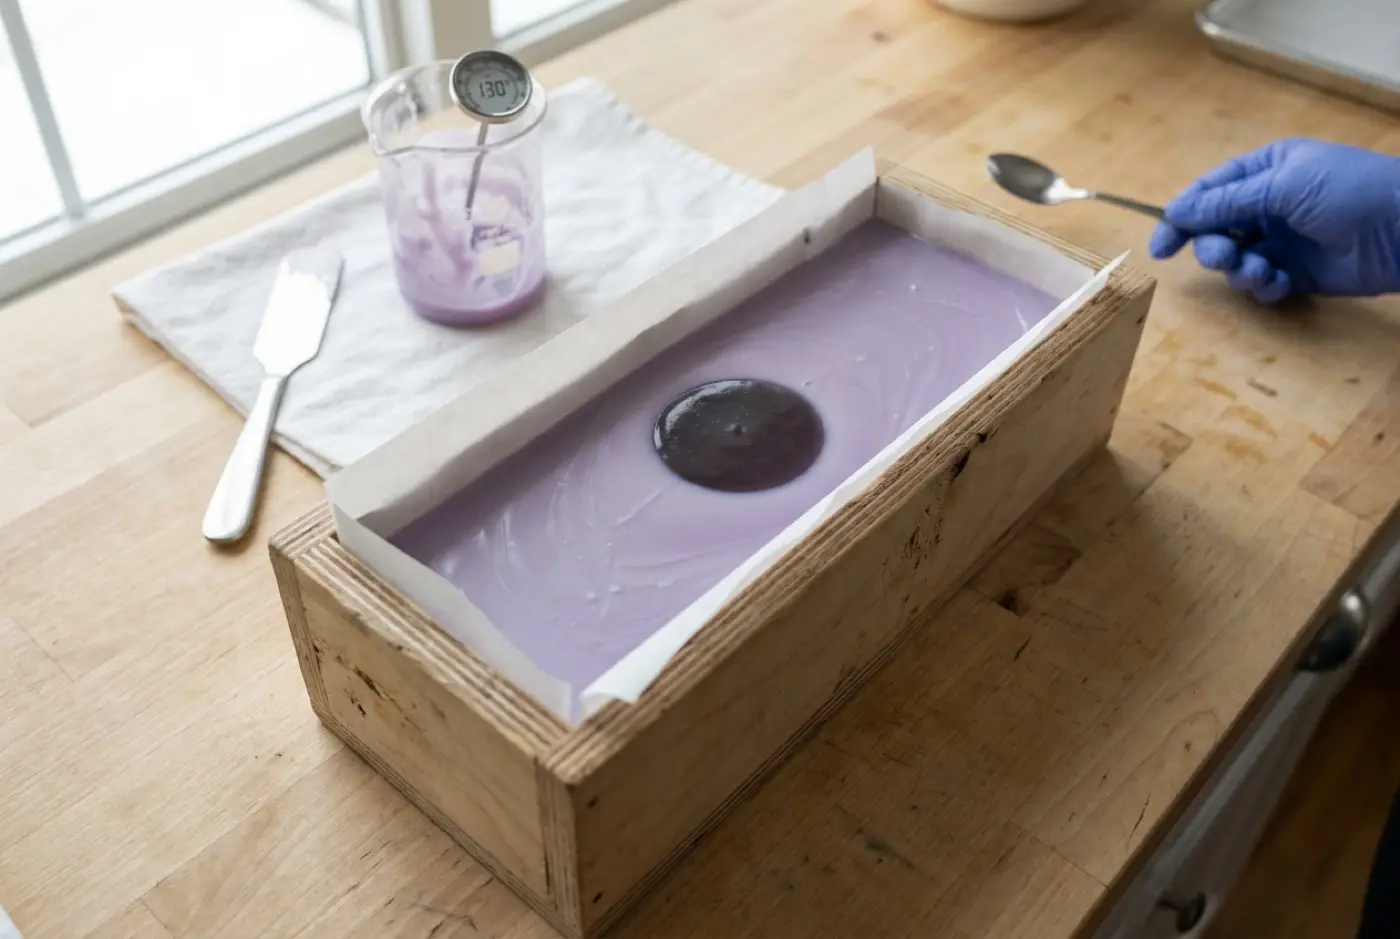
Gel phase is the stage when cold process soap heats up in the mold from its own reaction and turns translucent, darker and jelly-like, usually starting in the center of the loaf and spreading outward. It’s not a problem and not required. Gel phase soap tends to have brighter colors and a slightly glossy look; ungelled soap is more matte and pastel. You choose which you want by insulating the mold to encourage gel, or chilling it to prevent it.
What’s happening
Saponification gives off heat. In a loaf mold, the batter in the middle is insulated by the batter around it, so heat builds up there faster than it can escape.
Once the soap gets hot enough, it changes state for a while. It goes translucent and looks like petroleum jelly or dark wax. The edges, which are cooler, stay opaque at first. If the heat is enough, the gel spreads to the edges; if not, it stops partway.
As the loaf cools over the following hours, the translucent soap turns opaque again and sets up. By the time you unmold, a fully gelled loaf usually looks uniform.
Gel speeds the reaction along and doesn’t leave any lye behind. Both gelled and ungelled bars reach the same place by the end of cure.
Gelled vs ungelled soap
| Gelled | Ungelled | |
|---|---|---|
| Color | Brighter, deeper, more saturated | Softer, pastel, more matte |
| Look | Slightly glossy, can be a little translucent | Opaque, creamy |
| Firmness at unmolding | Often firmer sooner | Can be softer for a day or two |
| Soda ash | Often less | Often more on exposed tops |
| Best for | Vivid colors, quick unmolding | Milk, honey and sugar soaps; pale or pure-white bars |
| Risk to watch | Overheating, cracking | Partial gel if the loaf warms up unevenly |
Neither is better overall. Pick based on the recipe and the look you want.
How to encourage full gel
- Insulate the mold. Cover the top with cardboard or a lid, then wrap the mold in towels or a blanket. Leave it alone for 24 hours.
- Soap a little warmer. Mixing at around 110–120°F (43–49°C) gives the reaction a head start.
- Use less water. A higher lye concentration produces more heat per batch. See water discount.
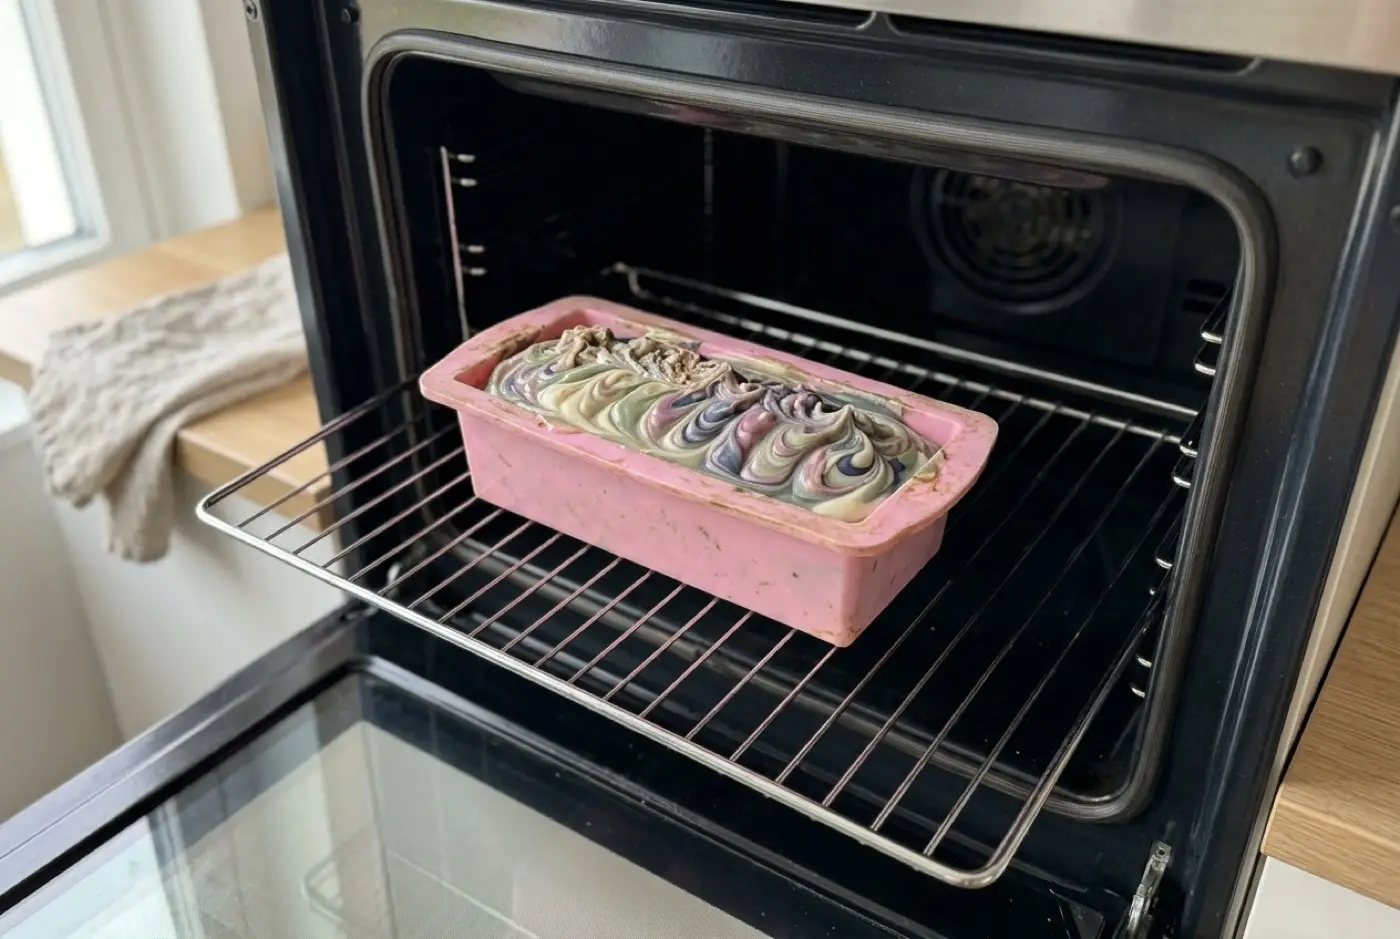
- Use a warm oven (CPOP). Preheat the oven to around 170°F (77°C), turn it off, put the mold in and leave it overnight. Only use molds rated for that heat. The CPOP guide has the details.
- Use a heating pad under an insulated mold, set low.
Bigger loaves gel more easily than individual bar molds, which lose heat quickly and often need a warm oven to gel at all.
How to prevent gel
- Soap cool. Mix around 80–100°F (27–38°C).
- Chill immediately. Put the mold in the fridge, or the freezer for a few hours, straight after pouring. Then move it to the fridge or the counter.
- Use individual cavity molds rather than a loaf, since small bars hold less heat.
- Use the full water amount (a lower lye concentration).
- Don’t insulate. Leave the mold uncovered in a cool room.
How to tell whether your soap gelled
You won’t always see gel happen, especially if the mold is wrapped. Clues afterwards:
- Color. Gelled soap colored with the same mica or oxide looks deeper and more vivid than an ungelled bar.
- Surface. A fully gelled bar has a slight sheen and can look faintly translucent at the edges when held to light. Ungelled soap is flat and matte, almost chalky.
- Firmness. Gelled loaves are often firm enough to unmold and cut sooner.
- The cut face. A uniform color all the way through means either full gel or no gel; a darker center with a lighter rim means partial gel.
If you peek at an insulated loaf a few hours after pouring, a gelling soap looks darker and wet-looking in the middle, a bit like a candle that’s just been poured. That’s normal. Close it back up and leave it.
A plain, uncolored recipe shows the least difference. Gel is easiest to spot in soap with color, or by comparing two halves of the same batch.
Partial gel
Partial gel shows up when you cut the loaf: a darker, more translucent circle or band in the center, with a lighter rim. It happens when the middle gelled and the edges didn’t, often because the room was cool or the insulation was uneven.
It’s purely cosmetic. The soap is safe to use once cured. To avoid it next time, commit one way or the other: either insulate thoroughly (or CPOP) for full gel, or chill thoroughly to prevent it.
When gel goes too far: overheating
Too much heat causes problems:
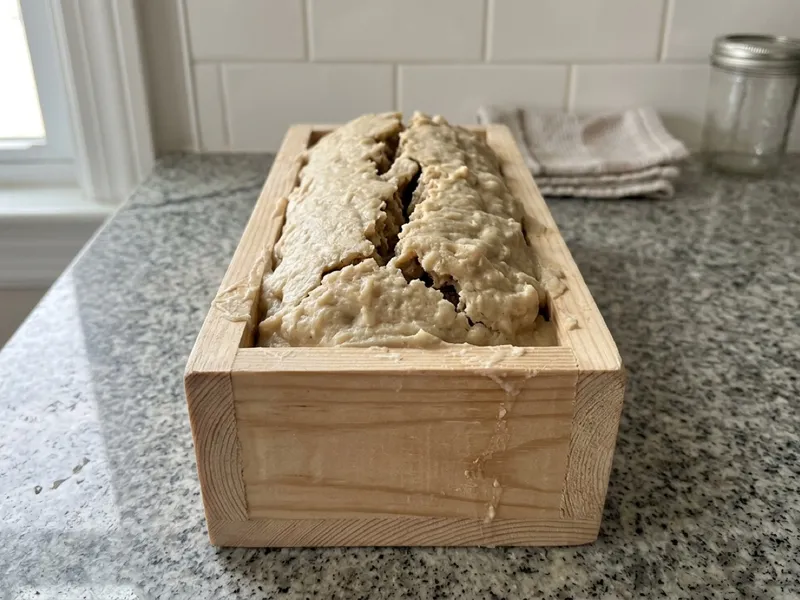
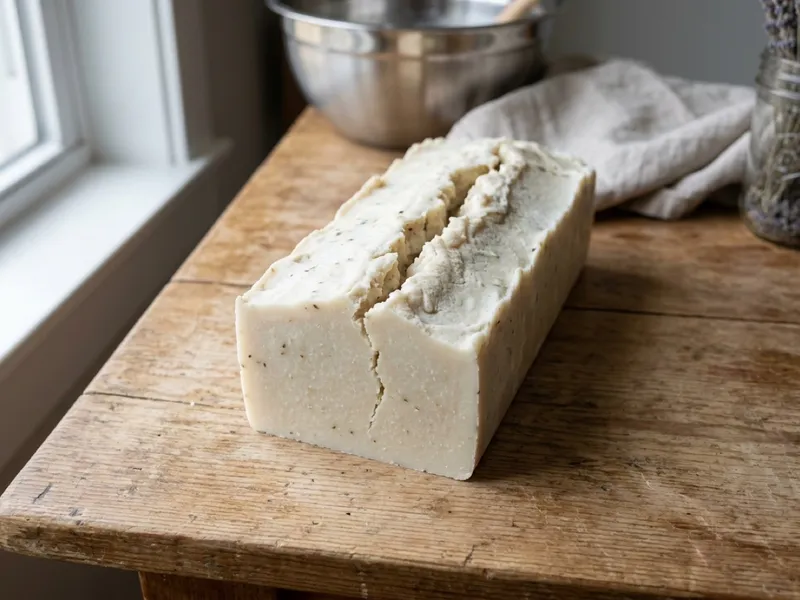
- Cracking across the top, sometimes with a crack running down the middle. See cracked soap.
- A “volcano”, where hot, gelled soap pushes up and out through the top.
- Heat tunnels: hollow channels inside the loaf.
- Glycerin rivers: translucent streaks, often in soap colored with titanium dioxide.
If you check on an insulated loaf and see the top bulging or cracking, uncover it and move it somewhere cool. If it’s badly overheating, a fridge or freezer can bring it down. Wear gloves: hot, gelled soap is still caustic. Our overheating soap page covers this in more depth.
Choosing gel or no gel
- Bright colors, quick unmold: insulate or CPOP for full gel.
- Milk, honey, beer, sugar or fruit purees: chill to prevent gel.
- Pure white or pastel bars: prevent gel.
- High-olive soaps like castile: either works. Gel can help these slow, soft soaps firm up sooner.
- Individual cavity molds: expect no gel unless you CPOP.
- Hot process: the question doesn’t arise. Cooking takes the whole batch through a gel stage in the pot, which is part of why hot process bars have a more rustic, slightly translucent look. See hot process soap.
If you can’t decide, go with whatever your recipe’s additives need. Sugars and milk mean chill; everything else is a matter of the look you prefer.
Common mistakes
- Panicking at the dark, jelly-like center. That’s gel, not a failed batch. Leave it alone until it cools.
- Moving or opening the mold mid-gel. You let heat out unevenly and can end up with partial gel.
- Insulating a milk or honey soap. The extra heat can scorch it.
- Putting a plastic or silicone mold in an oven that’s hotter than it’s rated for.
- Assuming ungelled soap is undercooked. It saponifies fully; it just looks different.
Try it both ways
The easiest way to learn is to split a batch: pour half into a loaf and insulate it, and the other half into cavity molds in the fridge. A simple recipe like three-oil beginner soap with one colorant shows the difference clearly. Then see how trace and water amounts change how much heat a recipe builds.
FAQ
Does soap need to go through gel phase?
No. Gelled and ungelled soap both saponify fully and are equally safe once cured. Gel changes appearance and texture, not safety.
How long does gel phase last?
It usually starts within the first few hours in the mold and can take several hours to spread through a loaf and fade. Leave the soap undisturbed until it has cooled.
What is a partial gel?
A darker, translucent ring or center in a cut bar, surrounded by lighter, opaque soap. It happens when the middle of the loaf got hot enough to gel but the edges didn't. It's cosmetic only.
How do I stop my soap from gelling?
Soap at cooler temperatures and put the mold in the fridge or freezer right after pouring. Milk, honey and sugar recipes are often chilled for this reason.
Comments
No comments yet. Made this recipe? Be the first to say how it went.