CPOP Soap: How to Oven Process Cold Process Soap
CPOP soap is cold process soap put in a warm oven straight after pouring to force full gel phase. Oven temperatures, safe molds, which recipes to avoid, and a walkthrough.
On this page
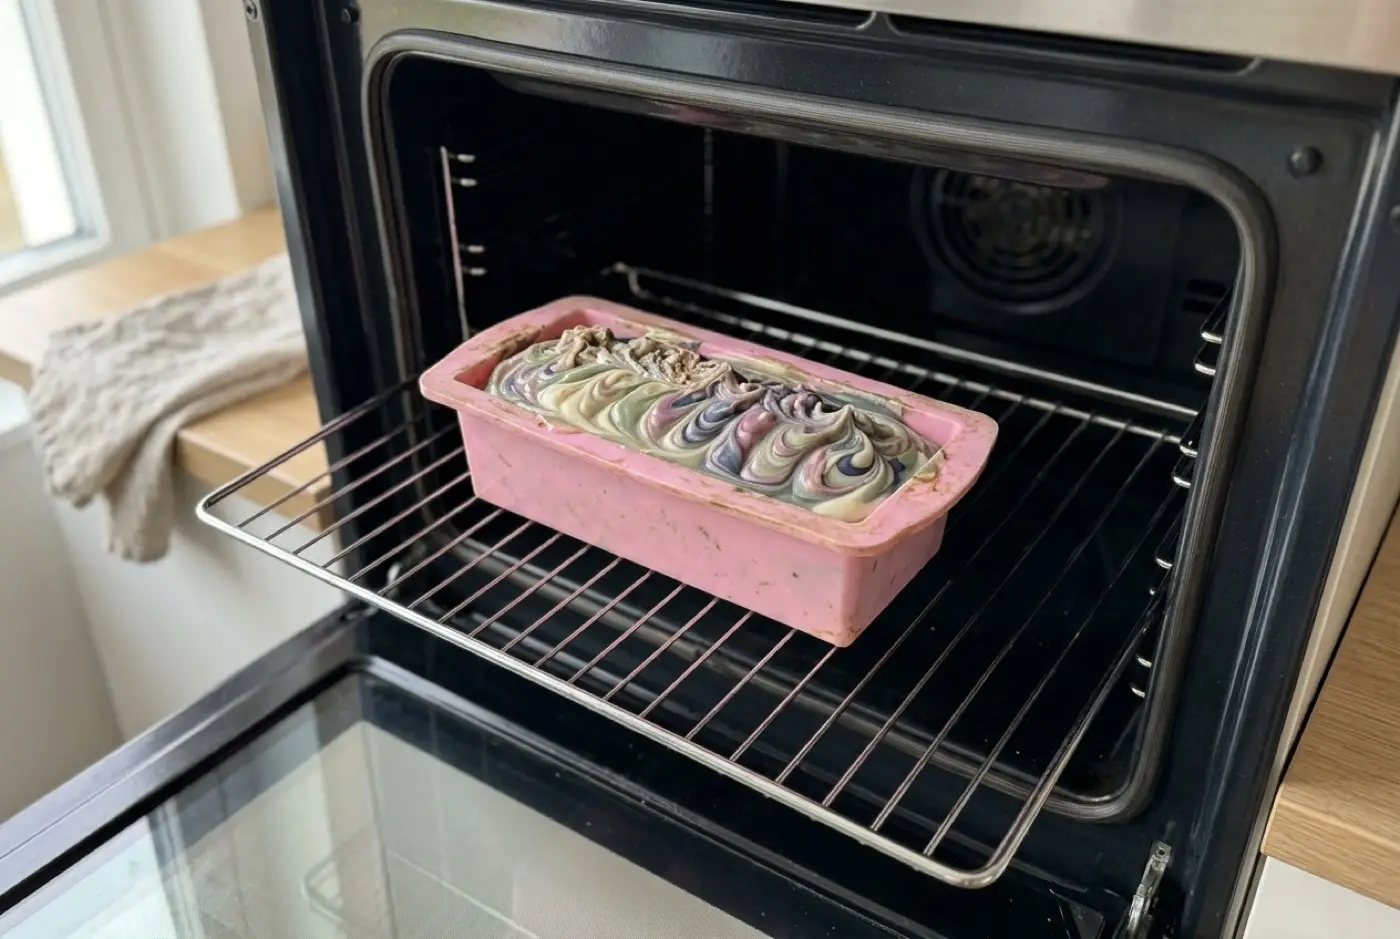
CPOP soap (cold process oven process) is ordinary cold process soap that goes into a warm oven, usually around 170°F (77°C), straight after pouring, to push the whole loaf through gel phase. The result is evenly gelled bars with brighter colors and a slightly glossy look, and soap that’s often firm enough to unmold sooner. It doesn’t replace the four to six week cure, and it’s a poor match for milk, honey and other sugary recipes, which can overheat.
What CPOP is, and who it’s for
In ordinary cold process, the soap may or may not reach gel phase depending on the recipe, the room and the mold. CPOP takes away the guesswork. A short spell in a warm oven raises the temperature of the whole loaf so it gels evenly, edge to edge, with no partial gel ring.
It’s for makers who:
- Want bright, saturated colors from micas and pigments.
- Have had partial gel rings and want even bars.
- Use individual cavity molds or thin slab molds, which often struggle to gel on their own.
- Want soap that firms up for unmolding a bit sooner.
It’s not for soaps you want to keep pale and matte, or for recipes that already run hot.
CPOP is the opposite of room temperature soaping, which keeps everything cool for more working time and usually skips gel.
Pros and cons vs other methods
Best for Cold process makers who want reliable full gel and bright colors, especially in small or individual molds.
Pros
- + Even, full gel with no partial gel rings
- + Brighter, more saturated colors
- + Often firm enough to unmold sooner
- + Can reduce soda ash on the surface
Cons
- − Risk of overheating, cracking or volcanoes
- − Poor fit for milk, honey, sugar and beer recipes
- − Needs an oven-safe mold
- − Some fragrances discolor or change in the heat
Equipment
Everything for a normal cold process batch, plus:
- An oven that can hold a low setting. Many ovens bottom out around 170°F (77°C); some go lower, some higher.
- An oven thermometer. Oven dials are often off by a noticeable amount, and at these low settings it matters.
- An oven-safe mold. Silicone molds and silicone-lined wooden molds are the usual choices. See the mold safety section below.
- A baking sheet to set the mold on, both for stability and to catch any overflow.
- Oven gloves in addition to your soap-making gloves.
Mold safety
Before the first CPOP batch, check the mold:
| Mold | CPOP-safe? |
|---|---|
| Silicone loaf or cavity molds | Usually yes; check the manufacturer’s maximum temperature |
| Wooden mold with a silicone liner | Usually yes |
| Wooden mold lined with freezer paper | Usually yes, at low temperatures |
| Rigid plastic soap molds | Only if the maker says they’re oven-safe at your temperature |
| Thin plastic packaging, food containers, PVC pipe | No: they can warp, soften or melt |
| Cardboard boxes or anything with a plastic coating | No |
If you’re not sure, don’t put it in the oven. Insulate it with towels instead to encourage gel.
The walkthrough
1. Check your mold and oven
Put an oven thermometer in the oven and set it to the lowest temperature. Check what it actually reaches. If your oven’s lowest setting is well above 170°F (77°C), plan to turn it off as soon as the soap goes in.
2. Preheat
Preheat the oven to around 170°F (77°C) before you start making the soap, so it’s ready the moment you pour.
3. Make the soap and pour
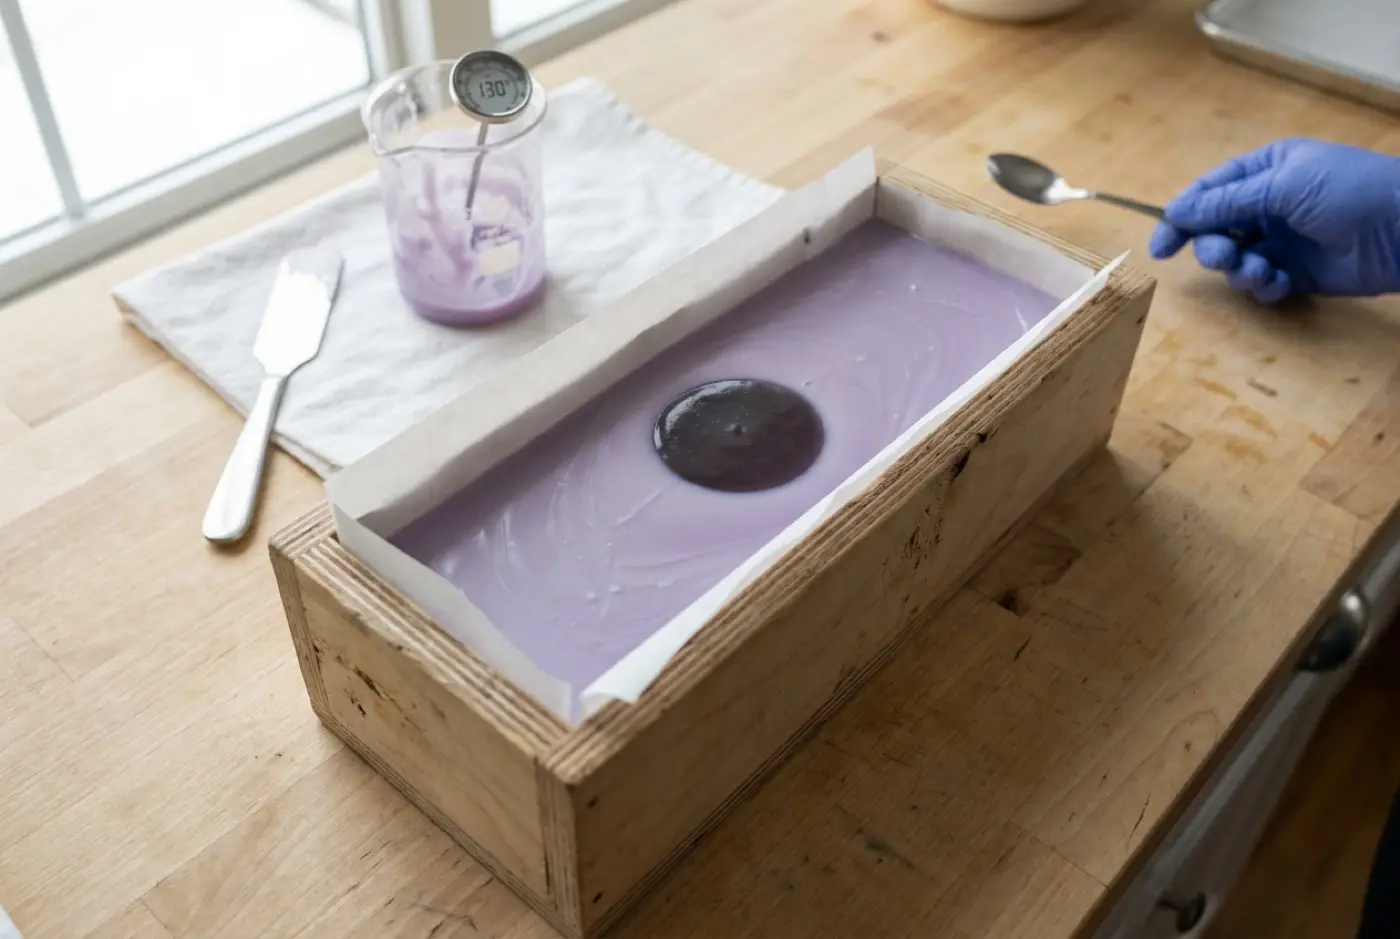
Gear up and make a cold process batch as usual: lye into water, never the reverse; blend to trace; add fragrance and color; pour. Place the filled mold on the baking sheet.
4. Put the soap in the oven
Slide the baking sheet into the oven. From here, makers use one of two approaches:
- Turn the oven off straight away and leave the soap inside with the door shut. The residual heat is often enough to trigger gel. This is the gentler option and the best place to start.
- Keep the oven on low for about an hour, then turn it off and leave the soap inside. This gives a more reliable gel but more risk of overheating.
5. Watch for gel and overheating
Look through the oven window from time to time, especially in the first half hour. A gelling loaf turns darker and translucent, usually starting in the middle. That’s what you want.
Signs of overheating:
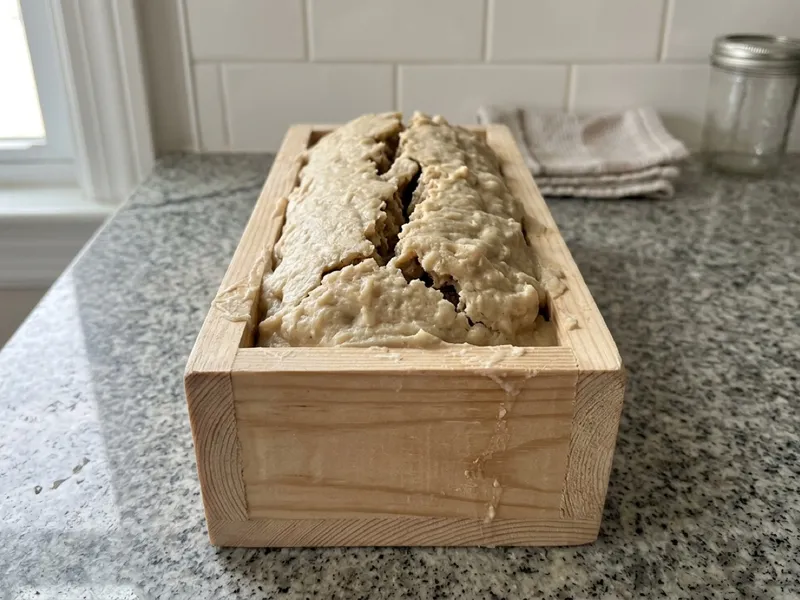
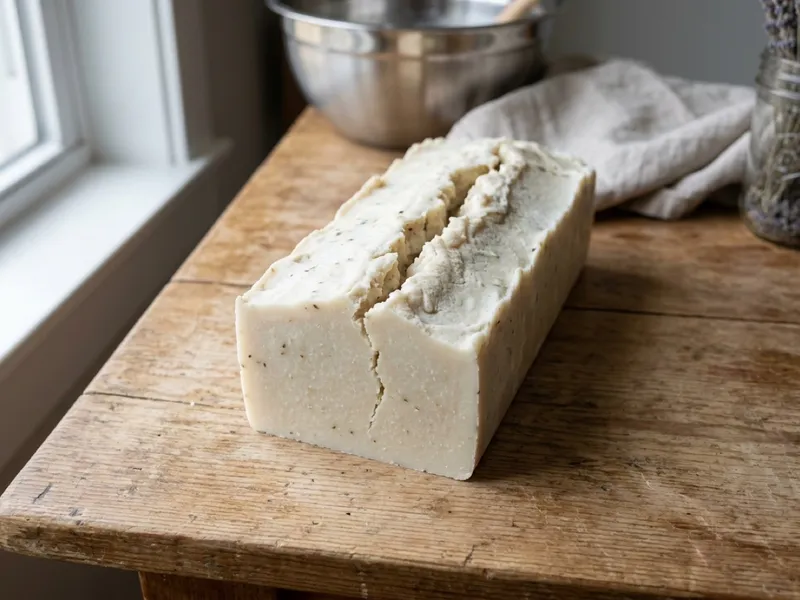
- The top bulges, cracks or splits.
- Bubbles or liquid rise through the surface.
- The soap starts to climb out of the mold, a “soap volcano.”
If you see any of these, take the soap out (oven gloves on) and let it cool somewhere safe. See overheating soap and cracked soap.
6. Cool, unmold and cure
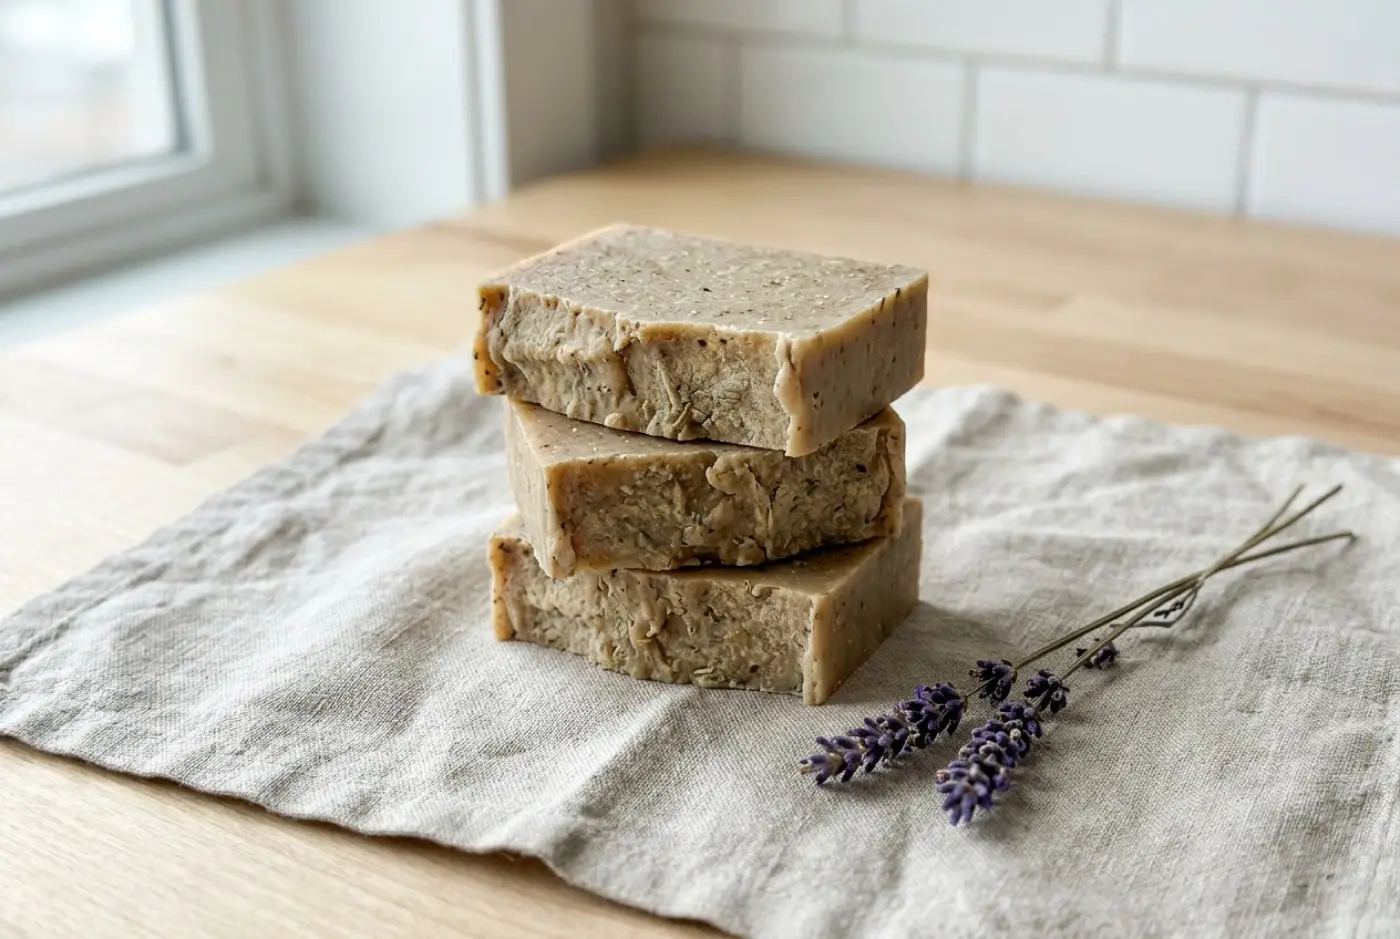
Leave the soap in the switched-off oven with the door shut to cool slowly, often overnight. Cooling too fast can cause cracks. Once it’s back at room temperature and firm, unmold and cut. Then cure for four to six weeks, like any cold process soap. CPOP helps the soap firm up, but it doesn’t skip the cure: the bars still need to dry out, harden and mellow. See curing soap.
What to keep out of the oven
Some ingredients heat soap up on their own. Put them in a warm oven and the extra heat can tip the loaf into overheating.
- Milk (goat, cow, coconut, buttermilk), which can also scorch and turn brown or orange. See our goat milk soap, which is chilled, not ovened.
- Honey, sugar, fruit and vegetable purées.
- Beer and wine, which contain sugars.
- Fragrances known to speed trace or heat up. Florals and spices are common culprits.
- Recipes high in hard oils or with a strong water discount, which already run hot.
If you do want to CPOP one of these, use a lower temperature or a switched-off oven only, watch it constantly, and be ready to take it out early. Most makers simply chill these recipes instead to prevent gel.
CPOP vs insulating with towels
CPOP isn’t the only way to encourage gel. Wrapping a fresh loaf in towels or a box traps the soap’s own heat, and it often works fine for full loaves. The difference is control.
| CPOP | Towels or insulated box | |
|---|---|---|
| How it works | Adds outside heat | Traps the soap’s own heat |
| Reliability of full gel | High | Varies with recipe, room and loaf size |
| Works for small cavity molds | Yes | Often not; small molds lose heat fast |
| Overheating risk | Higher | Lower |
| Equipment | Oven-safe mold, oven thermometer | Towels, a box or a cooler |
If a towel-wrapped loaf gels fully most of the time, you may not need CPOP at all. Reach for the oven when you’re using individual molds, soaping cool, or chasing the brightest possible color.
Single-cavity and slab molds
Small molds are where CPOP earns its place. A single bar’s worth of batter has little mass to build heat, so it rarely gels on its own. That leaves it paler and sometimes softer to unmold than the same recipe in a loaf. A short, gentle CPOP, or the switched-off-oven method, usually gels them evenly.
Small cavities also overheat less dramatically than loaves, because heat escapes faster. They still benefit from a baking sheet underneath, so you can lift the whole set out at once without flexing the mold.
Common mistakes
- Using a higher oven temperature to “make sure” it gels. Hotter means more risk, not a better gel.
- Putting an unsafe mold in the oven. Check the manufacturer’s rating.
- Leaving the oven on and forgetting it. Set a timer.
- CPOPing sugary or milky recipes without care. Overheating and scorching.
- Skipping the baking sheet. A volcano without one means soap on the oven floor.
- Unmolding hot soap. Let it cool fully first.
- Treating CPOP soap as ready to use. It still needs a cure.
A starter recipe for CPOP
A recipe with a moderate amount of hard oils and no sugars is ideal for a first CPOP batch. Our three-oil beginner soap works well, and adding a bright mica in part of the batter shows off what a full gel does to color. Castile soap also benefits, because all-olive soap gels reluctantly on its own.
Next steps
- Understand what you’re forcing: gel phase.
- Try bright designs with soap swirl techniques.
- Learn about natural soap colorants and how heat affects them.
FAQ
What temperature should I use for CPOP soap?
Most makers preheat to their oven's lowest setting, around 170°F (77°C). Hotter is not better; it raises the risk of overheating, cracking and volcanoes.
Does CPOP shorten the cure time?
It helps soap unmold sooner, but it doesn't replace the cure. Most makers still cure CPOP soap for about four to six weeks, so the bars dry out, harden and become milder.
Can I CPOP milk or honey soap?
It's risky. Sugars in milk, honey, fruit purées and beer heat soap up on their own and can scorch or overheat in the oven. Most makers chill these soaps instead. If you do try it, use a lower temperature, watch closely, and expect to pull it out early.
Can I put a plastic mold in the oven?
Only if the manufacturer says it is oven-safe at that temperature. Silicone and unlined wooden molds are the usual choices. Thin plastic molds can warp or soften.
Is my oven safe to use for food after CPOP?
Yes, as long as the soap stayed in its mold on a baking sheet. If batter spilled, let it cool, then wipe it up wearing gloves before using the oven for food.
Comments
No comments yet. Made this recipe? Be the first to say how it went.