Room Temperature Soap: Cold Process Without the Waiting to Cool
Room temperature soap is cold process made with the lye solution and oils both at room temperature. Why it works, how to set it up with a master batch, and when not to use it.
On this page
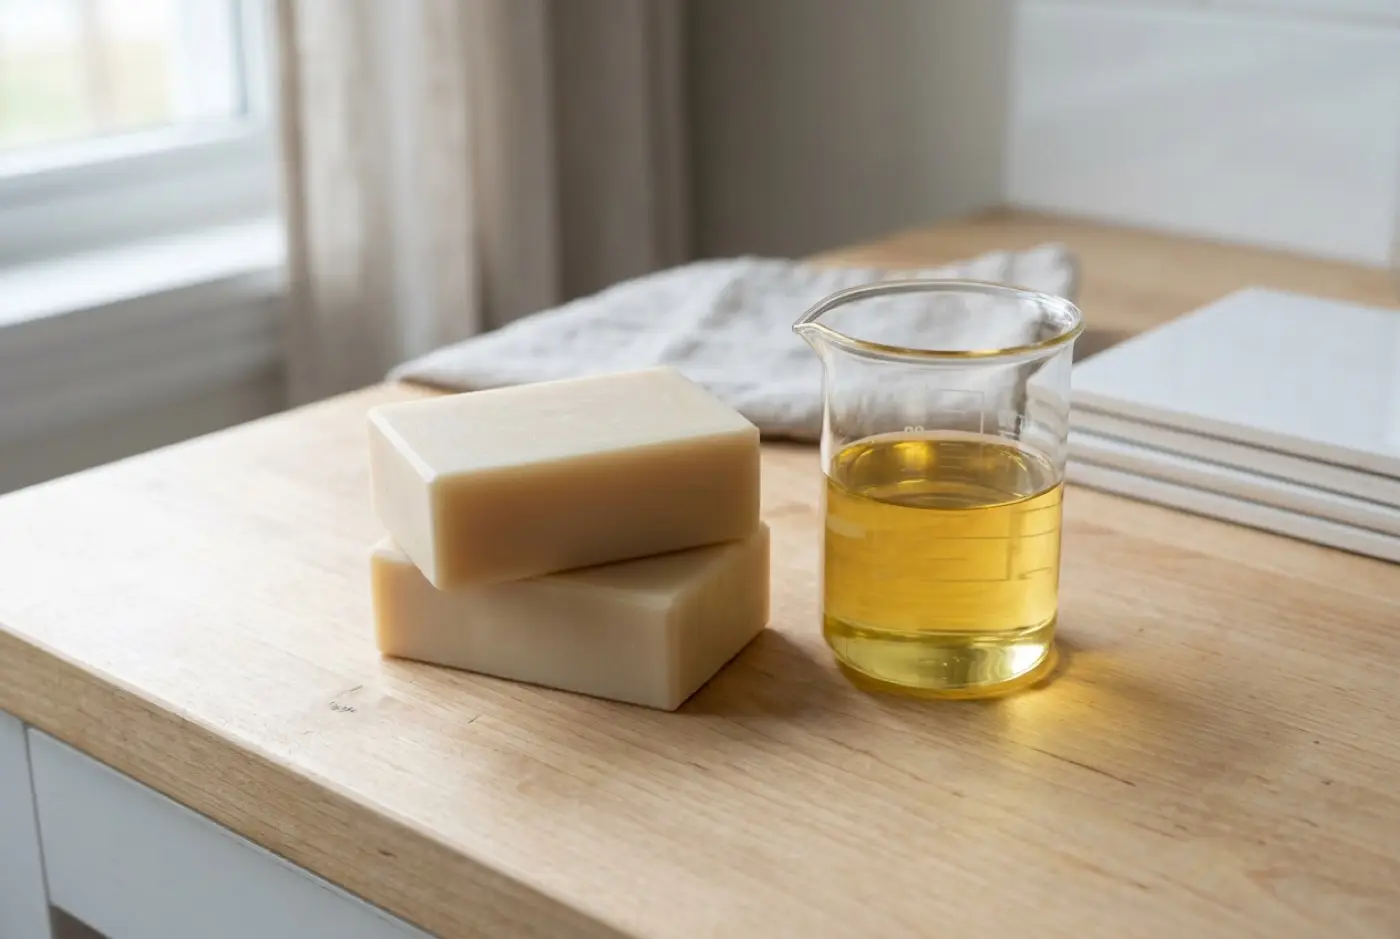
Room temperature soap is cold process soap made with the lye solution and the oils both at room temperature, roughly 70–80°F (21–27°C), instead of warm. It works because saponification doesn’t need added heat: the reaction makes its own. Starting cool just slows the early stages, so trace comes later and the batter stays fluid longer, which is ideal for swirls. You make the lye solution ahead so there’s no waiting for it to cool, and melt only the hard oils, letting the liquid oils cool them down.
Why it works
Traditional instructions say to combine lye solution and oils at around 100°F (38°C), sometimes higher. That temperature isn’t what makes soap form. Lye reacts with oils at room temperature too; heat only speeds it up.
So there are two reasons people soap warm:
- The ingredients start out warm. Lye solution heats up sharply when you make it, and hard oils have to be melted. Soaping warm is often just soaping when everything happens to be ready.
- Hard oils need to stay liquid. If the oil blend cools too much, butters and fats begin to solidify, which thickens the batter and looks like trace when it isn’t.
Room temperature soaping deals with both. You make the lye solution far enough ahead that it has cooled completely. And you melt only the hard oils, then pour in the liquid oils, which brings the whole blend down toward room temperature while keeping it liquid, provided the recipe isn’t too heavy in hard fats.
What you get: a reaction that starts slowly, a batter that thickens gradually, and much more time to color, split and swirl before it sets.
Pros and cons vs other methods
Best for Cold process makers who want long working time for swirls, or who want to skip waiting for lye to cool.
Pros
- + Lots of working time for swirls and designs
- + No waiting for lye and oils to cool
- + Less risk of overheating, cracking and volcanoes in the mold
- + Often more forgiving of fragrances that speed up trace
Cons
- − Recipes heavy in butters or hard fats can set up and cause false trace
- − Slower to firm up; may need longer before unmolding
- − Less likely to gel, so colors can look more muted
- − Cool batter can be more prone to soda ash
Compare with standard cold process and CPOP, which goes the other way and adds heat.
Equipment and ingredients
Everything from a normal cold process batch, plus:
- A thermometer, ideally an infrared one, to check both components.
- A sealable container for lye solution if you make it ahead or keep a master batch: #5 PP or HDPE plastic, clearly labeled.
- A recipe that suits cool soaping. Recipes mostly made of liquid oils, with moderate amounts of coconut oil and butters, work best. Recipes with a lot of cocoa butter, stearic acid or other very hard fats are harder to keep liquid.
Making the lye solution ahead
There are two ways to have room-temperature lye solution ready.
Option 1: make it earlier the same day
Make the lye solution as normal, adding lye to water, never the reverse. Cover it, label it, and leave it somewhere safe to cool for several hours, until it reaches room temperature.
Option 2: a master batch
Many makers keep a master batch of lye solution: equal weights of sodium hydroxide and distilled water, which makes a 50% solution. It’s mixed once, cooled, and stored, then weighed out for each batch.
To use a 50% master batch for a recipe that calls for a set amount of lye and water:
- Master batch to weigh: twice the recipe’s lye weight. (Half of it is lye, half is water.)
- Extra water to add: the recipe’s water weight minus the recipe’s lye weight.
For example, if the lye calculator gives 138 g lye and 280 g water, weigh 276 g of master batch and add 142 g of distilled water. You end up with exactly 138 g of lye in 280 g of water.
The walkthrough
1. Prepare the lye solution ahead
Either make it hours or a day before, or weigh out your master batch and extra water. Check the temperature: it should be at room temperature.
2. Melt the hard oils, then cool them with the liquid oils
Melt only the coconut oil, butters and other solid fats, gently. Weigh the liquid oils into your mixing pot at room temperature, then pour the melted hard oils into them and stir. The cool liquid oils bring the blend down toward room temperature.
3. Check the oils are clear and fluid
This is the step that matters most. Look at the oils: they should be completely clear, with no haze, cloudiness or specks. Cloudiness means hard fats are starting to solidify. If you combine at that point, the batter thickens because of solidifying fat rather than saponification, which is false trace.
If the oils are cloudy, warm them gently until clear, stir, and check again. It’s fine for the oils to be a little warmer than the lye solution.
4. Combine and blend to trace
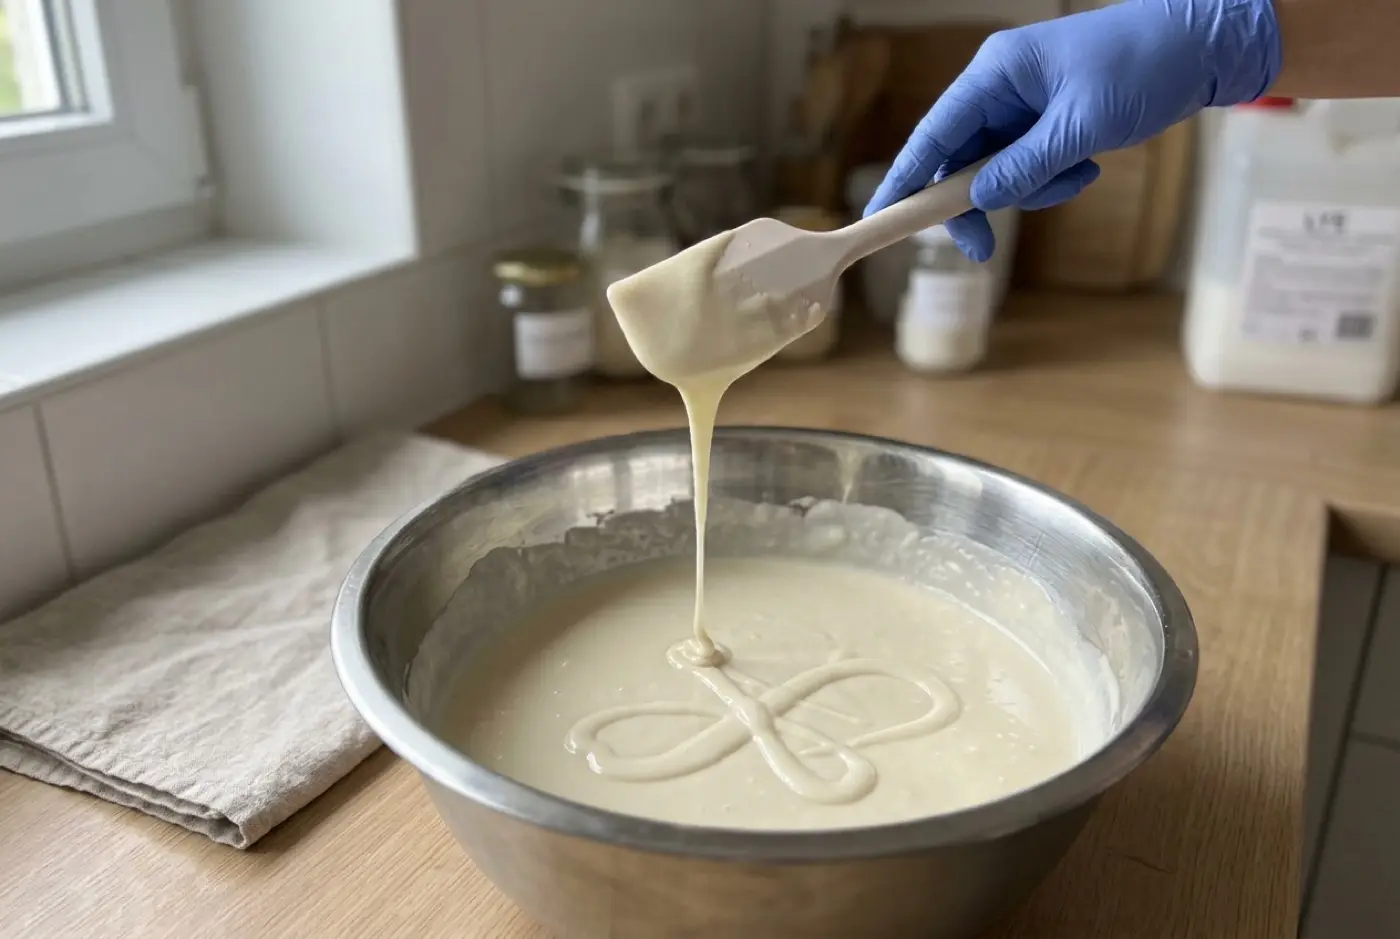
Pour the lye solution into the oils and stick blend in short bursts. Trace usually takes longer than in a warm batch. Be patient, and don’t mistake thickening from cooling for real trace.
5. Design and pour
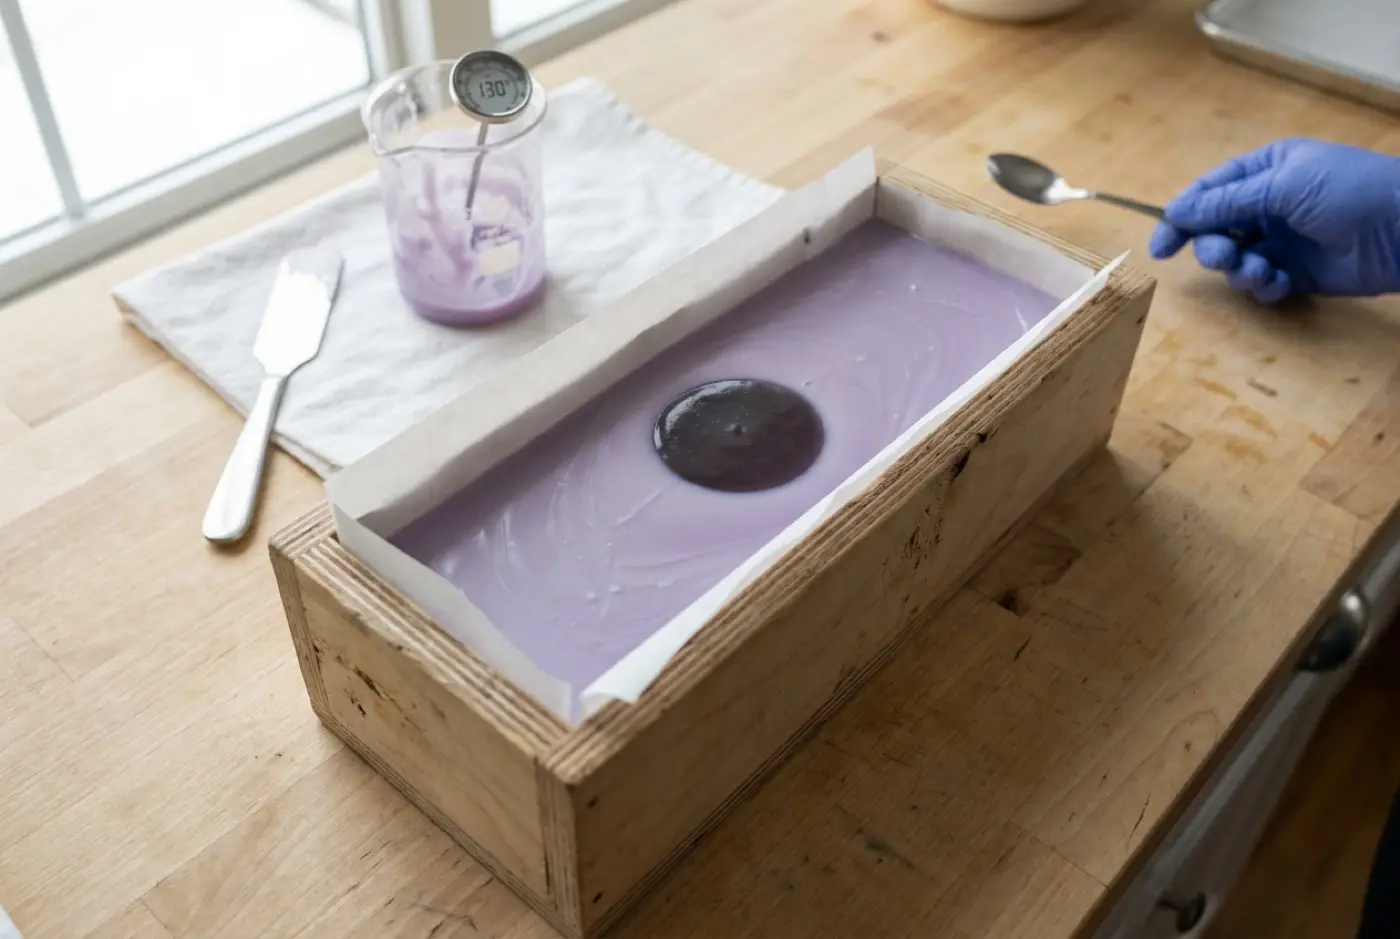
This is the payoff. Divide the batter for colors, add fragrance, and take your time with swirls or layers. See soap swirl techniques for designs that need fluid batter.
6. Leave it longer before unmolding
Cover the mold. Room temperature soap may take longer to firm up than warmer batches. Wait until it’s firm enough to unmold cleanly, which can be a day or two longer than usual, especially for soft recipes. Then cut and cure for four to six weeks.
Room temperature vs warm vs CPOP
Temperature is really a dial you set for each batch. Here’s how the three common settings compare for the same recipe:
| Room temperature | Warm (traditional) | CPOP | |
|---|---|---|---|
| Lye and oils at mixing | Around 70–80°F (21–27°C) | Around 90–110°F (32–43°C) | Either, then oven after pouring |
| Time to trace | Longest | Moderate | Same as whichever you mixed at |
| Working time for designs | Most | Moderate | Same as mixing temperature |
| Gel phase | Unlikely unless insulated | Depends on insulation and loaf size | Full gel, by design |
| Overheating risk | Lowest | Moderate | Highest |
| Unmolding | Slowest | Moderate | Often fastest |
Adapting your own recipe
Most cold process recipes can be soaped at room temperature with little or no change, but check two things first.
Hard-fat content. Add up the butters, tallow, lard, palm, cocoa butter and stearic acid. The more of these a recipe has, the more likely the blend is to turn cloudy before you combine. Coconut oil is less of a problem because it melts at a lower temperature. If your oils keep clouding, warm them a little; the lye solution can still be at room temperature.
The room itself. In a cold kitchen in winter, “room temperature” may be well below 70°F (21°C), and hard oils can set before you’re finished. Either warm the oils slightly or work somewhere warmer. In a hot summer kitchen, room temperature soaping is much less different from warm soaping.
Nothing else changes: the lye amount, superfat and water are the same as for any cold process batch. Run the recipe through the lye calculator as usual.
Gel phase and color
Because it starts cool, room temperature soap usually doesn’t reach gel phase unless you help it. Ungelled soap has softer, more pastel colors and a matte look. In a large loaf the center may still heat up enough to gel while the edges don’t, which gives a darker ring in the middle of cut bars. That’s cosmetic.
If you want a full gel, insulate the mold well after pouring, or use CPOP. If you want no gel at all, put the mold in the fridge.
Common mistakes
- Combining while the oils are cloudy. You’ll get false trace and possibly separation in the mold.
- Using a recipe heavy in hard fats. Cocoa butter, stearic acid and lots of tallow or palm can set up too quickly at low temperature. Try a recipe with more liquid oils.
- Unmolding too soon. The soap is slower to firm up. Give it time.
- Storing master batch carelessly. It looks like water. Label it and store it away from anything drinkable.
- Expecting a bright, gelled look. Room temperature soap is usually ungelled unless you insulate it.
- Forgetting about soda ash. Cool soap can be more prone to soda ash. Covering the mold and spritzing the surface with rubbing alcohol right after pouring can help.
A starter recipe
A recipe mostly made of liquid oils is ideal. Our three-oil beginner soap and castile soap both suit room temperature soaping. Castile in particular is very slow to trace, so expect to blend for a while, and to wait longer before unmolding.
Next steps
- Use the extra working time on soap swirl techniques.
- Learn more about trace and how to tell real trace from false.
- Read water discount to see how lye concentration also changes trace speed.
FAQ
Does saponification work at room temperature?
Yes. The reaction doesn't need added heat; it produces its own. Starting cooler just slows the early stages, which gives you more time to work the batter.
What temperature is room temperature for soap making?
Roughly 70–80°F (21–27°C). The important thing is that the oil blend stays fully liquid and clear. If it turns cloudy, hard oils are starting to solidify.
Is it safe to store lye solution?
Many makers keep a master batch of lye solution in a sealed, clearly labeled container made of
Will room temperature soap go through gel phase?
Usually less readily than warmer batches. Large loaves may still gel in the center. If you want a full gel, insulate the mold or use CPOP.
Comments
No comments yet. Made this recipe? Be the first to say how it went.