Soap Swirl Techniques: In-the-Pot, Drop, Hanger and Taiwan Swirls
Four soap swirl techniques for cold process soap, from the easiest in-the-pot swirl to the Taiwan swirl, with the batter thickness, fragrance choices and timing each one needs.
On this page
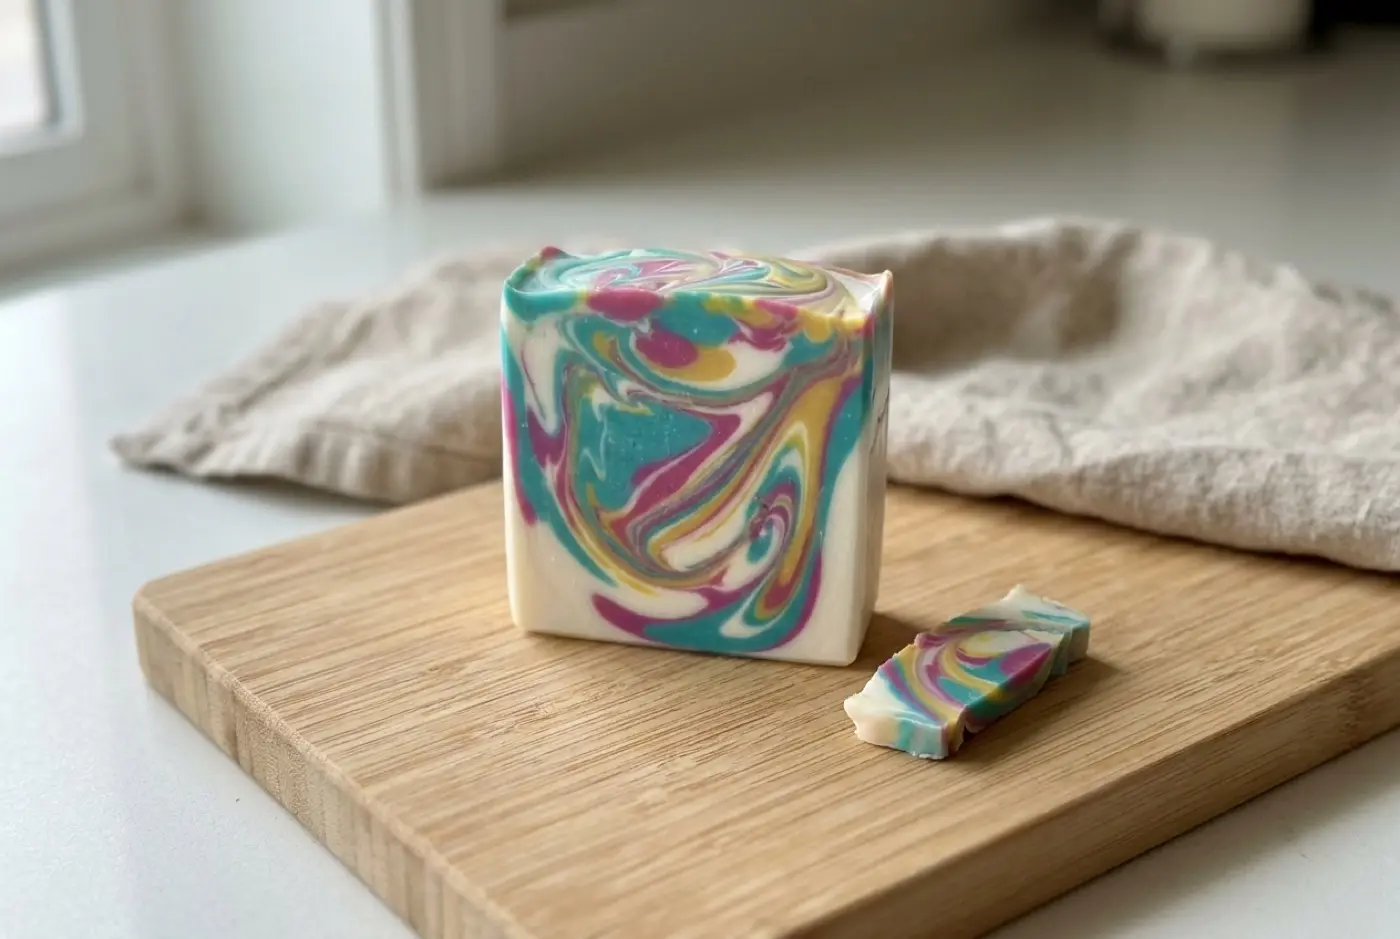
The four soap swirl techniques worth learning first are the in-the-pot swirl, the drop swirl, the hanger swirl and the Taiwan swirl. All four depend on the same thing: cold process batter kept at thin trace long enough to pour several colors and move them through each other. Start with in-the-pot, which forgives a thicker batter, then work toward the Taiwan swirl, which needs the most working time.
The pattern you get is decided before you pick up a tool. It’s decided by your recipe, your fragrance, your temperatures and how long you blend.
The four swirls, ranked by working time
| Swirl | Batter needed | Working time | Tools | Difficulty |
|---|---|---|---|---|
| In-the-pot | Thin to light-medium trace | Short | Spatula only | Beginner |
| Drop swirl | Thin trace | Moderate | Spatula, optional chopstick | Beginner to intermediate |
| Hanger swirl | Thin trace | Moderate | Hanger tool shaped to your mold | Intermediate |
| Taiwan swirl | Very thin trace | Longest | Chopstick or thin spatula, often a divider | Intermediate to advanced |
If your batter tends to thicken quickly, stay at the top of the table until you’ve tamed it. The swirls get more dramatic as you go down, but so does the punishment for thick batter.
Setting up a slow batter
Every swirl problem starts as a trace problem. Before you try any pattern, set yourself up for slow, fluid batter. See trace for what’s happening chemically; here’s what to change.
Recipe. Soft oils like olive, rice bran, sweet almond and high-oleic sunflower slow trace. Hard oils and butters (coconut, palm, cocoa butter, lard, tallow) speed it up. A recipe with roughly half its oils as olive oil tends to give comfortable working time. See oils for soap making.
Water. Use full water rather than a deep water discount. More water keeps batter fluid longer. You can discount water once a swirl recipe is familiar.
Temperature. Soap cool. Many swirlers combine lye solution and oils somewhere between room temperature and about 100°F (38°C). Warmer batter thickens faster. Make sure hard oils are fully melted, though, or they’ll firm up and look like trace (see false trace).
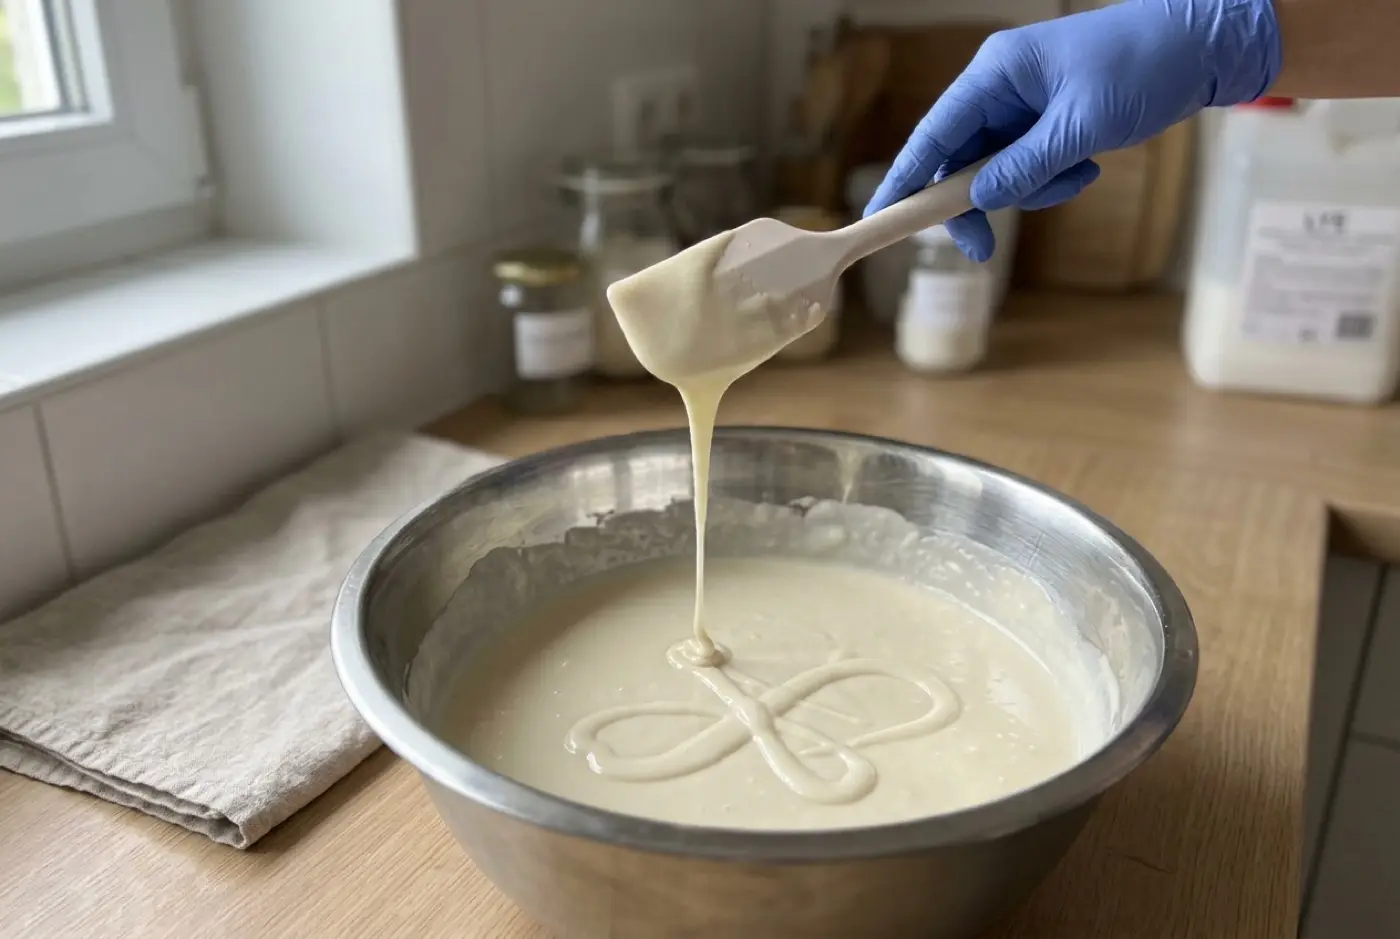
Blending. Stick blend in short bursts and stop the moment the batter is emulsified: no oily streaks, a uniform look, and a drizzle that leaves only a faint trail before sinking back. Finish mixing colors with a spatula or whisk, not the blender.
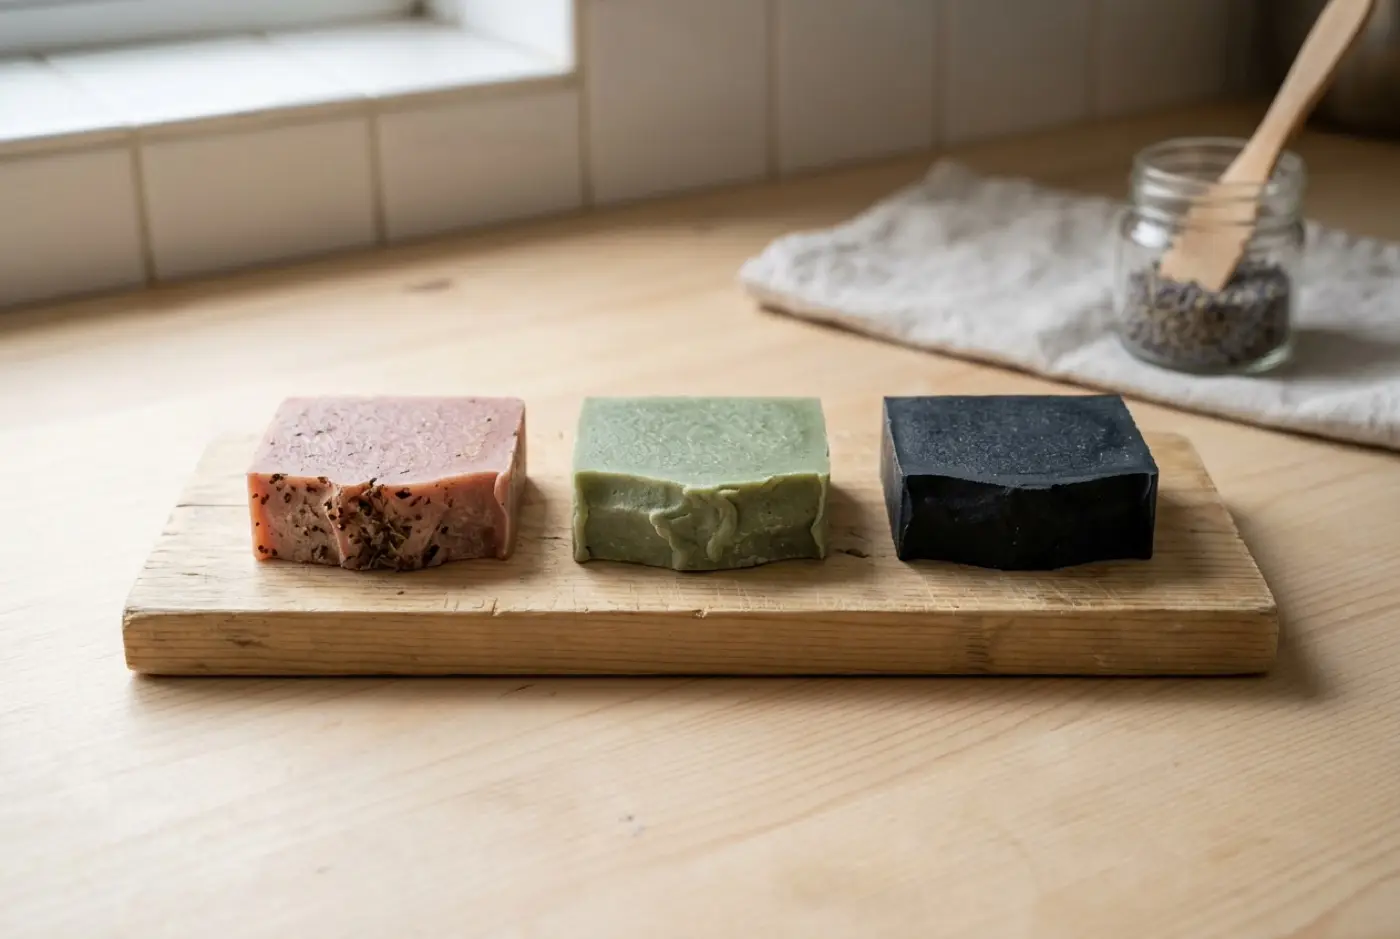
Colors. Disperse each mica or pigment in a little liquid oil before you start, so you’re stirring, not blending, once batter is in the containers. Titanium dioxide, often used to whiten the base, can thicken batter a little; disperse it thoroughly and add it early. See natural soap colorants for how plant colorants behave.
Fragrances that won’t wreck a swirl
Fragrance is the most common reason a swirl seizes or rices. As a rule of thumb:
- Often well-behaved: many citrus, mint and herbal blends, lavender essential oil, and fragrance oils your supplier lists as “no acceleration” or “good for swirls”.
- Common accelerators: many florals (especially rose, jasmine and some “spring” blends), spice notes, and essential oils like clove and cinnamon leaf.
- Discoloration to plan for: fragrances with vanillin turn soap tan to dark brown over days. That’s not acceleration, but it will muddy a pale swirl. Keep vanilla-heavy scents in a portion you don’t mind darkening.
Supplier soaping notes are the best guide, and the honest answer for any new fragrance is a small test batch first. Fragrance oils vs essential oils covers the broader tradeoffs.
In-the-pot swirl
The in-the-pot swirl is the best first swirl because it has the fewest moving parts.
- Bring the whole batch to thin trace and leave the main color in the pot.
- Pour off one or two smaller portions (a cup or so each for a 1,000 g batch), color them, and stir.
- Pour the colored portions back into the main pot from a few inches up, in two or three spots, so they plunge into the base.
- Give the pot one slow pass with the spatula, around the edge and through the middle. Stop there.
- Pour the whole pot into the mold in one steady stream, moving back and forth along the length.
The pour does the swirling. Because there’s only one pour into the mold, it tolerates batter at light-medium trace, which is why it suits recipes you haven’t fully tamed.
Drop swirl
In a drop swirl, colored batter is poured from height so it punches down through the base, creating streaks that show as curved lines in the cut bar.
- Pour about a third to a half of the base color into the mold.
- Hold a colored portion several inches above the mold and pour it in a thin line along the length. The height drives the color down.
- Repeat with the other colors, alternating, then pour some more base.
- Continue alternating base and colors until everything is in the mold.
- Optional: run a chopstick through once, lengthwise or in loops, for extra movement.
Thin batter is essential. If the colors sit on top instead of dropping through, the batter’s already too thick for this swirl; switch to spooning in layers instead.
Hanger swirl
The hanger swirl uses a loop of stiff wire (a bent coat hanger or a purpose-made tool) shaped to fit inside a loaf mold. You pour colors in layers or lines, then pass the tool through to drag them into feathered loops.
- Shape the tool so it reaches the bottom of the mold and runs along most of the length.
- Pour the colors in layers, or in alternating lines, so the mold is full.
- Insert the tool at one end, all the way to the bottom.
- Move it in a loop pattern: up to near the surface, then back down to the bottom, a little further along the mold each time. Repeat along the length.
- Pull it straight up and out at the far end.
Three to five loops along a standard loaf is plenty. More passes and the colors blur into one another.
Taiwan swirl
The Taiwan swirl (sometimes called a Taiwanese swirl) produces a feathery, rippled pattern on the top surface and through the bars. It needs the thinnest batter and the most time.
- Pour the base color into the mold, filling it most of the way.
- Pour the remaining colors in stripes along the length. A divider in the mold, or a careful hand, keeps them in clean lines.
- With a chopstick or thin spatula, drag across the width of the mold, back and forth, working your way down the length.
- Finish with one slow pass lengthwise, end to end, to pull the pattern into feathers.
- Leave the top alone after that.
If the batter is thickening as you pour stripes, skip the drags and leave it as a striped top. That’s still a good-looking loaf.
Planning colors and molds
A good swirl is designed before the batter is mixed.
Pick contrast, not variety. Two or three colors with a clear difference in lightness (a white, a mid-tone and a dark) read better in the cut bar than four similar shades. If you photograph your color containers in black and white and they look the same, they’ll blend in the soap.
Decide the ratio. The base color usually takes the largest share, often around half or more of the batter, with accent colors split between the rest. Uneven ratios usually look more natural than equal ones.
Match the mold to the swirl.
- Standard loaf molds suit in-the-pot, drop and hanger swirls, which show best in the cut face.
- Slab molds show off the top surface, which is where the Taiwan swirl pattern is most visible.
- Tall, narrow molds exaggerate drop swirls into long vertical streaks.
Have everything within reach. Colors dispersed, containers lined up in pouring order, the hanger tool or chopstick on the counter, and the mold on a level surface. Once the batter is mixed, there’s no time to look for a spatula.
Finishing the top
The top of the loaf is a second canvas, and it’s often what people see first on a market table.
- Swirled top. Save a few spoonfuls of each color. After the main swirl, drizzle them in lines along the top and drag a chopstick or skewer through in small loops.
- Textured top. If the batter has thickened by the end, use it: pile the last of it on top and pull up peaks with a spoon or spatula.
- Smooth top. Level it with a spatula and leave it, which shows off a Taiwan swirl most clearly.
Whatever you choose, do it straight away. Tops that start setting while you decide end up half-swirled and half-lumpy. A light spritz of 99% isopropyl alcohol on a smooth top can help reduce soda ash, which is especially noticeable on dark swirl colors.
Reading the cut swirl
The first cut tells you what happened in the mold. Use it to adjust the next batch.
| What you see | What probably happened | Next time |
|---|---|---|
| Colors blended into a single muddy tone | Batter too thin, too many passes, or similar colors | Fewer passes, stronger contrast, slightly thicker batter |
| Separate blobs of color, no movement | Batter too thick for the swirl | Soap cooler, blend less, check the fragrance |
| Thin, clean lines in the top half only | Colors didn’t drop through | Pour from higher, or pour colors earlier |
| Air holes along swirl lines | Thick batter trapped air during passes | Tap the mold after pouring; thinner batter |
| A white or grey line between colors | Some colors gelled and some didn’t, or a colorant reacted | Keep gel consistent across the loaf |
Keep notes in your soap batch log: recipe, temperatures, fragrance, how many passes, and a photo of the cut face. Swirling improves fastest when you can compare batches.
Common swirl mistakes
- Blending past thin trace. Thirty extra seconds with the stick blender can cost you the whole swirl.
- Too many colors. Three contrasting colors usually look better than five. Similar shades blend into mud.
- Too many passes. Each pass makes lines thinner. Stop sooner than you think.
- Swirling with an untested fragrance. If it accelerates, there’s no time to recover. See soap seized.
- Forcing gel on pale colors without thinking. Gel brightens most colors but can change some. See gel phase.
A swirl-friendly starting recipe
A recipe of roughly 50% olive oil, 25% coconut oil and 25% lard or a palm alternative, at a 5% superfat and full water, is a common slow-moving swirl base. Run any recipe through the lye calculator before you make it. Our three-oil beginner soap is a good canvas for an in-the-pot swirl, and lavender soap pairs a well-behaved essential oil with soft colors.
Next steps
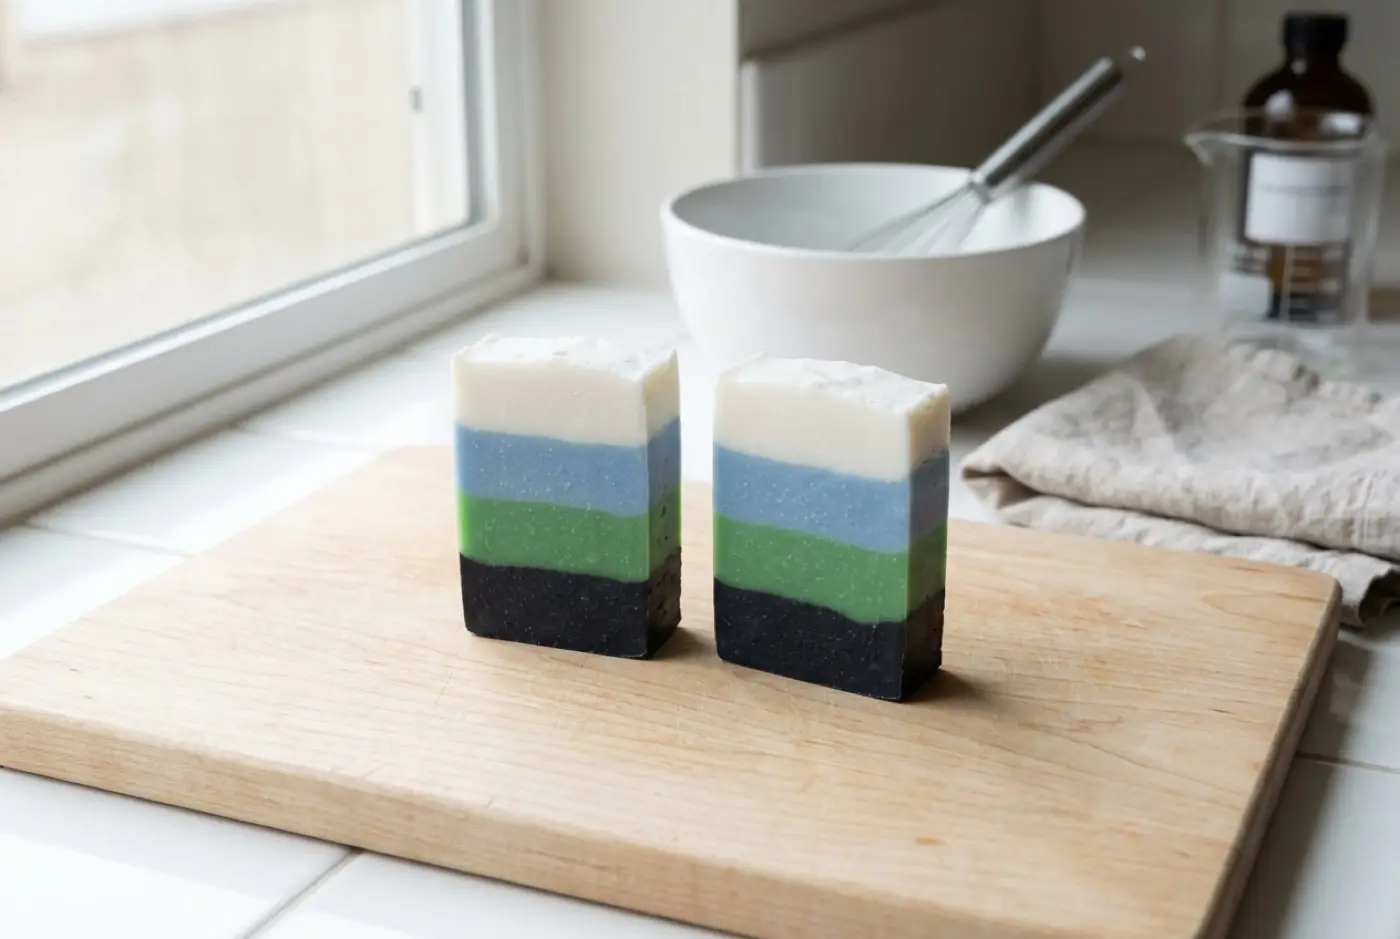
- Combine swirls with layered soap for a swirled top layer over a solid base.
- Add shapes inside the bar with soap embeds.
- If anything went wrong mid-pour, start with ricing or soap seized.
FAQ
What trace do you need for swirling soap?
Thin trace for almost every swirl. The batter should be fully emulsified but still pour like thin pancake batter, so colors can move through each other. Medium trace is too thick for drop, hanger and Taiwan swirls.
Which soap swirl is easiest for beginners?
The in-the-pot swirl. You pour colored portions back into the main pot and pour once into the mold, so there's no tool work and it tolerates a slightly thicker batter.
Why did my swirl turn out muddy?
Usually too many swirl passes, or batter so thin that colors blended rather than ribboned. Fewer, slower passes and three or fewer contrasting colors give cleaner lines.
What fragrance oils accelerate trace?
Floral and spice fragrances are the most common accelerators, and essential oils like clove and cinnamon leaf are known to speed trace. Check your supplier's soaping notes, and test any new fragrance in a small batch before a swirl.
Can you swirl hot process or melt and pour soap?
Cold process is by far the easiest. Melt and pour sets quickly and swirls only in limited ways, and hot process batter is too thick for these pours, though it can be layered or spooned into rough swirls.
Comments
No comments yet. Made this recipe? Be the first to say how it went.