Layered Soap: How to Pour Clean Layers in Cold Process and Melt and Pour
Layered soap is poured in stages, letting each layer firm just enough to hold the next. Here's how to time the layers, the batter thickness to aim for, and how to stop layers from blending or falling apart.
On this page
- The spoon test: is the layer ready?
- Is it the right technique for you?
- Equipment and ingredients
- Batter thickness for layers
- Walkthrough
- Dividing the batter by weight
- Why layers split, and how to prevent it
- Pencil lines, ombré and angled layers
- Layering melt and pour soap
- Common mistakes
- A starter layered loaf
- Next steps
- FAQ
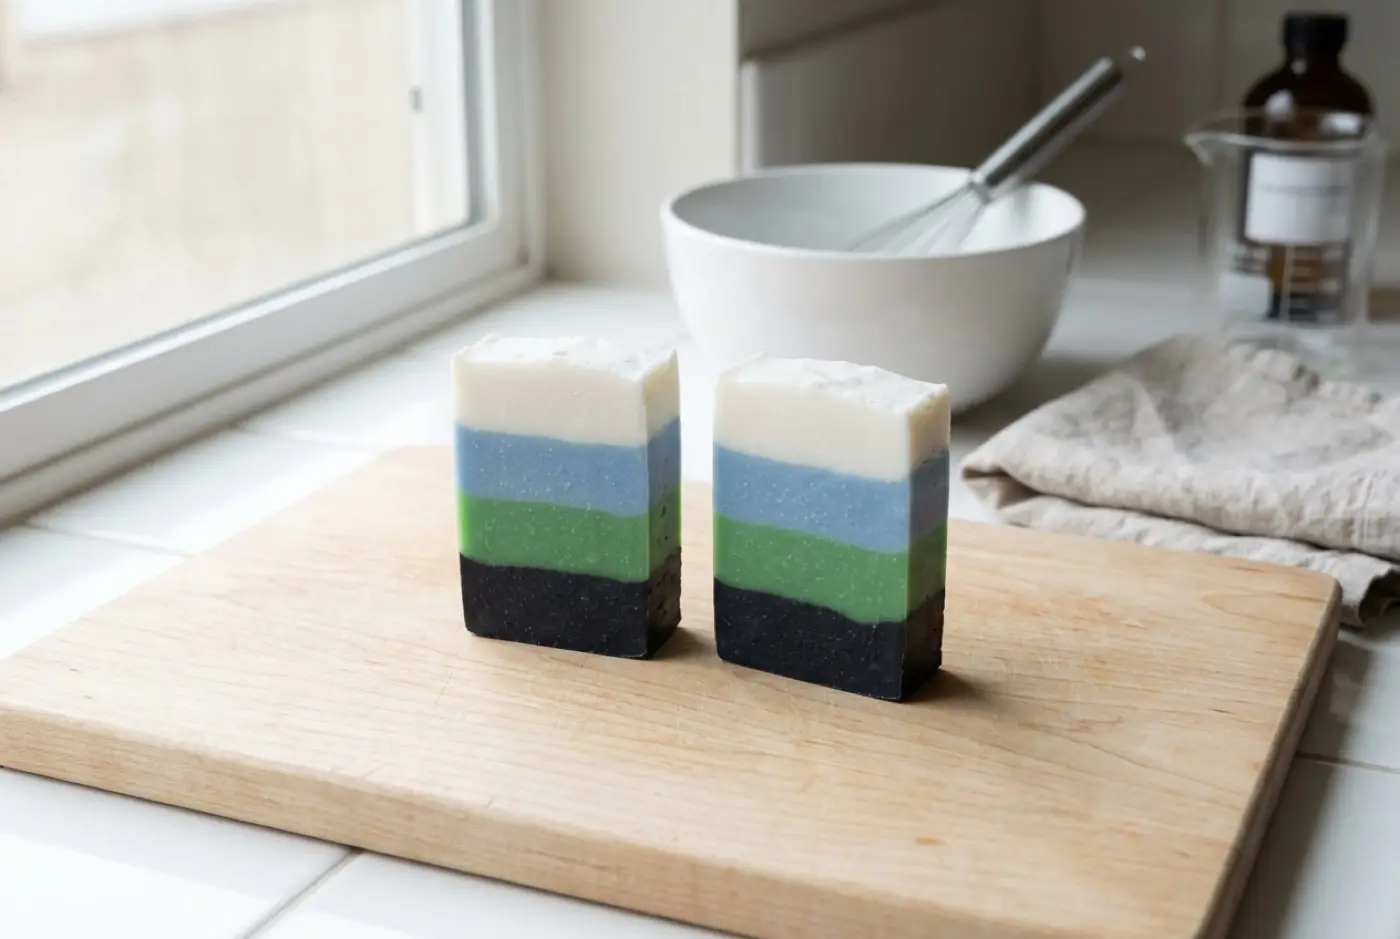
Layered soap is poured in stages: you pour one color, let it firm just enough to hold weight, then pour the next on top. The key is timing. Pour too soon and the layers blend into each other; wait too long and they bond poorly and can split apart when you cut. In cold process, aim for medium trace and pour each layer over a spatula. In melt and pour, spritz alcohol between layers and watch the pour temperature.
Layers are the most forgiving decorative technique in soap making, which makes them a good first step beyond plain loaves.
The spoon test: is the layer ready?
Layering has one judgment call, and it’s this. Every other step is mechanical.
Gently touch the surface of the poured layer with the back of a spoon.
- The spoon sinks in and batter flows back: too soft. The next layer will push through. Wait.
- The spoon leaves a clear dent that holds its shape: ready. Pour now.
- The surface resists and feels firm, almost like set custard: you’ve waited a bit long. Pour right away and pour gently; bonding gets less reliable from here.
At medium trace, the first layer may be ready almost immediately or within a few minutes. At thin trace it can take much longer, sometimes 10 minutes or more. Recipe, temperature and fragrance all shift the timing, so trust the spoon over the clock.
Is it the right technique for you?
Best for Makers who want a clear decorative result without the split-second timing of swirls.
Pros
- + Works at medium trace, so less racing against the batter
- + Very forgiving of fragrances that thicken a little
- + Combines easily with swirled tops and embeds
- + Works in both cold process and melt and pour
Cons
- − Takes longer at the mold than a single pour
- − Later portions can thicken while you wait
- − Layers can split if the bond is poor
- − Straight lines need a level surface and a level mold
Equipment and ingredients
- Your usual cold process recipe and equipment. See cold process soap for the base method.
- One container per layer, with a spout if possible.
- A silicone spatula or large spoon to pour over.
- A loaf mold on a level surface. Check with a spirit level or a phone level app; a tilted counter makes slanted layers.
- Colorants dispersed in oil, one per layer.
- Optional: a fine-mesh tea strainer or a small sifter if you want mica pencil lines.
Batter thickness for layers
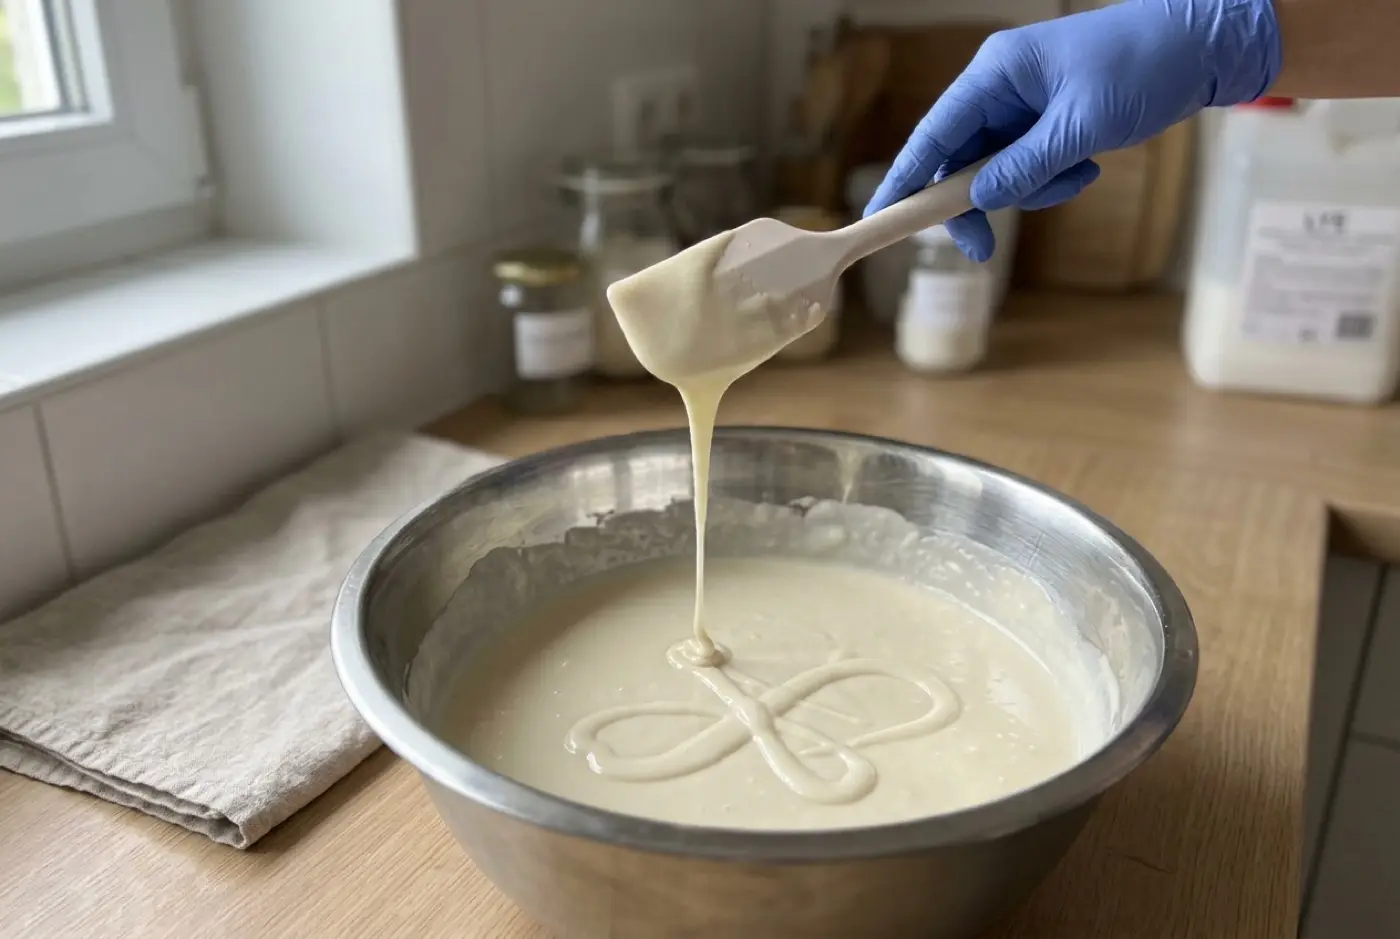
Layers like thicker batter than swirls do. Medium trace, where a drizzle sits on the surface for a moment before sinking, is the usual target. It sets up quickly enough to support the next layer and doesn’t need long waits.
If you’re splitting one batch into several layers, the last portion has to wait the longest. Two ways to handle that:
- Keep later portions thinner. Bring the whole batch to thin trace, pour the first layer, then stick-blend each later portion to medium trace only when it’s its turn.
- Order your fragrance. If one color carries a fragrance that thickens a bit, use it for the first layer.
Trace explains the stages in more detail.
Walkthrough
1. Plan and weigh each layer. Decide the number and thickness of layers before you mix. Weigh the batter into containers so layers come out even. For equal layers, divide the total batter weight by the number of layers.
2. Bring batter to trace and color. Blend to thin trace, split into containers, and stir in the colors by hand. Then blend the first portion to medium trace.
3. Pour the first layer. Pour it into the mold, tap the mold firmly on the counter to release bubbles, and smooth the top with a spatula.
4. Wait for the spoon test. While you wait, gently stir the next portion so it doesn’t skin over.
5. Pour the next layer over a spatula. Hold a spatula or the back of a large spoon just above the surface and pour slowly onto it, moving along the mold. The spatula spreads the batter so it lands gently instead of punching a hole in the layer below. Tap the mold lightly to level.
6. Repeat, then finish the top. Continue until all layers are in. Texture the top or leave it smooth, then insulate or chill as your recipe and colors need. Gel phase affects color brightness, and different layers can gel differently if the loaf heats unevenly; see gel phase.
Dividing the batter by weight
Even layers come from weighing, not eyeballing. Weigh your empty mold’s capacity once by filling it with water (1 ml of water weighs 1 g), then make about that much batter. Soap batter is a little heavier than water for the same volume, so this is a close approximation; your lye calculator’s batch total is the number to divide.
For example, if a batch makes 1,200 g of batter and you want three equal layers, each container gets 400 g. For a thin accent layer between two thick ones, you might split it 500 g / 200 g / 500 g. Weigh each container as you pour from the main pot, and put the containers in pouring order so you don’t grab the wrong color.
Why layers split, and how to prevent it
A layered bar that looked perfect on cut day can still crack apart along a layer line weeks later, or in the shower. The causes are almost always at the bond:
- A heavy dusting between layers. Mica, charcoal or clay creates a slip plane. The lighter the dusting, the stronger the bond.
- A lower layer that was too firm. If the surface had set hard, the next layer sits on it rather than fusing. Pour sooner.
- A skin or film on the surface. If a layer waits a long time, especially in a warm, dry room, its surface can skin over. A light spritz of alcohol before pouring helps some makers in this situation.
- Very different recipes in each layer. Layers made from different batches with different oils can cure and shrink differently. When you’re learning, make every layer from the same batch.
If a bar does split, the soap is still usable. It’s a cosmetic failure, not a safety one.
Pencil lines, ombré and angled layers
Once straight layers are easy, three variations add a lot:
- Pencil lines. A thin line of mica or activated charcoal dusted between layers. Use a fine strainer and the lightest possible dusting. A heavy line is the main cause of bars that snap apart along the line when cut or used.
- Ombré. Divide the batter into several portions and add slightly more colorant to each, so the loaf fades from light to dark.
- Angled layers. Prop the mold at an angle on a towel, pour a layer, let it firm, then prop it the other way for the next. Level it for the final layer.
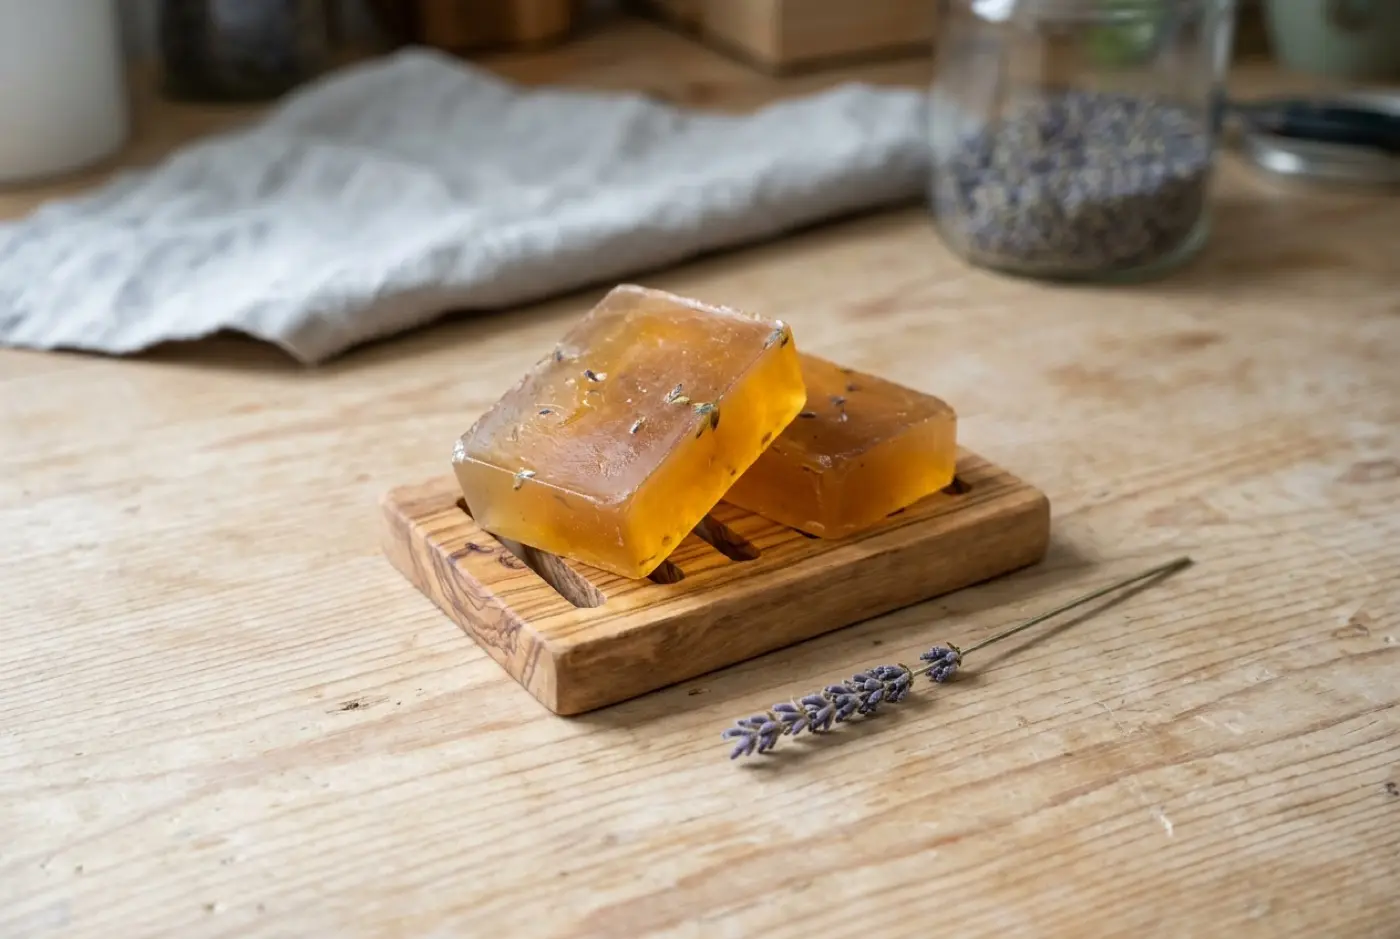
Layering melt and pour soap
Melt and pour layers work on different rules, because nothing is reacting; you’re relying on heat to fuse the layers.
- Pour the first layer and let it set until it forms a firm skin that doesn’t dent easily.
- Spritz the surface with 99% isopropyl alcohol. This helps the layers stick and pops surface bubbles.
- Let the next layer cool before pouring. Many makers pour layers somewhere around 120–130°F (49–54°C), but check your base’s instructions. Too hot and it melts through the layer below; too cool and it won’t fuse.
- Pour, spritz again for bubbles, and repeat.
See melt and pour soap for the base method.
Common mistakes
- Pouring onto a layer that’s too soft. The new color sinks and blends. Wait for the spoon test.
- Waiting too long. Layers poured onto a hard surface can separate later. If a layer has firmed up, pour the next one immediately rather than waiting for “perfect”.
- Heavy pencil lines. Most split-apart layered bars trace back to this.
- A tilted counter. Every layer ends up wedge-shaped.
- Letting later portions thicken. If a waiting portion goes to thick trace, glop it on and texture it; it won’t pour flat.
A starter layered loaf
Make two or three layers from a reliable recipe like the three-oil beginner soap: a natural base layer, a middle layer tinted with a clay (see clay soap), and a top layer with a fine pencil line of mica beneath it. Activated charcoal soap also makes a strong contrast layer.
Next steps
- Swirl the top layer using a technique from soap swirl techniques.
- Set shapes into a layer with soap embeds.
- Cut cleanly through layers with unmold and cut soap.
FAQ
How long do you wait between soap layers?
Until the layer below is firm enough to support the next pour, which can be a few minutes at medium trace or longer at thin trace. Use a spoon test rather than a timer, since recipe and temperature change it.
Why do my soap layers separate after cutting?
The most common reasons are too much mica or dry colorant dusted between layers, or a lower layer that set too hard before the next was poured. Use a very light dusting and pour the next layer while the one below is still soft.
How do you layer melt and pour soap?
Let the first layer form a firm skin, spritz it with rubbing alcohol, then pour the next layer once it has cooled to just above its setting point. Too hot and it melts through; too cool and it won't bond.
Can you make layered soap with one batch of batter?
Yes. Split one batch into portions and color each one. Hold the later portions at thin trace with gentle hand-stirring while earlier layers set.
Comments
No comments yet. Made this recipe? Be the first to say how it went.